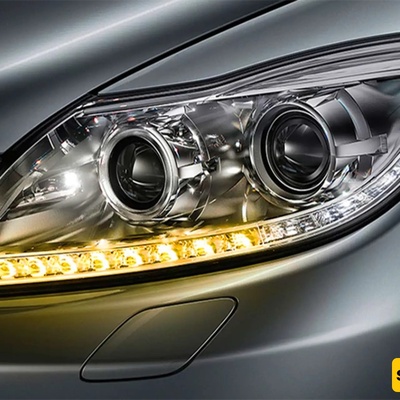
SAEDNEWS: One of the key features of your car is its headlights, which are highly noticeable because they are always in view, and keeping them clean and shiny can significantly enhance the overall appearance and beauty of your vehicle.
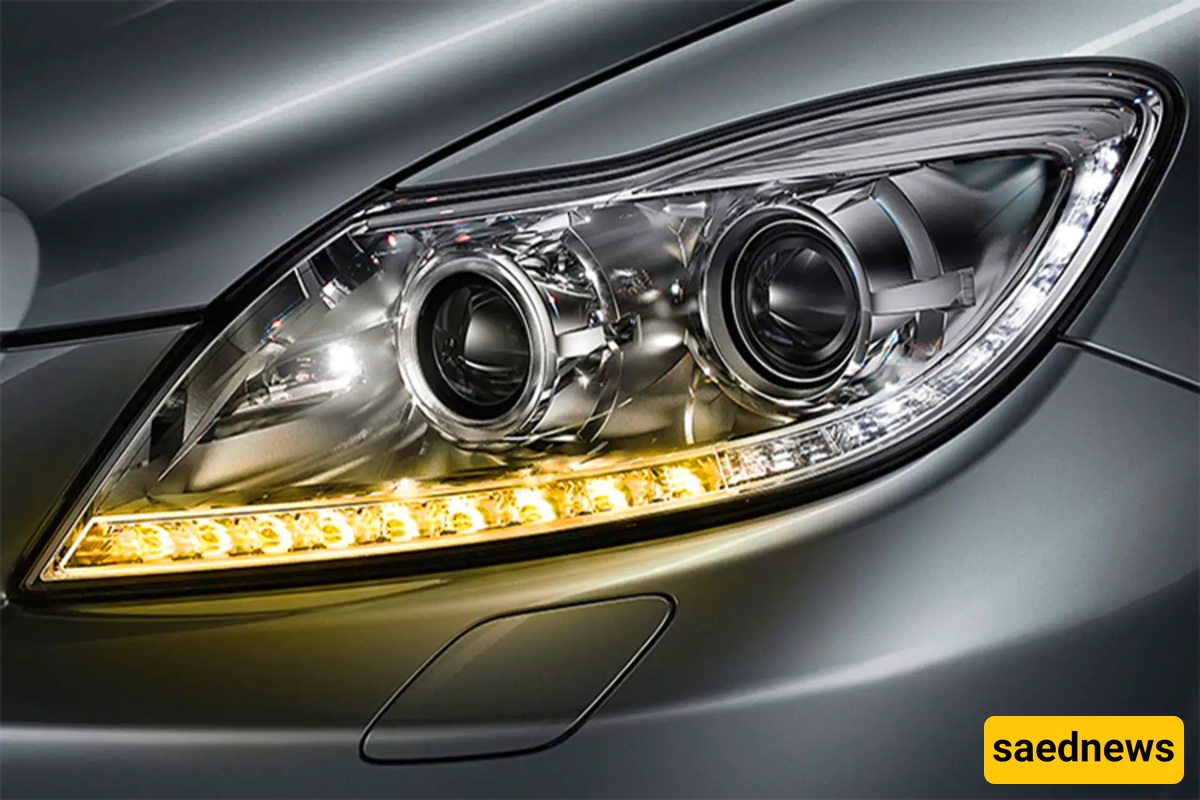
According to SAEDNEWS, You can clean your car headlights at home using simple household materials and tools so that they look like they did when you first bought the vehicle. Over time, the frame and plastic cover of your headlights become dull and lose their clarity due to oxidation and dirt buildup, and at that point, instead of going to a car wash, you can take matters into your own hands.
Today we will teach you how you can clean and polish these headlights at home, even better than a car wash, and make them shine again.
Required materials and tools:
Dishwashing liquid
Polish or toothpaste
Several cloths
Water
Very fine sandpaper or a soft cloth
Alcohol

To clean your car headlights, you first need dishwashing liquid and water.
Steps for cleaning car headlights:
1) General washing:
Start with one headlight and complete it before moving to the other. Use dishwashing liquid to thoroughly wash the headlight, its plastic cover, and frame. Avoid using strong detergents because they can damage both the headlight and the car’s paint. A simple wash followed by rinsing with water is enough for the first step.
Using dishwashing liquid, thoroughly wash the headlights, lens cover, and frame of the vehicle.
2) Protective measures:
To do this professionally, you can use masking tape (the type used by body shop painters) and carefully cover the edges around the headlight lens to prevent any damage to the car’s paint. For full protection, also cover all rubber seals around the headlight. Make sure the taped area is wide enough to minimize any risk of accidental scratches or damage.
Use masking tape used by body shop painters to protect the surrounding areas.
3) Using sandpaper and a sponge:
Now it is time to use sandpaper. However, not the type used for stripping paint or heavy sanding. You need a very fine 500-grit sandpaper. To ensure you do not damage the headlights even in this step, place a sponge underneath the sandpaper to help control the pressure you apply. If sandpaper is not available, you can also use a suitable cloth—one that is neither too soft nor too rough—to avoid damaging the plastic lens. Be careful not to create scratches on the headlights.
Use a sponge under the sandpaper to ensure that the pressure applied to the sandpaper is controlled.
4) Start cleaning:
The purpose of using very fine sandpaper is to remove a very thin oxidized layer from the surface of the headlight. Wrap the sandpaper around the sponge and begin cleaning and polishing. Make sure to use back-and-forth motions and change direction and area every 10 seconds to avoid damaging the headlights. Continue this process across all areas until the entire headlight looks evenly cleaned.
5) Check your work:
Now take a soft towel and inspect the surface while cleaning it to ensure all areas have been evenly sanded and polished. Once you are satisfied with the result, rinse the headlight again with water. Pay extra attention to the corners during inspection, as they are often missed.
6) Wash the headlight again:
Now mix some liquid soap or dishwashing liquid with water in a container and start washing the headlights again. Use a sponge to remove all remaining residues and stains from the previous steps. When foam or lather forms on the headlights, you can gently use very fine sandpaper again to complete the surface polishing process and ensure the outer layer is evenly cleaned and refined.
Mix a small amount of liquid soap or dishwashing liquid with water in a container and wash the headlight using a sponge.
7) Using toothpaste:
Now, to make the headlights shiny and glossy after removing stains and the oxidized layer of the plastic lens, you can use a specialized headlight polish available in the market. If it is not available, simple toothpaste can be used as an alternative, as it provides a similar effect.
For this step, take a lint-free soft towel, fold it four times, and apply an appropriate amount of toothpaste to both the cloth and the headlight surface.
To make the headlights shiny and glossy after removing stains, you can use simple toothpaste.
8) Clean the headlights:
First, try to spread the toothpaste or polish evenly across the entire surface of the headlight. Then, with a bit more pressure and circular motions, start polishing the plastic lens. After thoroughly cleaning the headlight, repeat the process several times, usually for a longer duration than the previous steps, to bring the work closer to completion.
Spread the toothpaste or polish over the entire surface of the headlight using circular motions.
9) Wipe the headlights:
Now use some water to help remove any remaining residue, and clean it off with a cloth. Allow the headlight to dry completely. Finally, use a small amount of alcohol and another clean cloth, and with a few sprays of alcohol, give the headlights a final wipe as you would with glass. This is almost the last step of the process, and you can now consider the job finished.
Use some water to clean the headlight and remove any remaining residue with a cloth, then allow the headlight to dry completely.
Finish by spraying a small amount of alcohol onto the headlights and wiping them clean one last time, just like you would with glass.
10) Step back:
Now take a few steps away from your car and look at your work. After completing all these steps, you will definitely appreciate the result. This process is very similar to what professional car washes do to restore and clean car headlights, and something that is rarely done for vehicles in such detail.
After completing all these steps, you will enjoy looking at your car headlights.