SAEDNEWS: How to Clean a Beauty Blender: Tips and Effective Methods

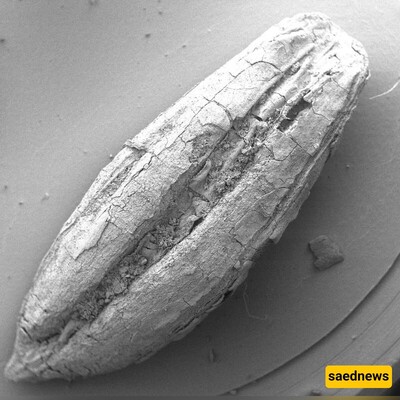
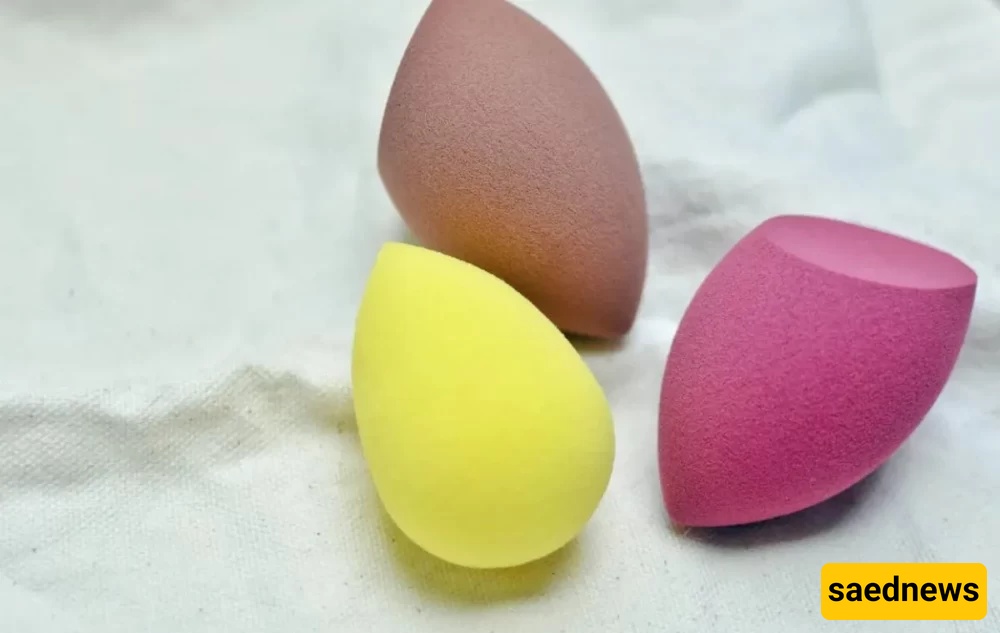
According to Saednews, A beauty blender, or makeup sponge, is a small cloud-like egg-shaped tool used for applying foundation to the face. These products look very beautiful and pristine—but only until you use them once. After some time, you may notice scattered foundation stains and old eyeliner streaks on them.
One of the key principles of using a sponge to apply foundation is to dampen it first. This is important because it means these tools are prone to bacterial growth. In fact, the more something stays moist, the higher the chance of mold developing. With daily use, beauty blenders can collect dead skin cells, dirt, oil, pollution, and bacteria. Since they have direct contact with your facial skin, keeping them clean and dry is extremely important. From the moment you buy a makeup sponge to every time you use it, you should keep this small sponge clean—especially if you have acne-prone or sensitive skin.
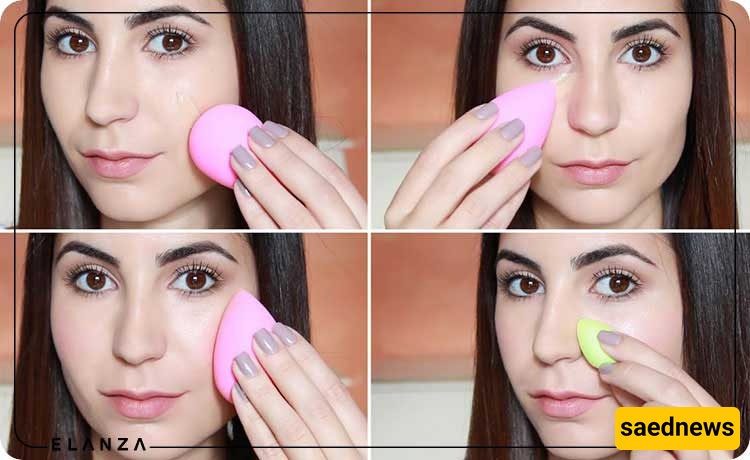
Makeup sponges are one of the best ways to blend foundation on the face. You might think the easiest way to clean them is just with water. However, recently a campaign on Reddit showed people opening their beauty blenders and revealing disgusting clumps of foundation trapped inside. So clearly, washing them with water alone is not effective.
If you want to know how to clean a sponge without damaging it, you should avoid harsh cleansers. Do not rub too aggressively, and whenever you squeeze it, do so gently. After washing the sponge using any of the methods below, use a paper towel or clean towel to dry it. Gently press out excess water with your hands, then roll it in a clean dry towel so it absorbs the remaining moisture inside. If it is still damp, leave it in a well-ventilated place to air dry.
Before using it again, make sure the sponge is completely dry. Ensure it dries in a place with good airflow to prevent mold growth. Never store your beauty blenders in closed makeup bags or zip-lock pouches, because moisture encourages bacterial growth. If it is wet and dirty, set it aside to dry first.
Most importantly, although regular cleaning extends the lifespan of the sponge, it is not meant to last forever. Manufacturers usually recommend replacing it after about three months of use.
The simplest method for cleaning a beauty blender is using water and soap. This allows you to properly clean it using hand movements. Soap is not the gentlest option, but it is definitely the most effective.
Step 1: Wet the sponge under running water until it expands.
Step 2: If using liquid soap, apply it directly onto the sponge and massage it with your fingers or palm to remove makeup. If using bar soap, rub the sponge directly on it until it foams.
Step 3: Rinse thoroughly under running water, gently squeezing it to ensure no soap remains trapped inside.
If your sponge is very dirty and you cannot even remember its original color, you can soak it in clean water for about 30 minutes. The water should fully cover the sponge. As it soaks, the water may turn beige or dark brown as foundation and makeup come out.
Step 1: Mix water with liquid soap or facial cleanser in a clean sink or small bowl. If you are concerned about bacteria, you can use boiled water.
Step 2: Place the sponge in the mixture and let it sit for a few minutes to loosen makeup particles.
Step 3: Gently squeeze the sponge to remove the soapy solution. Add more soap to stubborn areas and massage it in your palm, then rinse thoroughly under warm running water.
This method is suitable for makeup artists or people who use multiple sponges.
Step 1: Place all sponges in a mesh laundry bag and put it in an empty washing machine.
Step 2: Add liquid cleanser and laundry detergent, then run a gentle cycle with an extra rinse.
Step 3: Remove them and leave them in the bag to dry.
If you want stronger disinfection without using a washing machine, you can use a microwave method—but carefully.
Step 1: Mix water and soap in a microwave-safe cup (like a glass). The sponge must be fully submerged. You can also add a few drops of olive oil for deeper cleaning.
Step 2: Microwave for about one minute, then let it cool before handling. The sponge should be clean, and the water will contain dissolved foundation.
Step 3: Rinse under running water to remove any remaining residue and leave it to air dry.
Another method, especially for small delicate sponges, is using a silicone cleaning pad or makeup brush glove. These create a gentle but effective surface for cleaning without damaging the sponge.
Step 1: Wet the sponge under running water.
Step 2: Apply soap or rub it against the glove until fully lathered.
Step 3: Rub the sponge on the silicone surface until makeup is removed, then rinse thoroughly.
Step 4: Let it dry in a well-ventilated space.
Tip: Drying a sponge in a closed space can lead to mold growth.
The concept of double cleansing also applies to makeup sponges. Oil dissolves oil. Just like in skincare, cleansing oils help break down makeup more effectively.
Step 1: Start with a dry sponge and massage a few drops of oil (coconut oil is a good option) into it to dissolve makeup.
Step 2: Follow with a soap-based wash to remove oil residue and remaining makeup.
Baking soda can also be used to clean sponges, although it may remove stains to some extent. However, because it is abrasive and alkaline, frequent use may damage the soft texture and make the sponge rough or brittle. Mix baking soda with warm water, soak the sponge for a few minutes, then gently squeeze out dirt and oil. This method can also help reduce unpleasant odors, but it should not be used too often.
Dishwashing liquid has strong degreasing power and can remove foundation and oils, but it is not designed for facial skin. If not rinsed thoroughly, it may remain inside the sponge and later cause dryness, irritation, or sensitivity—especially for acne-prone skin. Frequent use can also shorten the sponge’s lifespan.
Dirty makeup sponges are undesirable for several reasons. First, hygiene: a dirty sponge can become a breeding ground for bacteria, which transfers to your skin during use. Second, performance: a dirty sponge does not blend makeup well. Old foundation layers can affect the color and finish of new makeup applied over them.
Note that if your sponge does not change color after washing or tears apart during cleaning, it may be a low-quality or counterfeit product.
Ideally, after every use—but realistically, most experts recommend cleaning it at least once a week. Daily cleaning is best but not always practical. Fortunately, cleaning a makeup sponge does not take much time. Simply lather it with soap and rinse thoroughly.