SAEDNEWS: Homemade plum paste is a versatile condiment that adds rich color, balanced sweet-and-tart flavor, and depth to everyday dishes. It enhances traditional stews, stuffed grape leaves, and many homemade recipes with just a spoonful.
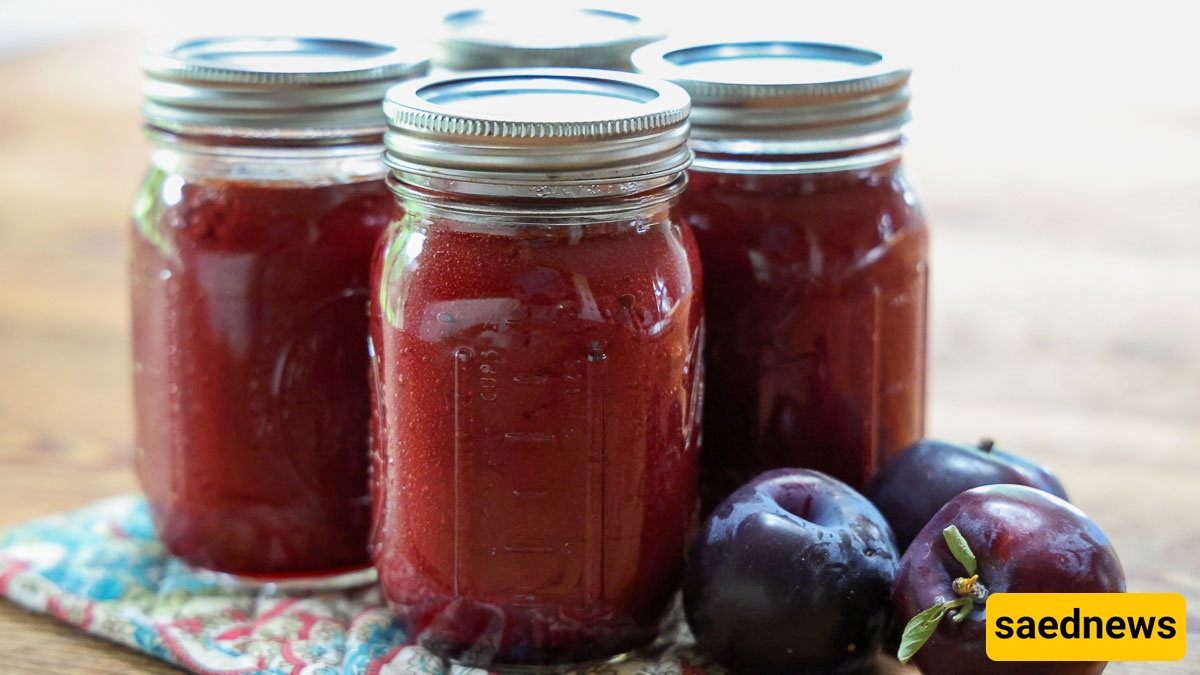
According to Saednews, Making homemade plum paste is one of the best ways to enjoy a rich, natural condiment without artificial additives or preservatives. Whether you prefer it tangy, sweet, or a balanced sweet-and-sour flavor, this versatile paste is perfect for stews, stuffed vegetables, roasted poultry, marinades, and dipping sauces. With just fresh plums, water, and salt, you can create a thick, flavorful paste with vibrant color and excellent shelf life.
2 kg fresh plums (or sour green plums)
1 cup water (only if needed)
1 teaspoon salt
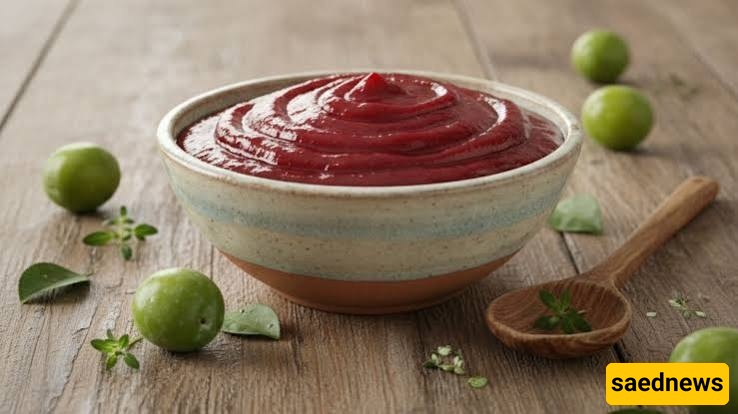
Wash the plums thoroughly, removing any stems, leaves, or damaged fruit. Drain them well in a colander.
The quality of your finished plum paste depends on the fruit you use. Ripe, sweeter plums produce a naturally sweet paste, while green or unripe plums create a tart flavor. Mixing both varieties results in a pleasant sweet-and-sour balance.
Place the cleaned plums in a large stainless steel or enamel pot.
If the plums are very juicy, there is no need to add water since they will release plenty during cooking. Otherwise, add 1 cup of water.
Sprinkle the salt over the fruit and cook over medium heat until the plums become soft and completely break down.
As the plums cook, skim off any foam that forms on the surface. Removing this foam helps maintain a brighter color and cleaner flavor.
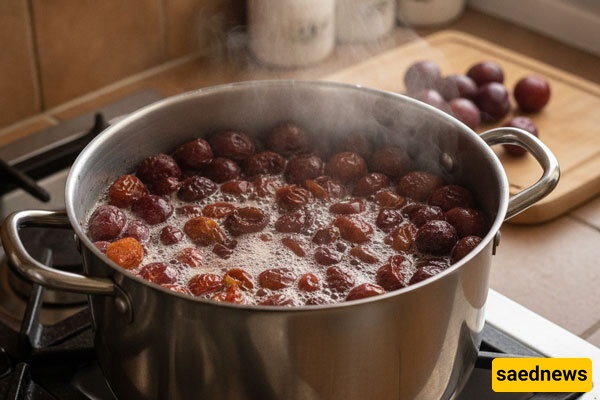
Once the plums are fully softened, remove the pot from the heat and let it cool slightly.
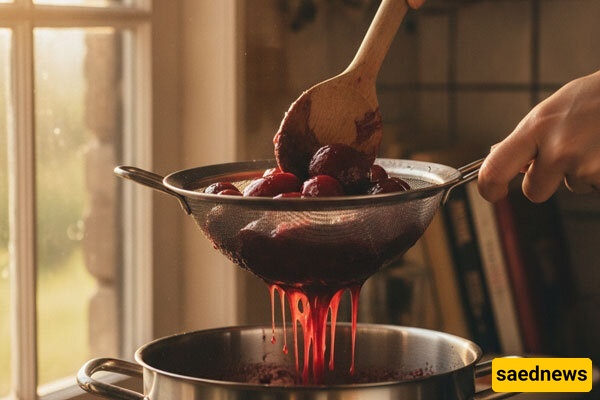
Press the cooked plums through a fine-mesh sieve or colander using the back of a spoon or your hands. This separates the smooth pulp from the skins and pits.
Collect the strained pulp in a clean pot.
Return the strained pulp to the stove over low heat.
Stir continuously to prevent sticking or burning. As the mixture thickens, it may splatter. Placing an inverted metal strainer over the pot can help reduce splashes while allowing steam to escape.
Do not cover the pot with a lid. Trapped steam can drip back into the paste, increasing the risk of spoilage during storage.
Continue cooking until the mixture reaches a consistency similar to tomato paste.
Remove the finished plum paste from the heat and allow it to cool completely, loosely covered with a clean cloth.
Transfer the cooled paste into clean, dry, airtight glass jars.
Store in the refrigerator for long-term use or freeze for up to one year.
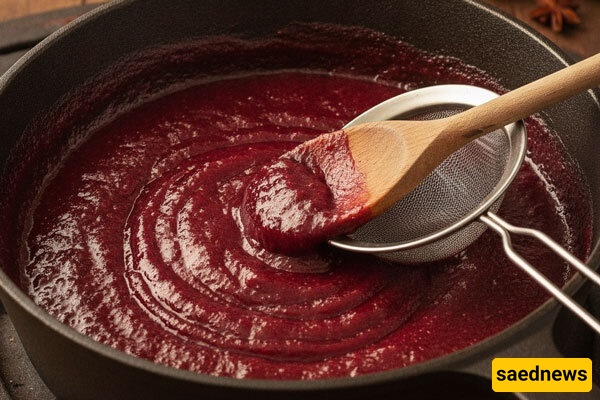
Always use stainless steel or enamel cookware. Acidic fruit can react with aluminum or zinc pots, affecting both flavor and color.
For a glossy finish, stir in 1 teaspoon of neutral vegetable oil during the final minutes of cooking.
Stir with a wooden spoon whenever possible to help preserve the paste's natural color.
To check the consistency, place a small spoonful on a plate and allow it to cool. If it holds its shape and moves slowly when tilted, the paste is ready.
Remember that the paste will become thicker after cooling.
Wild plums often produce a richer flavor, stronger aroma, and more vibrant color than cultivated varieties.
Skimming the foam throughout cooking improves both the appearance and taste of the finished paste.
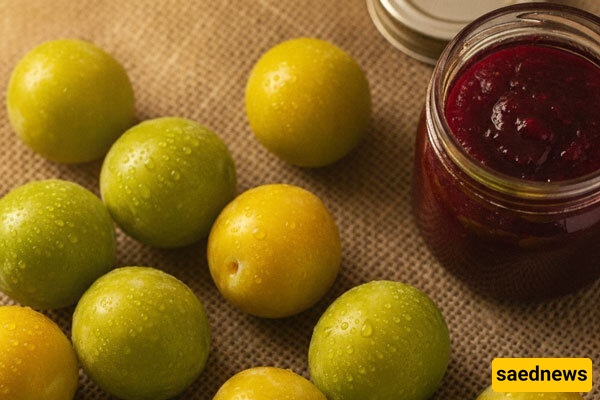
Homemade plum paste is an excellent addition to:
Traditional meat and vegetable stews
Stuffed vegetables
Roasted or grilled chicken
Marinades
Barbecue sauces
Dips and savory condiments
Its bold, fruity acidity makes it a versatile ingredient that enhances a wide variety of savory dishes.