SAEDNEWS: Homemade yogurt can sometimes turn out sour and sometimes sweet, which may not always match personal preference. However, if you fully understand the preparation process, you can confidently make yogurt that suits your own taste.

According to Saednews, The presence of preservatives in industrial yogurts has led many people—especially women—to consider making yogurt at home. Homemade yogurt has a very pleasant taste and is free from chemicals and additives.

In the past, all household food was prepared at home, and the secret to the health, vitality, and long lifespan of our ancestors was partly due to this practice. Therefore, it is better that we also avoid ready-made foods as much as possible and return to preparing them at home.
Yogurt is one of the most nutritious foods, with many health benefits, and it can easily be made at home. In this section, you will learn how to prepare homemade yogurt.
Ingredient | Amount |
|---|---|
Milk | 3 liters |
Yogurt (starter) | 3 tablespoons |
First, pour the milk into an enamel or stainless-steel pot and bring it to a boil. The firmness or softness of the yogurt depends on how the milk is boiled. If the milk is heated gently so that more of its water content evaporates (about 10–20%), the yogurt will become thicker. It is best to use fresh, unpasteurized local milk; if unavailable, organic full-fat milk can be used.
Stir the milk continuously to prevent proteins from settling and burning at the bottom of the pot.
After the milk has boiled, turn off the heat and transfer it to the container in which you want to make the yogurt.
Allow the milk to cool down to about 40°C, where it feels warm but does not burn your finger. To test, dip your little finger into the milk for about 10 seconds—if it does not burn, the temperature is suitable.
Mix 3 tablespoons of yogurt with a little warm milk, then add it to the main pot of milk. The yogurt used as a starter should be at room temperature before adding.
Cover the container with a lid and wrap it with a blanket or warm cloth to keep it insulated for 4–5 hours. This process is called incubation. Do not move or shake the container during this time.
After incubation, remove the container from the wrap and let it sit uncovered for about 30 minutes. Then place it gently in the refrigerator and avoid disturbing it for several hours.
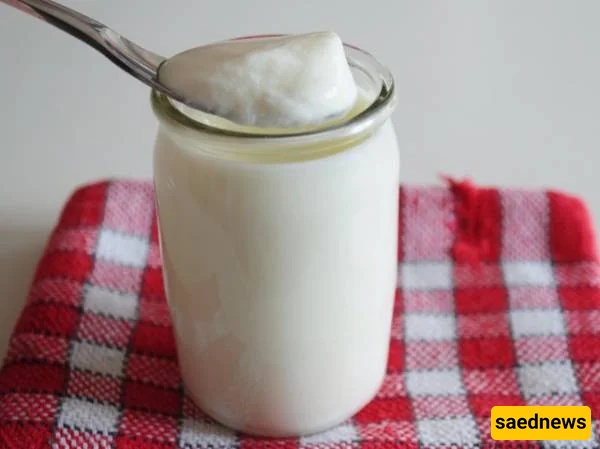
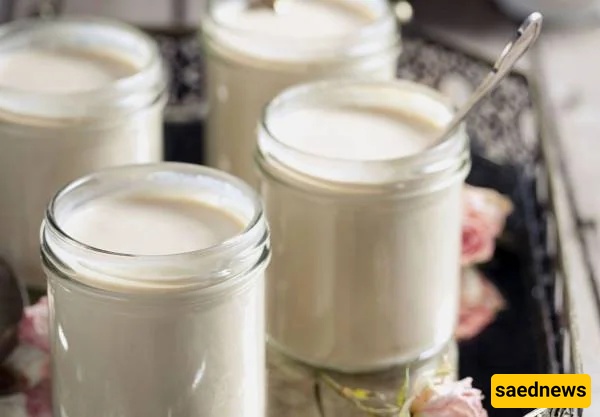
After about one night in the refrigerator, your homemade yogurt is ready to eat.
If the yogurt is stirred or disturbed before it has fully set and cooled, it may release water. To prevent this, it should remain in the refrigerator for several hours (preferably a full day) to fully set.
If whey separation occurs, do not discard it. It is highly nutritious, rich in soluble proteins and B vitamins.
High temperature during incubation
Old or unsuitable starter yogurt
Excess starter yogurt
Long fermentation time
Warm incubation environment
Slow cooling after incubation
Milk temperature too low when inoculated
Very fresh starter yogurt
Naturally sweet starter yogurt
Short incubation time (insufficient fermentation)
If your yogurt releases water, you can remove it with a clean cloth.
If it becomes too salty, place it in a clean cloth bag, hang it, and let excess liquid drain. Then dilute slightly with water when serving if needed.
If the yogurt is too thin, you can place the container in a hot water bath for a few minutes to help it set better.
Yogurt is a traditional Iranian dessert usually served with meals.
Preparation time: about 15 minutes
Cooking/incubation time: about 4–8 hours
Serving: dessert or side dish
Recipe quantity: suitable for 4 people