SAEDNEWS: How Attractive Product Photos Can Convince Customers Without Expensive Training or Professional Photographers
According to Saednews, In this article, you will learn how to capture stunning images by applying key principles of product photography using a camera. You can also learn product photography at home without any experience or formal classes by following these simple techniques and start photographing your own products.
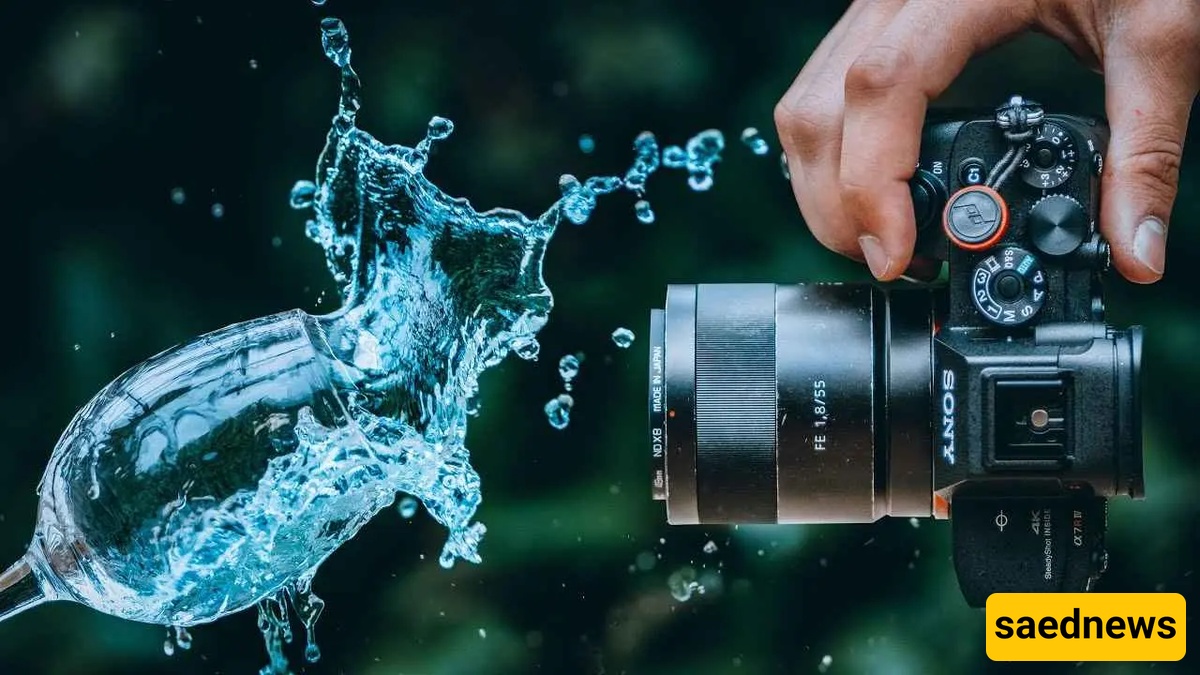
To create professional images of your products, choosing the right tool is essential. You might think that a mobile phone can produce good photos—and in the beginning, learning product photography with a phone can certainly help. However, it is important to be realistic: the specialized features and full control offered by a dedicated camera are not comparable to a smartphone.
The ability to change lenses for capturing fine details and shoot from different angles is a major advantage of cameras. Remember that showing the smallest product details is valuable to customers and can significantly increase your chances of making a sale. Below are some suitable cameras for learning product photography and capturing professional images:
Canon EOS 2000D with 18–55mm IS II lens
Fujifilm X-H2S mirrorless camera
Sony ZV-1 II camera
Sony Alpha a7C
These are just a few examples of suitable cameras for product photography. Before purchasing a camera, you should carefully evaluate its features and ensure they match your specific needs.
Before pressing the shutter button, pay attention to a crucial step: fully preparing the product. To ensure the highest quality and perfect detail presentation, clean your product thoroughly from dust, fingerprints, or any contamination.
Using cotton gloves and a soft cloth is an important tip in product photography training, as it prevents smudges and marks. This small step not only demonstrates professionalism but also ensures your final image is clean and requires minimal editing.
In product photography training, still life photography allows you to present everyday products in a creative and unique way. The main goal of this style is to encourage purchase and evoke emotional responses from the viewer.
To achieve the best results, always focus on simplicity in the background and controlled lighting. Use neutral, uncluttered backgrounds and adjust the light so that shadows are soft and all product details are clearly visible. This keeps the viewer’s attention entirely on the product while avoiding overly stylized or distracting compositions.
One of the most effective and widely used techniques in product photography is using a white background. Simplicity helps keep the product at the center of attention and prevents distractions.
You can use a curved white backdrop for this purpose. This method works well for most products and helps produce clean, standard, and professional-looking images.
In product photography training, a “packshot” refers to a straightforward image of a product placed in the center of the frame, usually on a simple background. Its main goal is to present a completely realistic and distraction-free view of the product, clearly showing texture, color, and details.
Unlike still life photography, packshots avoid creative composition or complex lighting. Simplicity and clarity are key factors that make this style popular in online sales.
In product photography, using filters is strongly discouraged. Filters can distort the product’s appearance and lead to customer dissatisfaction.
Instead of filters, use professional editing tools such as Photoshop after shooting to correct minor imperfections. This ensures the product remains true to reality and builds customer trust.
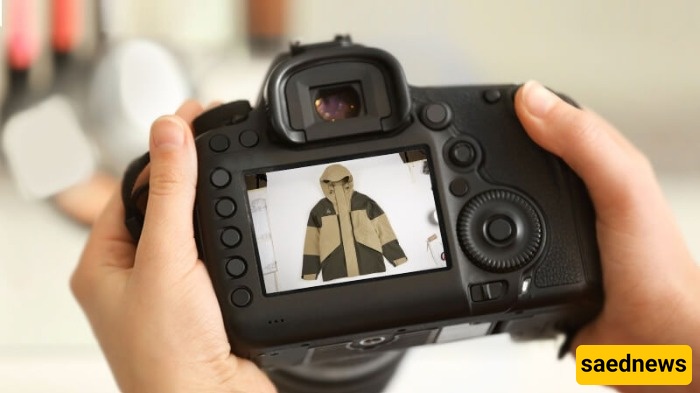
To increase sales, customers need to see the product from multiple angles and in different colors. In product photography training, never neglect photographing details, back views, and different dimensions of the product.
Providing a complete visual representation prevents disappointment and helps customers make confident purchase decisions.
Lighting is the most important part of product photography training, as it determines the final image quality. You have full control over lighting and can use two main types:
Flash lighting, which illuminates the scene instantly
Continuous lighting, which allows you to see results in real time
Proper lighting helps you capture product details accurately and gives your images a professional appearance.

For products where fine details matter—such as jewelry or small components—a macro lens is essential. This specialized lens allows extreme close-up shots, capturing textures and delicate features with high clarity.
Investing in a quality macro lens is an important step in advancing your home-based product photography skills and showcasing products professionally.
In product photography training, creativity can make your images more engaging and impactful. Display products in real-life environments or use relevant elements such as mannequins to help customers imagine themselves using the product.
Experiment with different angles and lighting setups to tell a visual story. This approach makes your products more appealing and desirable to potential buyers.