SAEDNEWS: In this article, you’ll learn about activating yeast, its different types, the ideal temperature, the step-by-step process, and the most common mistakes, so you can make light, aromatic bread with a perfectly soft texture at home.
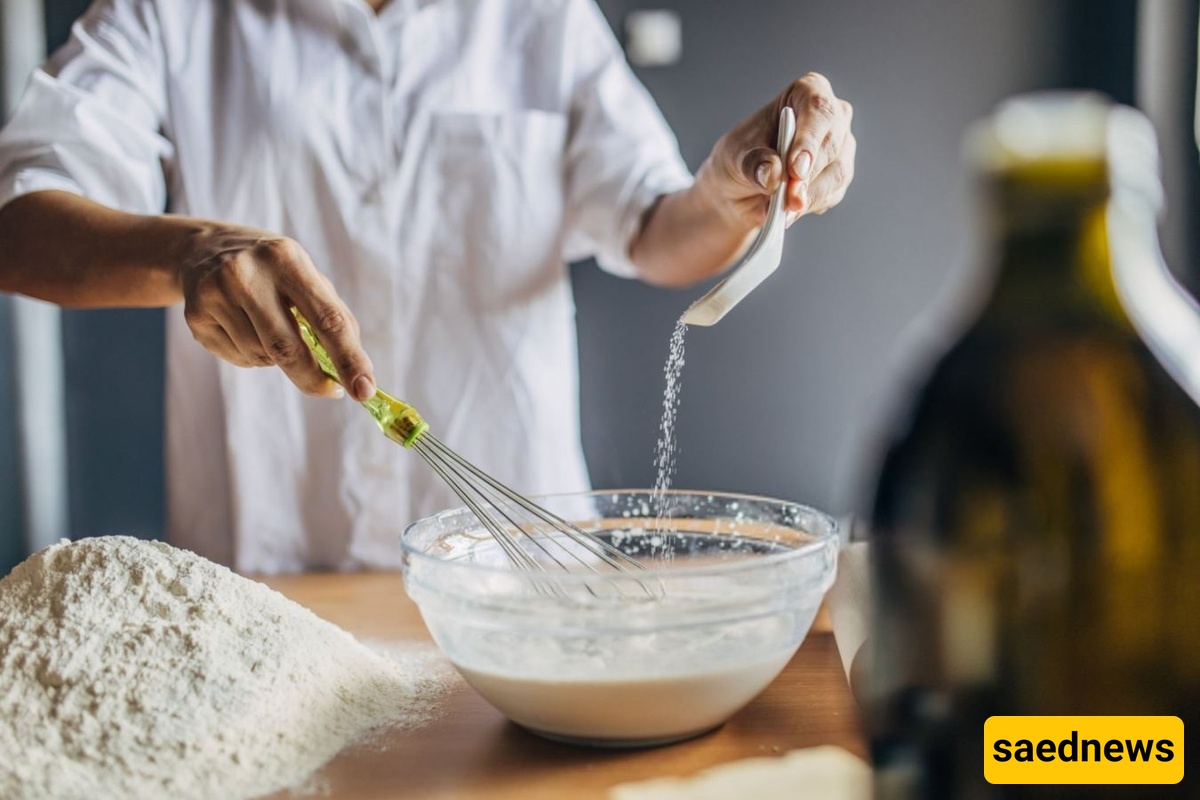
According to Saednews, Have you ever spent time making bread at home, only to end up with a loaf that is dense, tough, flat, and disappointing? If so, the problem may have been related to the yeast and the way it was prepared.
Yeast is a living microorganism that needs the right conditions to become active. One of the most important steps when making bread and other yeast-based doughs is activating the yeast. This simple but essential process helps ensure that the yeast is alive and ready to ferment the dough.
In this guide, we will explain the different types of yeast, when activation is necessary, the ideal temperature, the step-by-step method, and the most common mistakes. By following these guidelines, you can make light, fragrant bread with a soft and well-developed texture at home.
Not all types of yeast need to be activated in the same way. Identifying the type of yeast you are using is the first step toward getting reliable results.
Instant yeast has very small particles that absorb liquid quickly, so it generally does not require prior activation. It can usually be mixed directly with the flour and other dry ingredients.
However, some bakers prefer to test instant yeast in warm liquid before using it, particularly when they want to make sure the yeast is still fresh and active.
Active dry yeast generally benefits from being activated before it is added to the dough. Its larger granules have a protective outer layer that needs to hydrate before the yeast becomes fully active.
Dissolving it in warm liquid allows the yeast to begin working and makes it easier to determine whether it is still viable.
Fresh yeast, also known as compressed or cake yeast, contains a high percentage of moisture and becomes active relatively quickly. It can sometimes be crumbled directly into the dough, but dissolving it in a small amount of warm liquid is another reliable way to check its quality.
Useful tip: If you are unsure whether your yeast is still active, testing it before making the dough can save you from wasting flour and other ingredients.
You only need a few basic ingredients:
Yeast: About 7 grams, or approximately 2¼ teaspoons, which is the amount commonly found in a standard packet.
Warm liquid: Water or milk, about ¼ cup.
Sugar: About 1 teaspoon.
Sugar provides an easily available food source for the yeast and can help encourage activation. If your bread recipe already contains sugar, you can use some of the recipe's sugar instead. Only a small amount is necessary for testing the yeast.
Temperature is one of the most important factors when activating yeast. Liquid that is too hot can kill the yeast, while liquid that is too cold can significantly slow its activity.
For most dry yeast, aim for approximately 40–45°C (100–110°F). The liquid should feel comfortably warm rather than hot.
Fresh yeast generally works well with liquid around 30–35°C (86–95°F).
Liquid above approximately 50°C (122°F) can damage or kill yeast. If the yeast is exposed to excessively hot liquid, it may fail to produce bubbles or foam and should be replaced.
Cold liquid will not normally kill yeast, but it can make activation extremely slow. For the most reliable results, use a kitchen thermometer when possible.
Use a clean, dry glass or food-safe container that is free from grease and detergent residue. A small bowl, measuring cup, or glass works well.
Pour the warm water or milk into the container. Add the sugar and stir until it has dissolved completely.
Sprinkle the yeast over the surface of the liquid. Let it sit for a few seconds so that the granules can absorb some moisture.
Then gently stir until the yeast is evenly distributed throughout the liquid.
Leave the mixture in a warm, draft-free place for approximately 5–10 minutes.
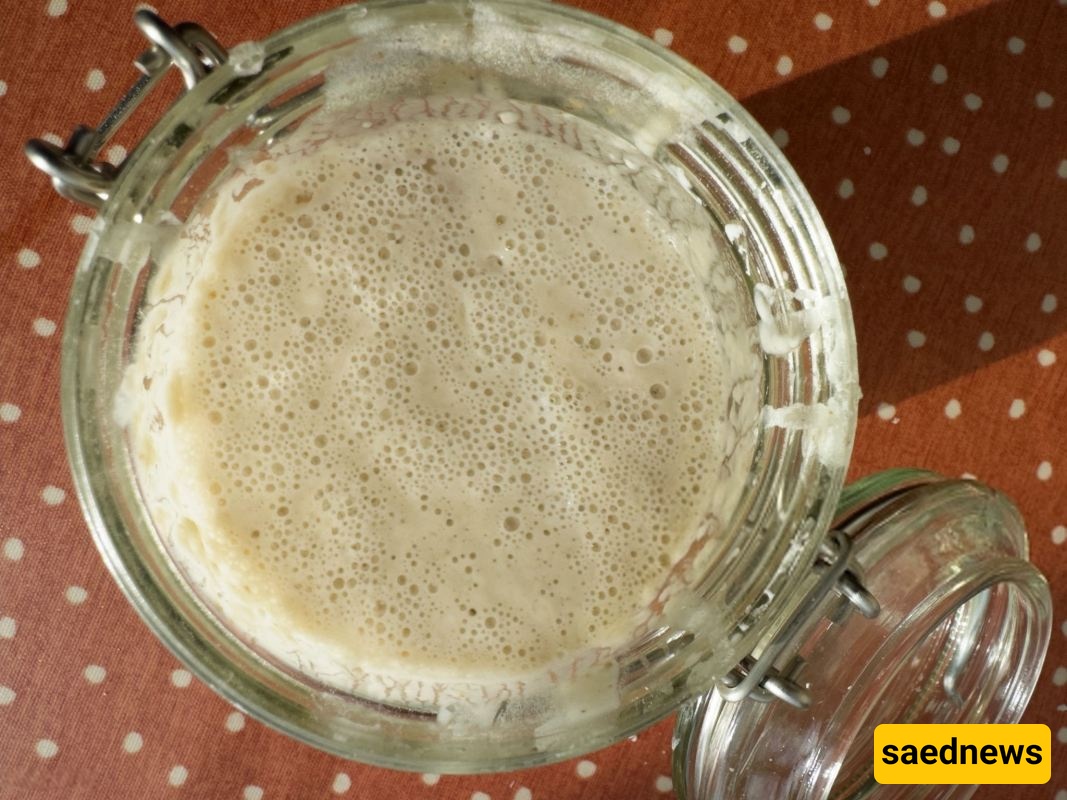
As the yeast becomes active, you should begin to see small bubbles forming on the surface. The mixture may also become slightly foamy and increase in volume.
Active yeast should produce visible signs of fermentation and have a pleasant, characteristic bread-like or yeasty aroma.
If there is no bubbling or foaming after about 10–15 minutes, the yeast may be inactive, expired, or exposed to an unsuitable temperature. In that situation, it is better to discard the mixture and start again with fresh yeast.
Once you see a light layer of bubbles or foam, the yeast is ready to use. There is no need to wait for an enormous amount of foam to develop.
Add the activated yeast to the remaining ingredients immediately and continue with your recipe.
Even though the process is simple, several mistakes can affect the final bread.
Excessively hot liquid can kill the yeast, preventing the dough from rising.
Cold liquid can slow yeast activity considerably and make the rising process take much longer.
High concentrations of salt can inhibit yeast activity. Instead of adding salt directly to the activation mixture, incorporate it with the flour and other dough ingredients according to the recipe.
Grease, food residue, or detergent left in the container can interfere with the process. Always use a clean container.
Once the yeast has been hydrated and activated, there is no need to stir it aggressively. Gentle mixing is sufficient.
Always check the expiration date and storage condition of your yeast. Old or improperly stored yeast may have lost much of its activity.
For a dependable result, use fresh yeast, warm—not hot—liquid, a small amount of sugar, and a clean container. Allow the mixture to rest for several minutes and look for visible bubbles or light foam before adding it to the dough.
The key is not simply to make the yeast foam as much as possible, but to confirm that it is alive and active. With the correct temperature and a few simple steps, you can avoid one of the most common causes of dense homemade bread and achieve a lighter, softer, better-risen loaf.