SAEDNEWS: Popsicle cakes are delightful ice cream–shaped treats that are perfect for special occasions such as birthdays, Valentine's Day, and celebrations. With just a few simple ingredients and easy steps, you can make these charming dessert cakes at home and customize them with your favorite flavors and decorations.

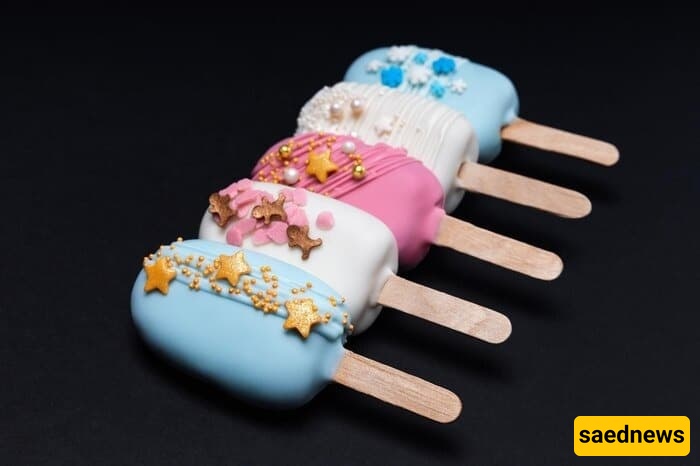
According to Saednews, Cake popsicles, also known as popsicle cakes, are individual chocolate-coated cakes served on a stick. They have become increasingly popular for birthdays, celebrations, gifts, and surprise treats. Made by combining crumbled cake with cream and coating the mixture in chocolate using a silicone popsicle mold, these elegant desserts are as delicious as they are visually appealing.
Ingredient | Amount |
|---|---|
Chocolate cake | 200 g |
Heavy cream | 100 g |
Colored chocolate (or candy melts) | 2 packs |
Milk or dark chocolate (optional) | As desired |
Popsicle sticks | As needed |
Silicone popsicle mold | As needed |
Crumble the chocolate cake into fine crumbs.
Add the heavy cream to the cake crumbs and mix thoroughly until you have a soft, smooth, dough-like consistency.
If desired, melt some milk or dark chocolate and mix it into the cake mixture for a richer flavor.
Chop the colored chocolate or candy melts into small pieces.
Melt them either:
In the microwave in short intervals (about 1 minute, stirring as needed), or
Over a bowl of gently simmering water using the double-boiler method.
Pour the melted chocolate into each cavity of the silicone popsicle mold.
Rotate the mold to coat every surface evenly, paying special attention to the edges. Make sure the chocolate layer is thick enough around the rim to prevent cracking later.
Insert the popsicle sticks through the holes in the mold before the chocolate hardens.
Refrigerate the mold for about 10 minutes until the chocolate shell is firm.
Remove the mold from the refrigerator and carefully remove the popsicle sticks.
Apply another layer of melted chocolate. Work quickly because the chilled mold causes the chocolate to set rapidly.
Place the mold in the freezer for another 10 minutes to allow the chocolate shell to become fully firm.
Fill each chocolate shell with the prepared cake mixture.
Insert the popsicle sticks back into place.
Smooth the cake mixture evenly without overfilling, leaving enough room for the final chocolate layer.
Pour melted chocolate over the top to seal each popsicle and smooth the surface with a spatula.
Clean any excess chocolate from the edges of the mold.
Refrigerate for another 10 minutes until completely set.
Carefully remove the cake popsicles from the silicone mold.
Decorate them with your favorite toppings such as:
Drizzled melted chocolate
Sprinkles
Sugar pearls
Edible glitter
Chocolate letters or molded decorations
Your cake popsicles are now ready to serve or package as beautiful homemade gifts.

Use a high-quality silicone popsicle mold for the best results.
Colored candy melts or chocolate are available in a wide variety of colors, allowing you to customize your desserts for different occasions.
Homemade cake works perfectly, but store-bought cake can also be used.
Choose any cake flavor you like, including vanilla, chocolate, red velvet, lemon, or carrot cake.
Crushed wafer cookies can be used instead of cake for a different texture.
Add sliced bananas, chopped nuts, or other fillings to create unique flavor combinations.
Avoid overfilling the mold with cake mixture so the top chocolate layer can seal properly.
There is no need to grease the silicone mold.
If the cake mixture seems too dry, simply add a little more heavy cream until it reaches a soft, moldable consistency.