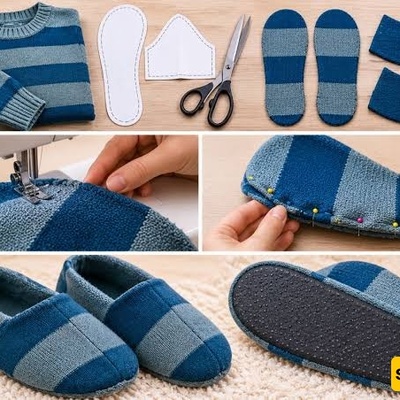
SAEDNEWS: Learn how to transform an old knitted sweater into beautiful, comfortable homemade slippers with this easy step-by-step tutorial using simple materials.
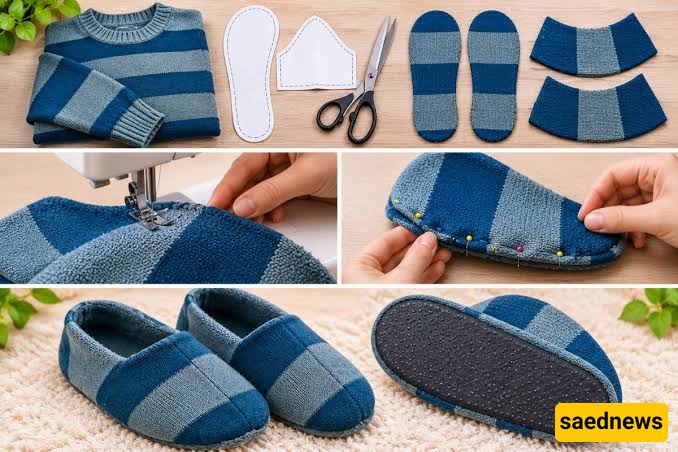
According to Saednews, If you have an old knitted sweater that you no longer wear, don't throw it away! With a little creativity, you can transform it into a beautiful, warm, and comfortable pair of homemade slippers.
Making these soft and cozy slippers requires only a few basic materials and a little patience. Follow this step-by-step tutorial to learn how to turn an old sweater into a practical pair of handmade slippers, perfect for keeping your feet warm during the colder months.
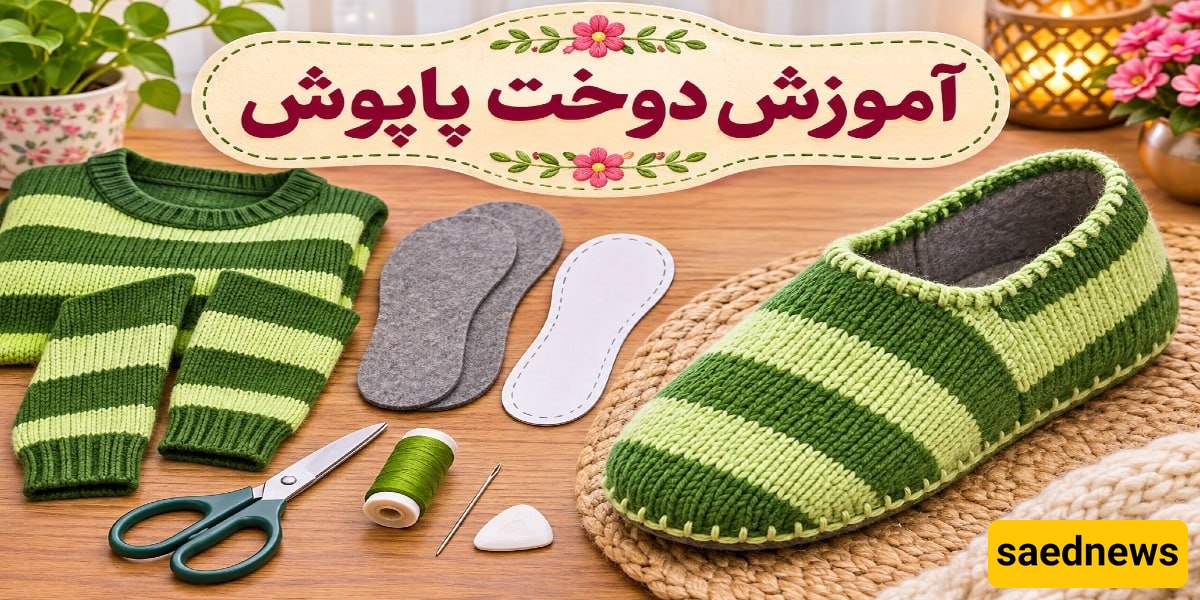
An old knitted sweater
A shoe insole to use as a template for measuring
Thick felt fabric to make four insoles (two for each slipper)
Sharp fabric scissors
Thread matching the fabric
A sewing needle
Sewing pins to hold the fabric pieces in place
A pencil or tailor's chalk for marking
Follow the instructions carefully and use the accompanying pictures as a guide. Each step includes useful tips to help you achieve the best results.
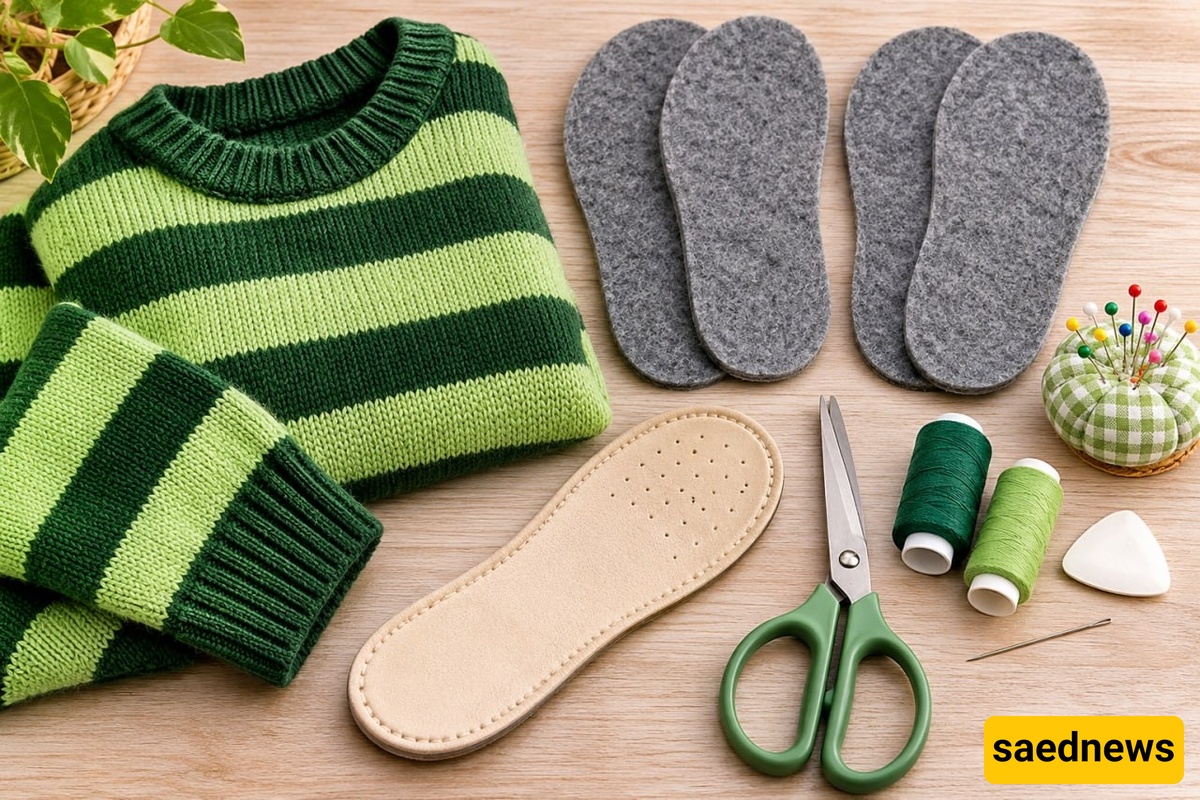
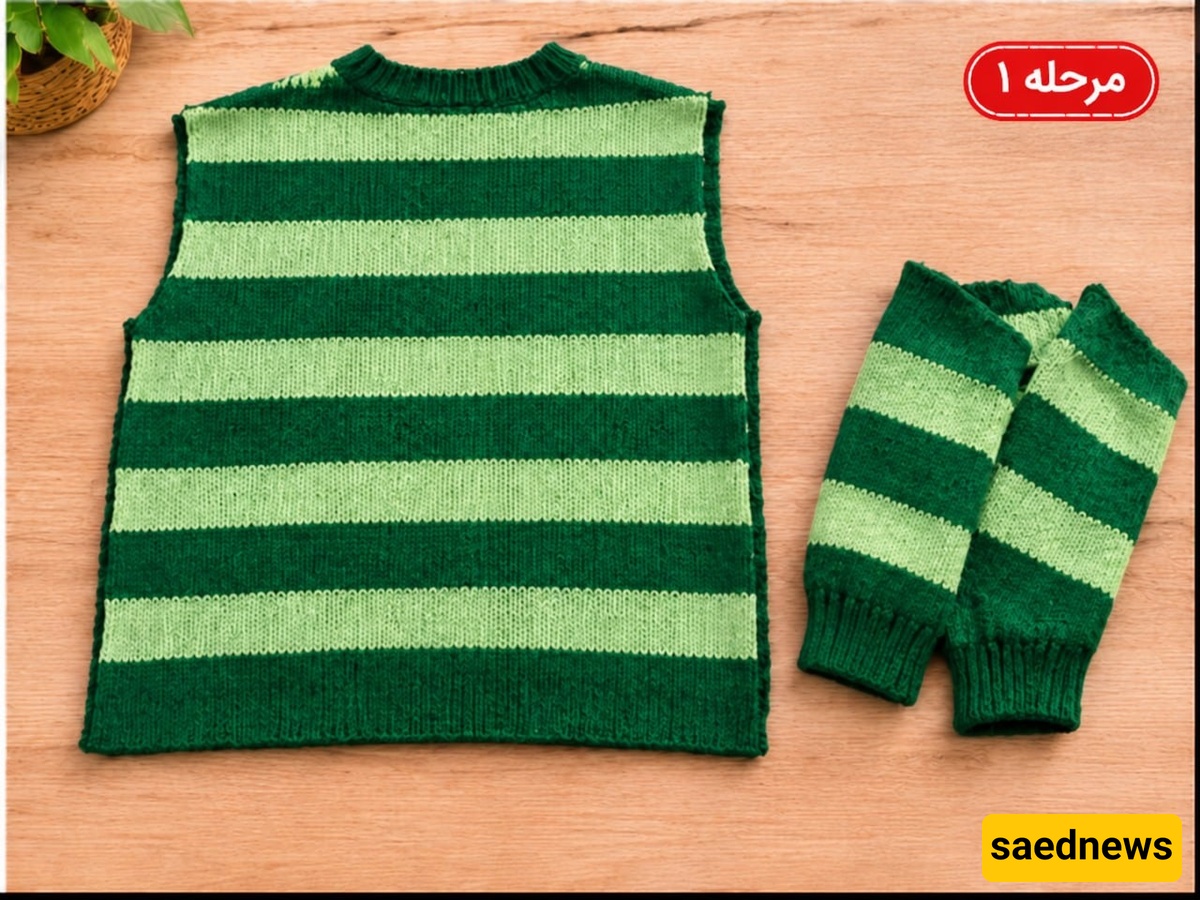
First, choose an old sweater with a relatively thick knit. Using scissors, cut off the sleeves and then cut along the side seams to separate the front and back sections of the sweater.
You will only need one layer of knitted fabric, either the front or the back, to make the slipper soles.
Lay the fabric flat on a table and smooth out any wrinkles by hand so it is ready for measuring and cutting.
Keep the sleeves aside as well, because you will need them later to make the upper parts of the slippers.
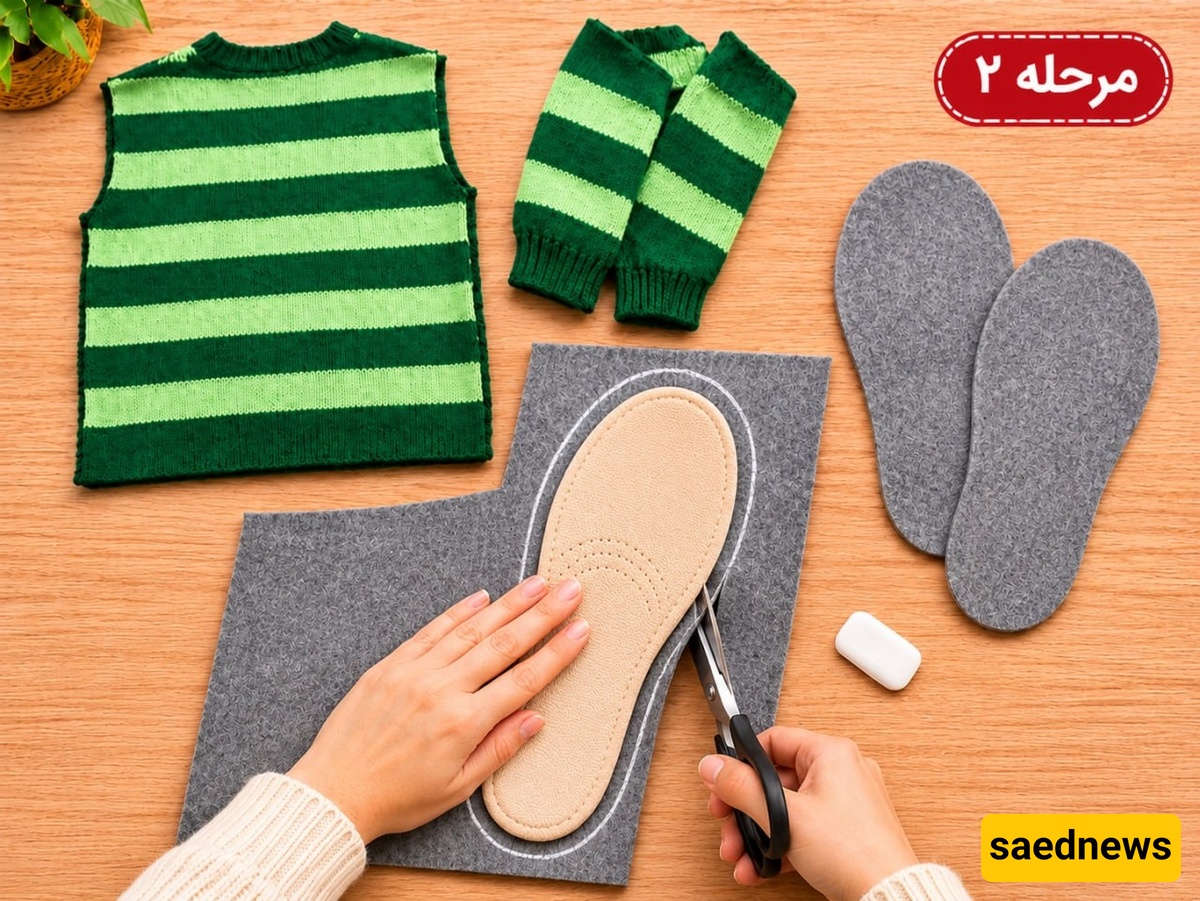
Take an insole from a pair of shoes that fits your feet comfortably and place it on the grey felt fabric.
Using tailor's chalk, trace around the outline of the insole.
Repeat this process to create two felt soles for the right foot and two for the left foot.
Make sure the shapes correspond correctly to the right and left feet.
Finally, carefully cut out all four felt pieces along the marked lines.
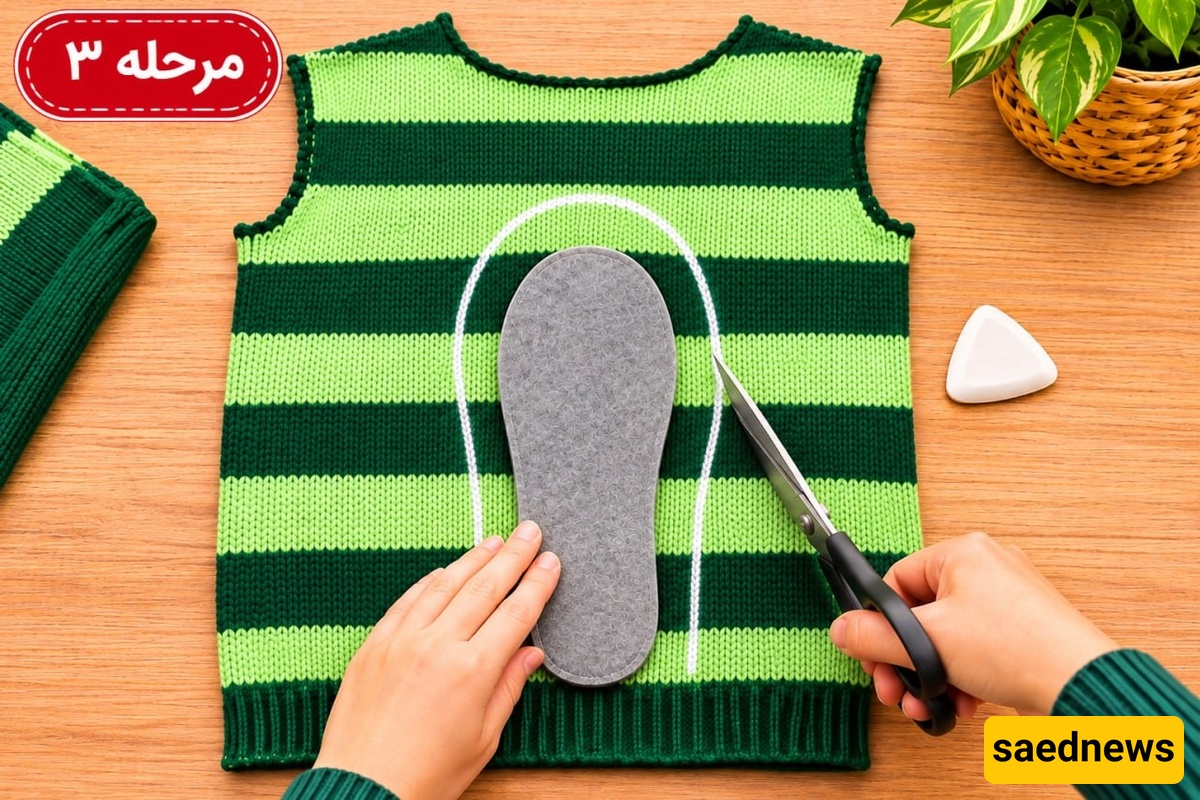
Take the front and back sections of the sweater that you separated earlier and remove the neckline completely.
For this step, you only need one layer of knitted fabric, either the front or the back section.
Spread the fabric flat on a table and place the shoe insole near the bottom edge of the sweater, close to the ribbed hem.
Make sure to preserve the ribbed hem, as you will need it later to shape the back of the slippers.
Using scissors, cut around the insole, leaving approximately 2–3 cm (¾–1¼ inches) of extra fabric around the edges.
This extra material will be needed to fold the edges and sew the sole together in the following steps.
Do not cut the knitted fabric to the exact size of the insole.
From this point onward, the instructions will demonstrate how to make one slipper. Simply repeat the same steps for the other foot.
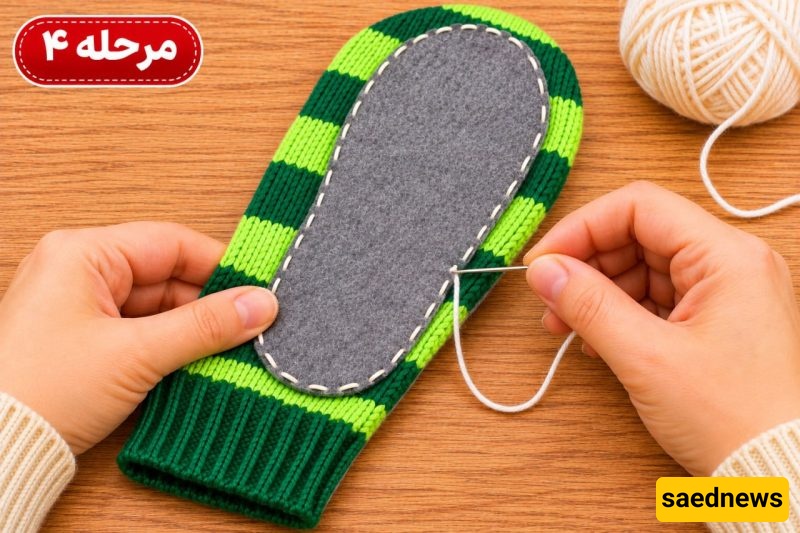
Place the knitted fabric piece you cut in the previous step on your work surface.
Position one felt insole underneath the knitted fabric and the second felt insole on top of it. Make sure both felt pieces are perfectly aligned, with the knitted fabric sandwiched between them.
Using a needle and thread, sew around the edges of the two felt insoles, attaching all three layers together.
Important tips:
Leave the ribbed hem at the bottom of the sweater unsewn. This section will eventually form the back of the slipper around the heel.
Do not trim away the excess knitted fabric around the insole. You will need this extra material to shape and finish the slipper in the next steps.
Set aside the piece with the felt insoles attached.
Take one of the green striped sweater sleeves and cut a section from the lower part of the sleeve, close to the ribbed cuff.
This piece will form the upper section that covers the top of your foot.
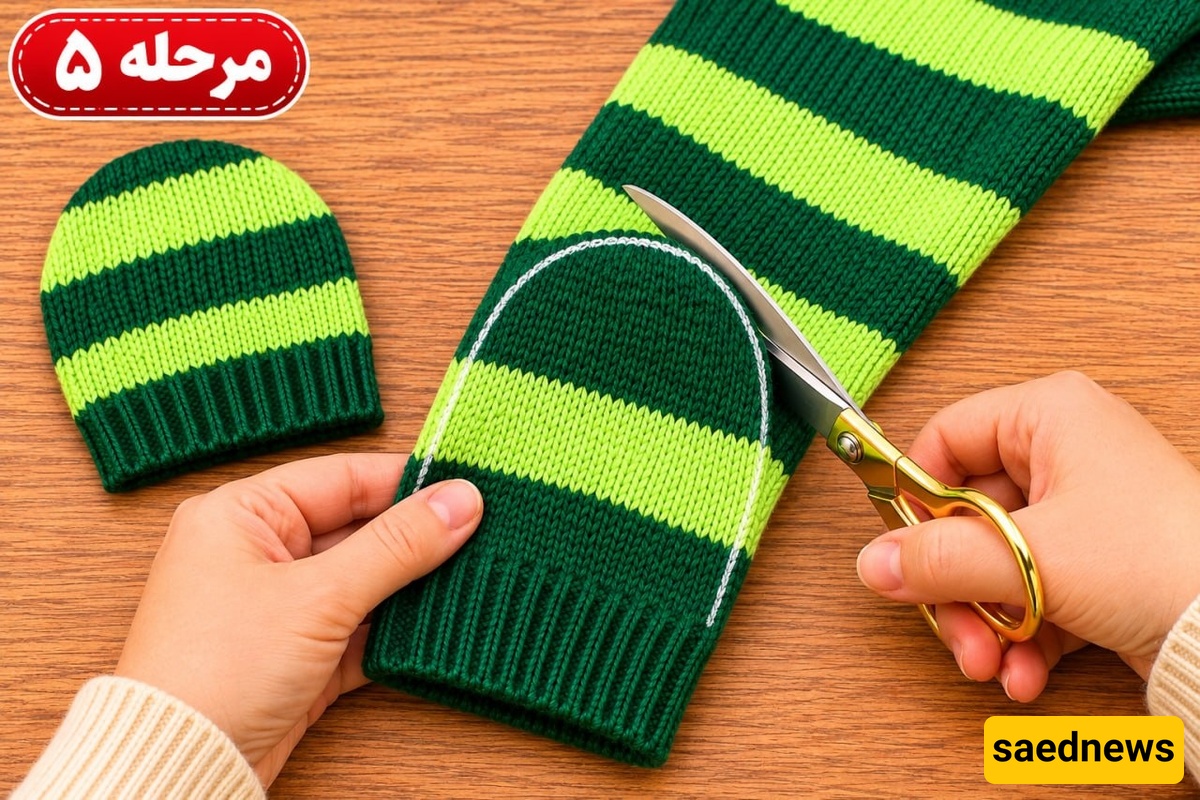
Take one of the knitted pieces you cut from the sweater sleeve in the previous step.
Position it over the front section of the right slipper.
The rounded part of the fabric should cover the toe area, while the ribbed cuff should face the heel and form the opening of the slipper.
Using a needle and thread, sew the rounded edge and sides of the knitted piece to the edges of the slipper sole.
Make sure the upper section is securely attached.
Keep the ribbed cuff opening free so that you can easily slip your foot inside.
Repeat the same process with the second knitted piece to make the upper section of the left slipper.
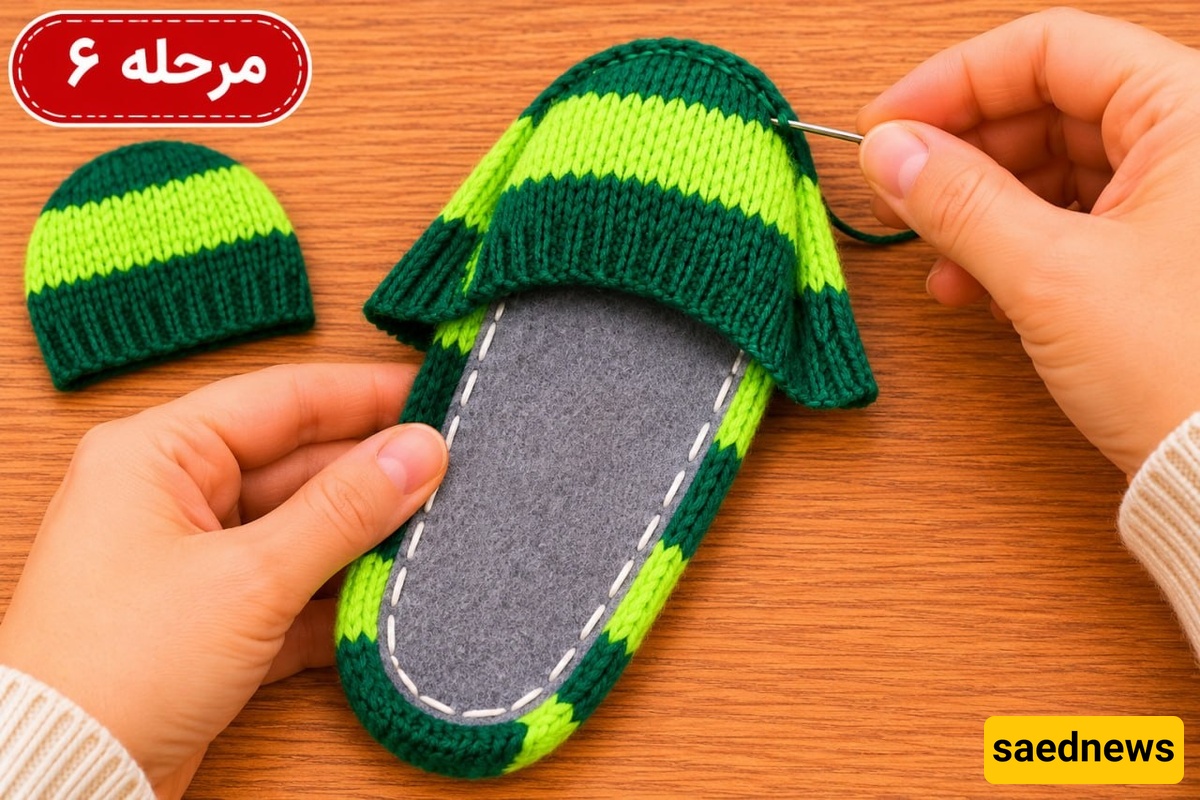
Now fold the excess knitted fabric around the edges of the sole inward.
Using a needle and thread, sew all the way around the slipper to securely attach the upper section, sides, and heel to the sole.
As you sew, gently gather the fabric where necessary to help the slipper maintain its shape and create neat, even edges.
Make sure the foot opening remains open and that the ribbed section at the back of the heel is properly shaped.
Finally, repeat the same process for the second slipper.
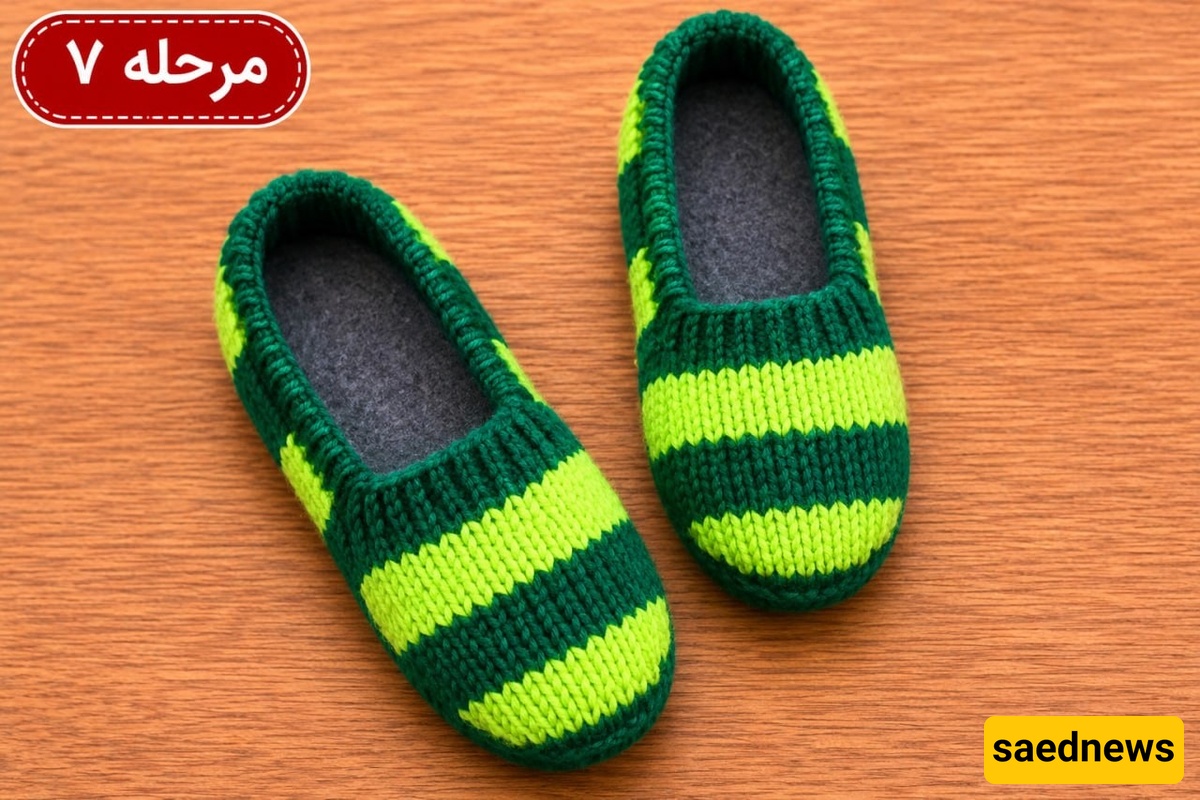
Your beautiful, warm, and comfortable pair of handmade knitted slippers is now ready!