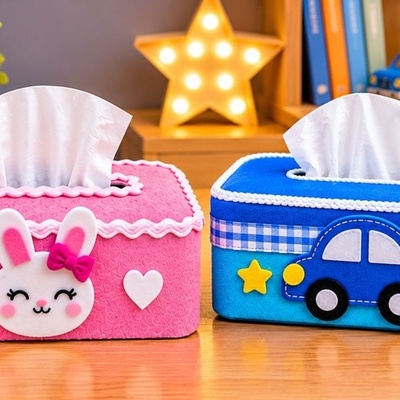
SAEDNEWS: Create a Cute DIY Tissue Box Holder for a Kids’ Room Using Fabric and a Plastic Container
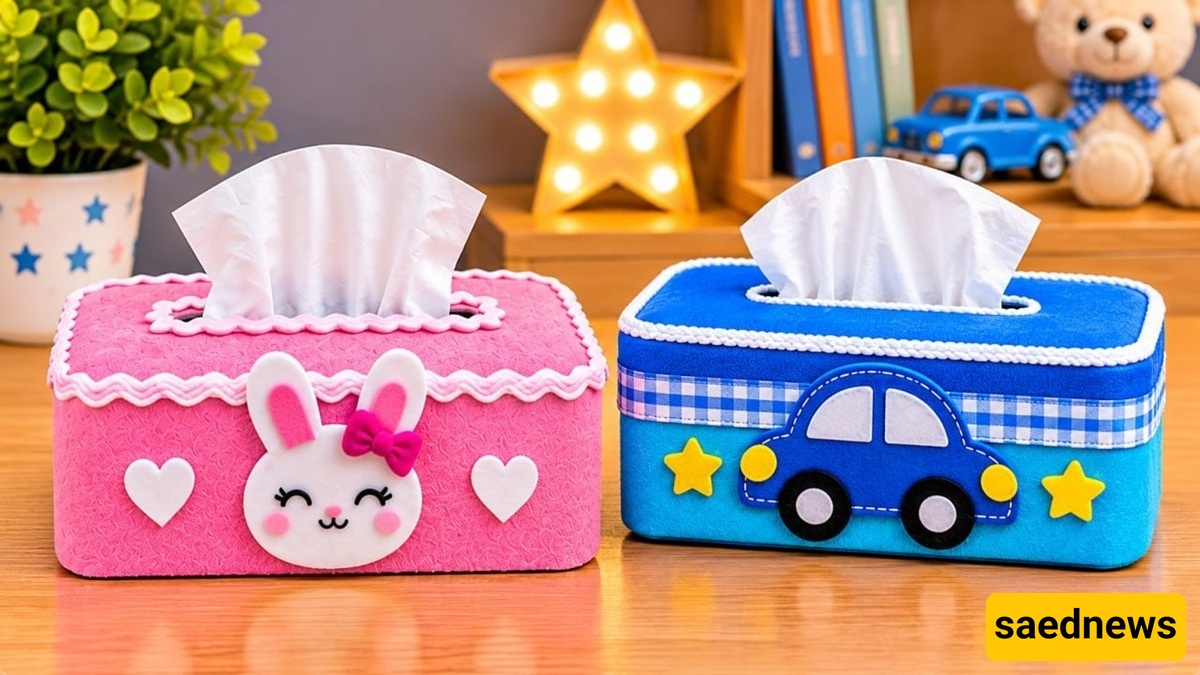
Accordiong to Saednews, Creating a beautiful and decorative tissue box holder is easy. All you need is a plastic container with a lid that is large enough to hold a pack of tissues. Even an old plastic box that you no longer use can be transformed into a charming and practical tissue holder for a child's room!
This simple, budget-friendly DIY project does not take much time, and the finished result is truly rewarding. In this step-by-step tutorial, you will learn how to make a fabric-covered tissue box holder and turn an ordinary discarded container into something useful and attractive with a little creativity.
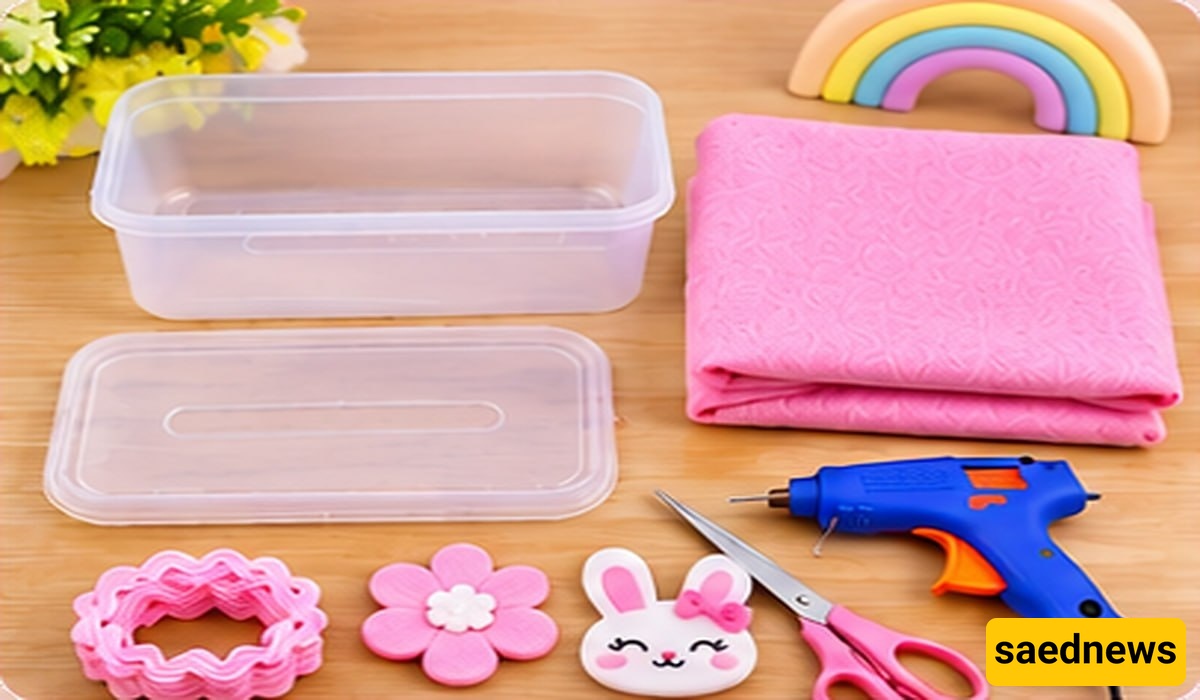
You will need a few simple materials, most of which you may already have at home. An unused plastic container with a lid is perfect for this upcycling project.
A rectangular plastic container with a lid
Scissors
Hot glue gun
Felt fabric in your preferred colors and patterns, or another suitable fabric
Decorative ribbon or thin colored foam sheets
Stickers and other embellishments of your choice
Choose a fabric that is easy to cut and can be attached smoothly to the surface of the container. For a child's room, colorful fabrics featuring animals, flowers, stars, or cartoon characters are especially lovely choices.
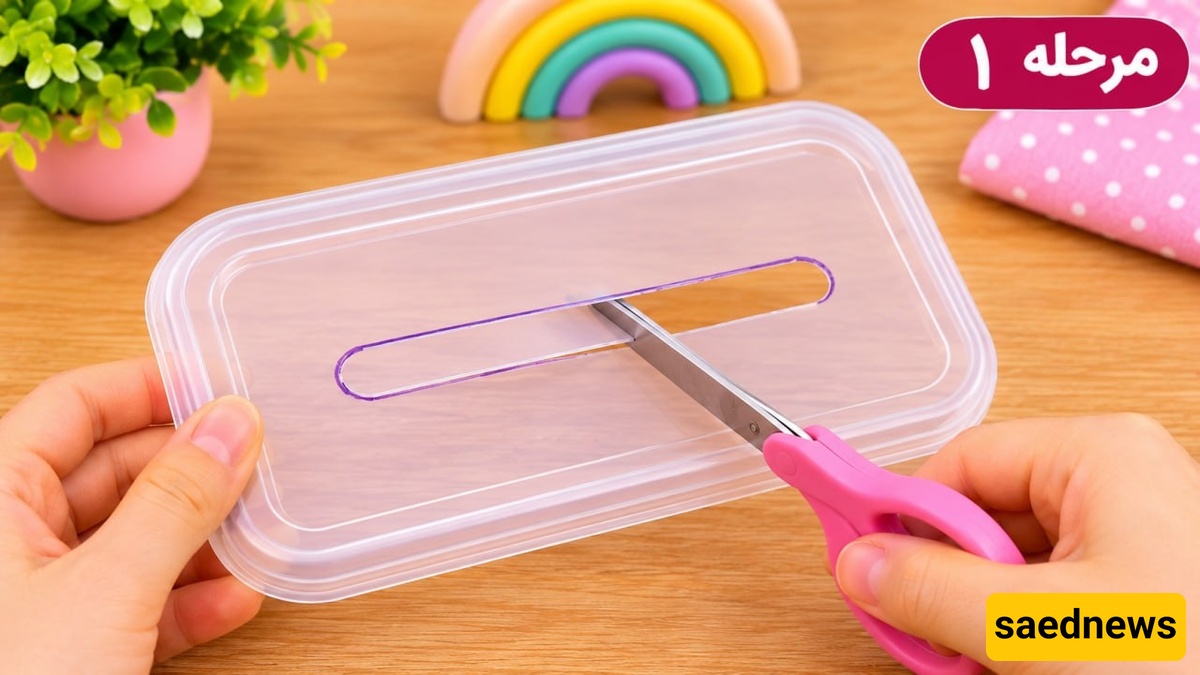
First, remove the lid from the plastic container. Mark a narrow, elongated opening in the center, making sure it is wide enough for tissues to be pulled out easily.
Carefully cut along the marked area using scissors or a suitable cutting tool. Make sure the edges are smooth and free of sharp sections.
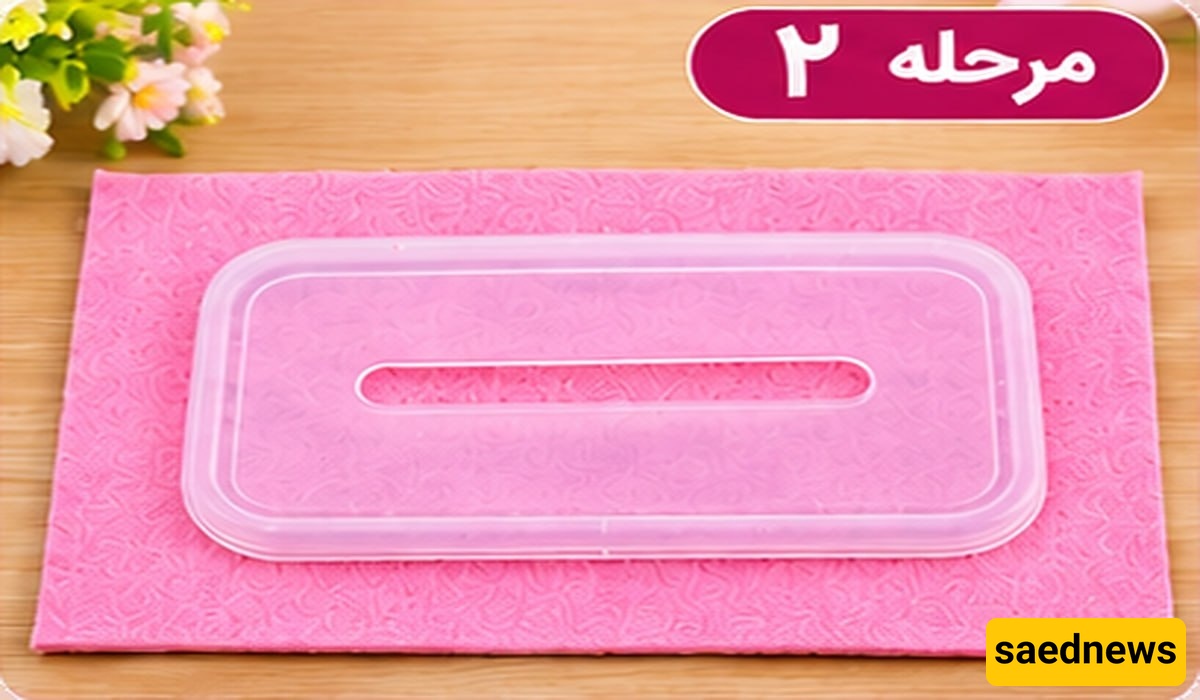
Measure the lid and cut a piece of fabric large enough to cover its entire outer surface.
Cut the fabric slightly larger than the lid so you have enough material to fold the edges underneath and secure them neatly.
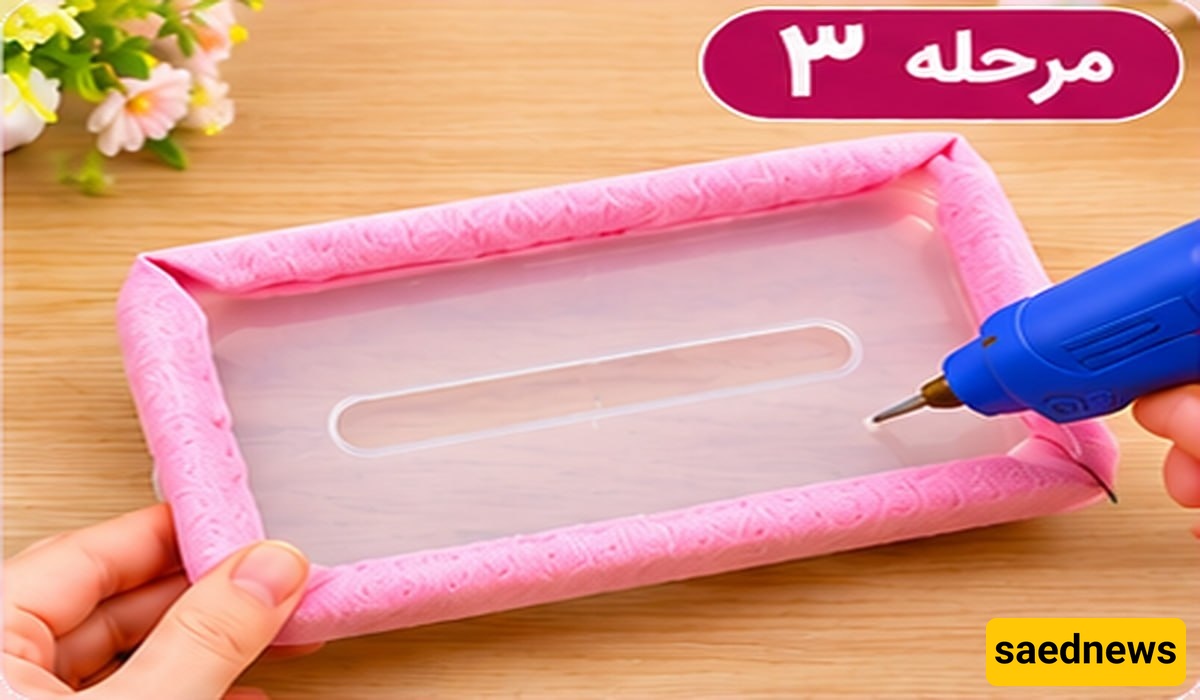
Place the fabric over the lid and fold its edges inward.
Use a hot glue gun to secure the folded fabric to the underside of the lid. Keep the fabric stretched and smooth while gluing to prevent wrinkles or creases.
Trim away any excess fabric with scissors.
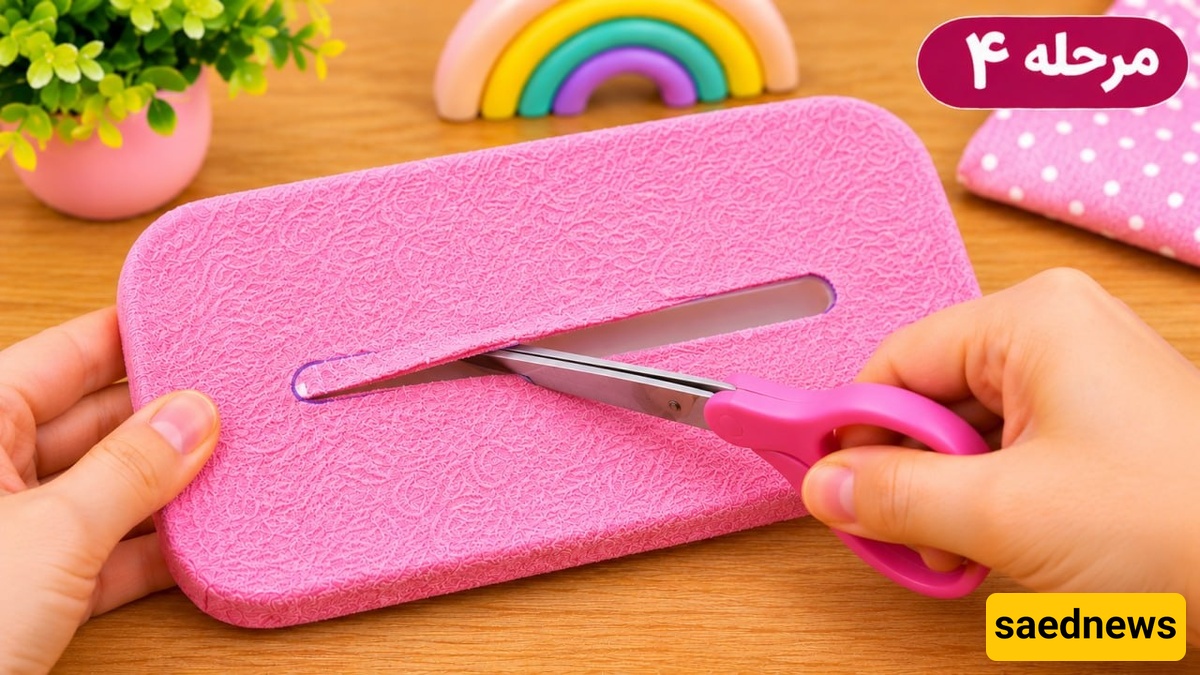
Locate the opening you previously cut into the lid and mark the same position on the fabric.
Cut a small opening through the fabric, then fold the edges inward through the hole. Secure them with hot glue to create a neat finish around the tissue dispenser opening.
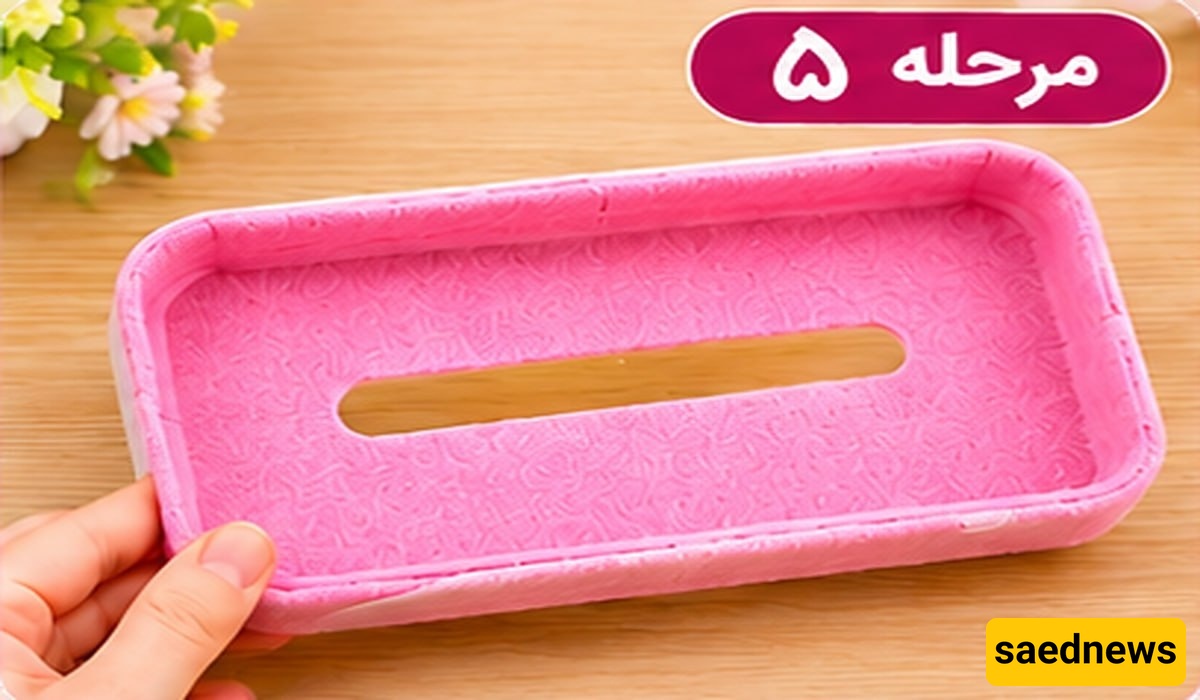
Cut another piece of fabric to fit the inner surface of the lid.
Glue it into place to conceal the folded fabric edges and glue marks from the previous steps. This will give the underside of the lid a clean and polished appearance.
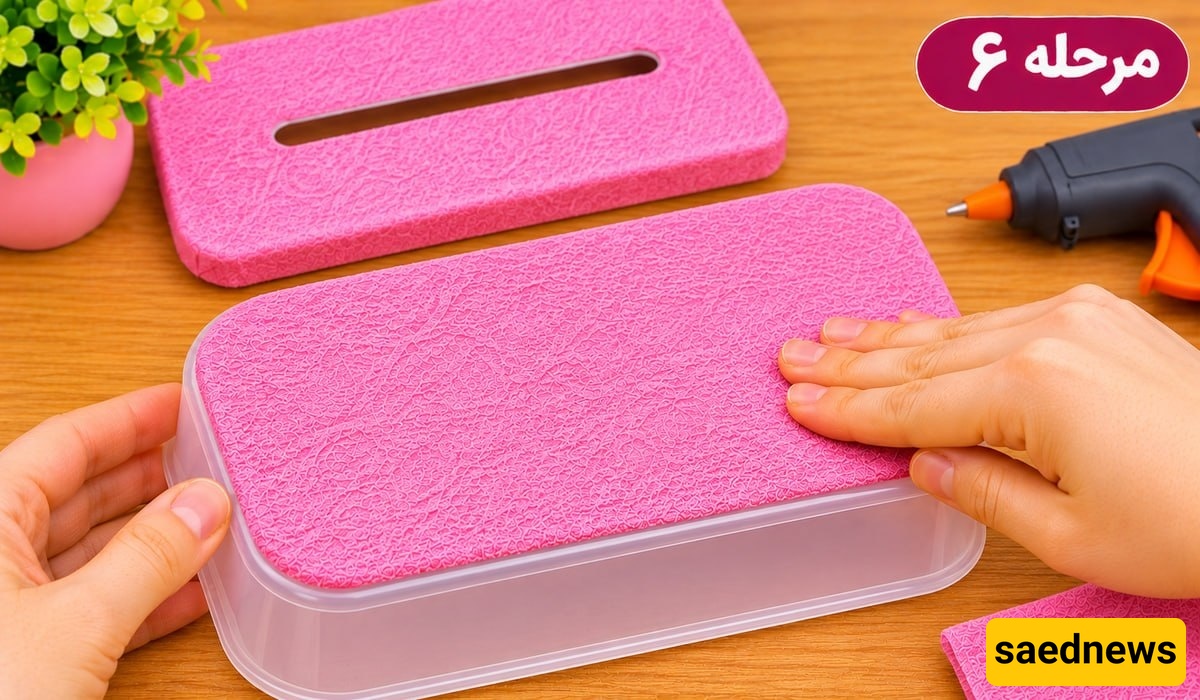
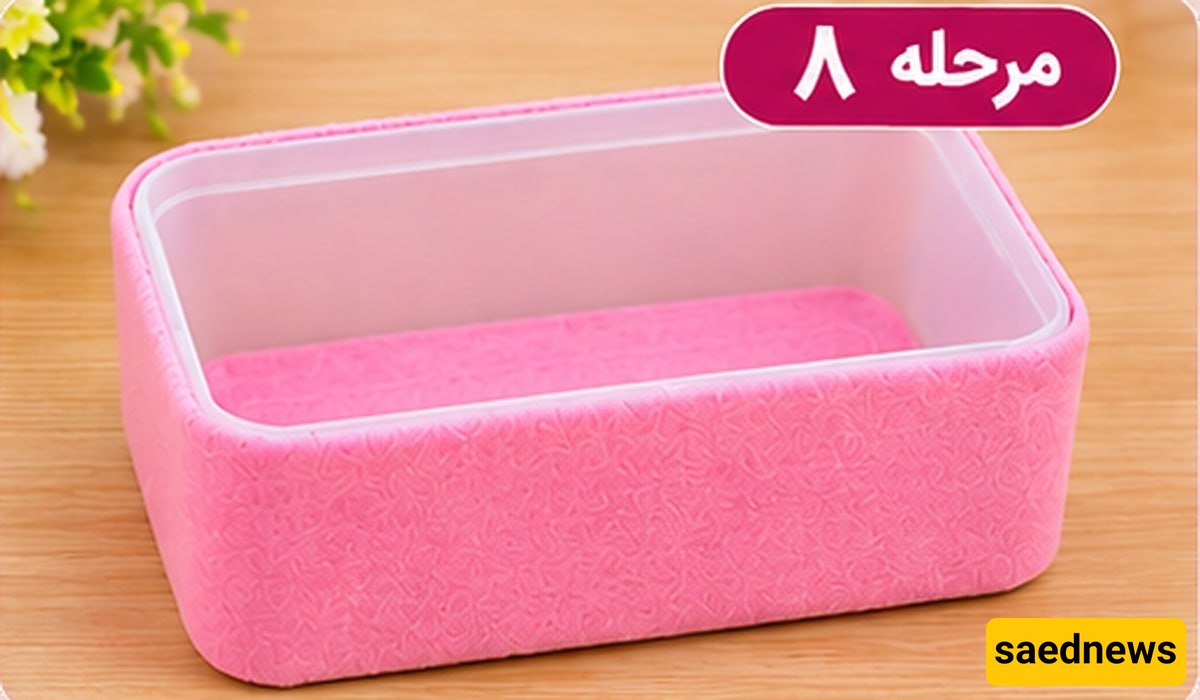
To decorate the container, first measure its bottom surface and cut a piece of fabric to the appropriate size.
Apply hot glue to attach the fabric to the bottom, then smooth it out with your hands to ensure it lies flat.
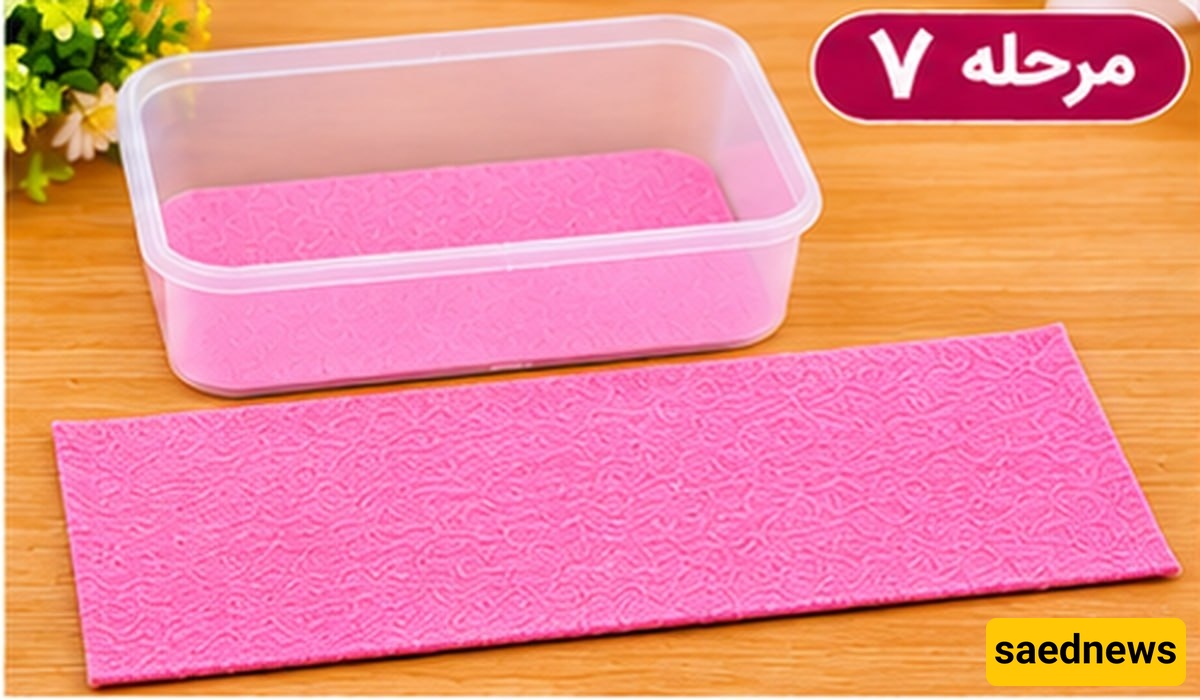
Measure the height and circumference of the container.
Cut a strip of fabric large enough to cover all the outer side walls. Leave a little extra fabric so you can fold the edges neatly toward the inside and underneath the container.
Wrap the fabric around the container, starting by securing its upper edge along the rim with hot glue.
Gradually pull the fabric around the sides, smoothing it as you go to prevent wrinkles.
Finally, glue the lower edge of the fabric to the bottom of the container and trim any excess material for a tidy finish.
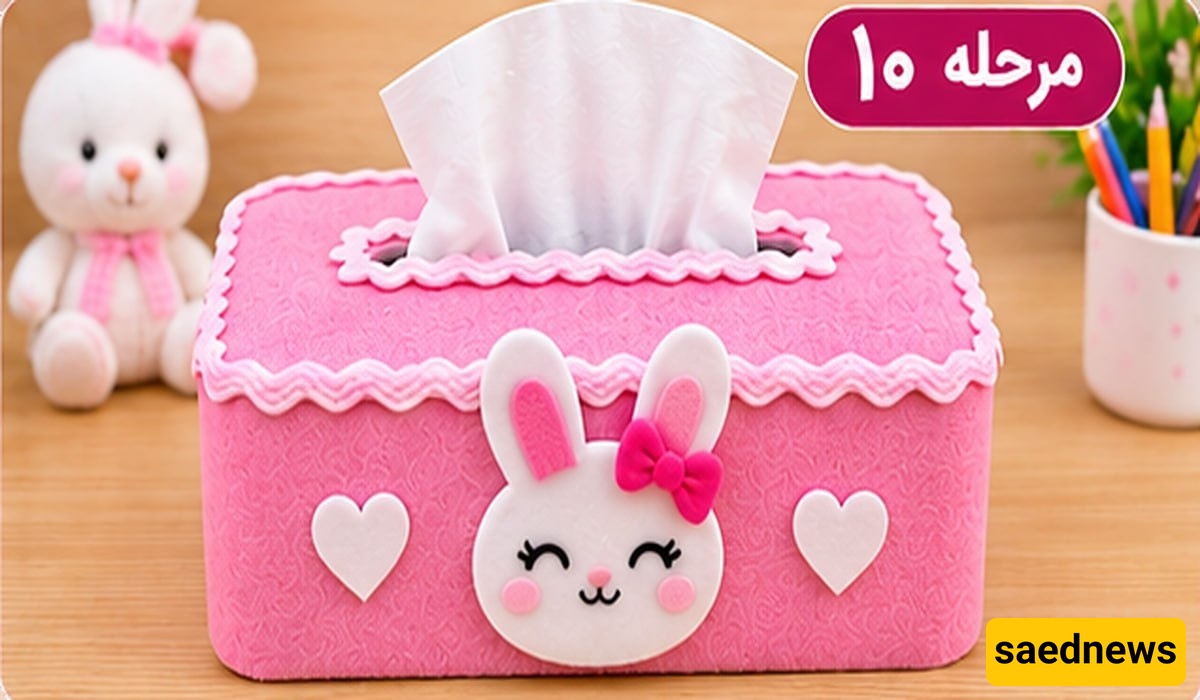
To make your tissue holder look more attractive, decorate the edges of the lid and the tissue opening with decorative ribbon or thin colored foam strips.
You can choose a contrasting color to make the design stand out.
Use ribbon or foam to cover any uneven fabric edges, visible glue marks, or areas where the fabric has not been attached neatly.
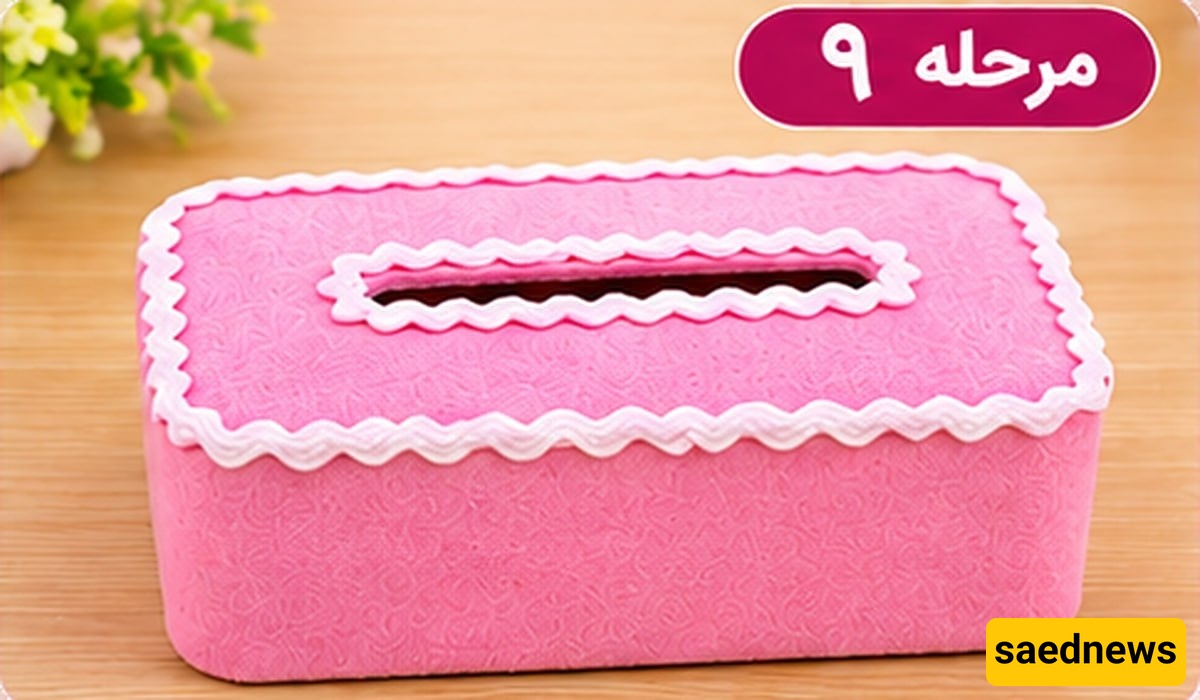
Finally, personalize your tissue box holder with stickers, fabric flowers, bows, or other small decorative accessories.
Choose colors and embellishments that complement the overall decoration of your child's room.
Once the glue has completely dried, place the tissues inside the container and close the lid.
Your beautiful handmade fabric tissue box holder is now ready to use!