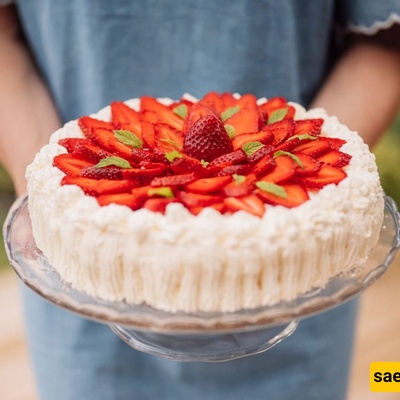
SAEDNEWS: Cream cake is one of the most popular desserts, and by following the right techniques and baking principles, you can make a homemade version with the same quality as a professional bakery.
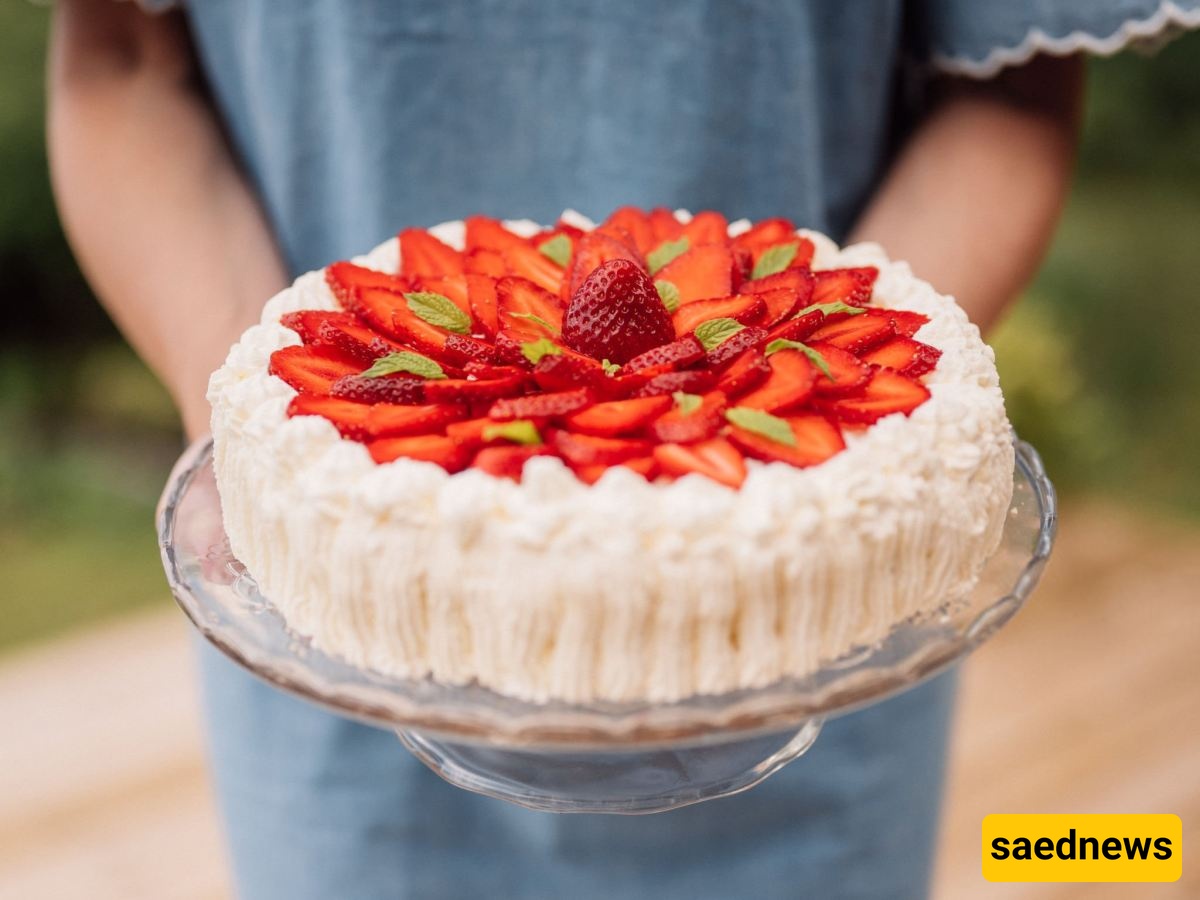
According to Saednews, Cream cake is one of the most popular and beloved desserts worldwide. With its soft texture, delicious flavor, and elegant appearance, it is a favorite choice for birthdays, celebrations, and special occasions. In this guide, we will explain how to make a homemade cream cake step by step, using simple yet detailed instructions. Even beginners can achieve bakery-style results by following the right techniques.
Before decorating your cake, it is important to understand that successful frosting starts with a well-prepared cake base. The cake should have a light, fluffy, and spongy texture while remaining firm enough to support the cream.
If the cake is too dry, it may not absorb moisture properly. On the other hand, an overly moist cake can lose its structure and become unstable.
To prepare the perfect cake base, keep these tips in mind:
Ingredient temperature: Eggs should be at room temperature to achieve better volume when beaten.
Sifting the flour: Sift the flour several times to create a lighter, smoother texture.
Complete cooling: Allow the cake to cool completely after baking. Applying cream to a warm cake will cause it to melt.
Using a suitable cake pan lined with parchment paper will also make it easier to remove the cake and provide a smooth surface for frosting.
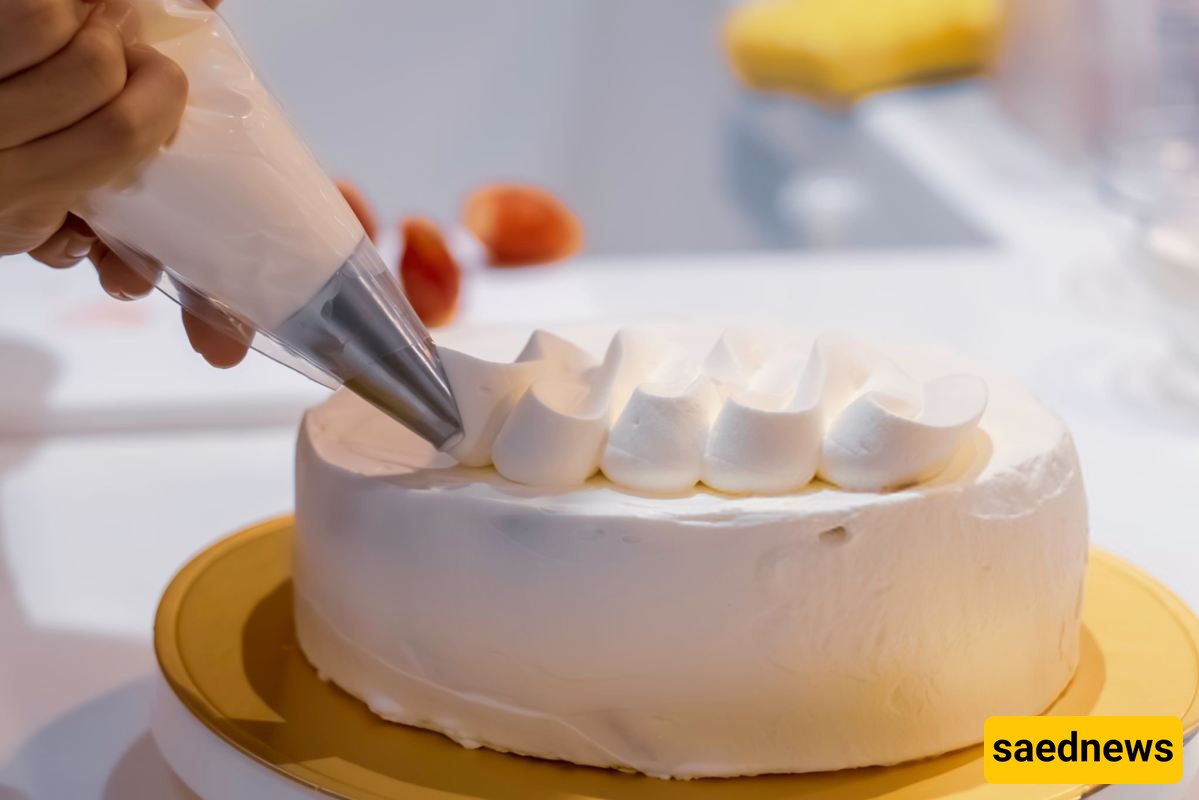
Before making a homemade cream cake, prepare all the necessary ingredients and equipment.
The main ingredients include flour, sugar, eggs, vanilla extract, baking powder, and oil or butter. For the frosting, you will need whipping cream or high-fat pastry cream, which should be thoroughly chilled before use. Powdered sugar and your preferred flavoring can also be added to enhance the taste.
Essential equipment includes:
Cake pan
Electric or hand mixer
Cake frosting spatula
Cake turntable (preferably)
Piping bags and decorating nozzles
Kitchen scale for accurate measurements
Having these tools ready will make the cake-making process easier, more precise, and more enjoyable.
Many people believe that an attractive cake depends entirely on having the right tools. However, decorating skills and an understanding of proper techniques are even more important.
Achieving smooth, professional-looking frosting requires patience and practice. Before applying the final layer of cream, cover the cake with a thin preliminary layer known as a crumb coat. This layer traps loose cake crumbs and prevents them from appearing in the final frosting.
Here are some essential frosting techniques every beginner should know:
Whipping the cream: The cream should be whipped until it holds its shape, but it should not become excessively stiff. Overwhipping can cause the cream to separate and develop a grainy texture.
Room temperature: Work in a cool environment to keep the cream stable. During warmer weather, place the mixing bowl in the refrigerator for a few minutes before whipping.
Consistent movement: Rotate the cake turntable slowly and evenly. Rushing can result in an uneven frosting surface.
Steady hand pressure: Maintain consistent pressure when using the frosting spatula to achieve an even layer of cream across the cake.
Following these techniques can help beginners create a beautifully finished cake. To frost the sides, hold the spatula at an appropriate angle, then use a straight spatula to smooth the top surface.
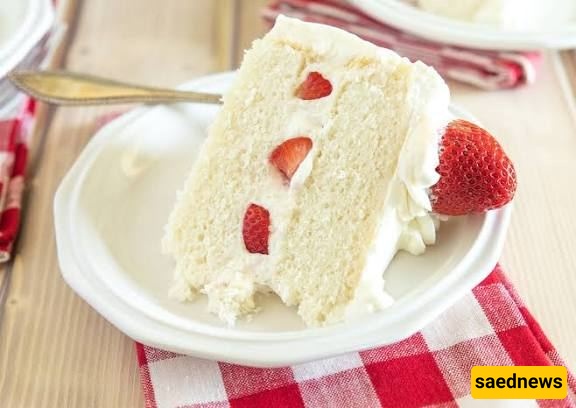
Making a birthday cream cake requires attention to detail, creativity, and proper timing.
Follow these steps to achieve the best results:
1. Prepare the sponge cake: Bake a sponge cake according to your preferred recipe. Once completely cooled, divide it into several equal layers using a serrated knife or cake-leveling tool.
2. Add the filling: Spread your preferred filling between the cake layers. Popular choices include whipped cream, fresh fruit, and chocolate. Avoid adding too much filling, as excessive amounts may cause the layers to slide apart.
3. Refrigerate the cake: After assembling the layers, place the cake in the refrigerator for at least 30 minutes to help it set and maintain its structure.
4. Apply the final frosting: Cover the entire cake with whipped cream. Complete the decoration using piping nozzles or modern cake-design techniques.
When each step is performed correctly, your cake can look just as beautiful as those displayed in professional bakeries.
Whipped cream plays an essential role in a cake's appearance, texture, and flavor. Understanding why whipped cream becomes runny, how to whip it correctly, and how to achieve a firmer consistency will help you create more professional-looking cakes.
To achieve the best results when making a cream cake, keep these important points in mind:
1. Do not overwhip the cream: If the cream begins to separate or release liquid, its texture may be difficult to restore. Always whip at medium speed and stop once the cream holds its shape.
2. Let the cake cool completely: Never apply whipped cream to a warm cake.
3. Choose high-quality cream: Pastry whipping cream with approximately 30–35% fat generally produces excellent results.
4. Be patient: Refrigerate the cake between frosting and decorating stages to allow the cream to firm up.
5. Keep the environment cool: On hot days, prepare and decorate your cake in a cool room or near an air conditioner.
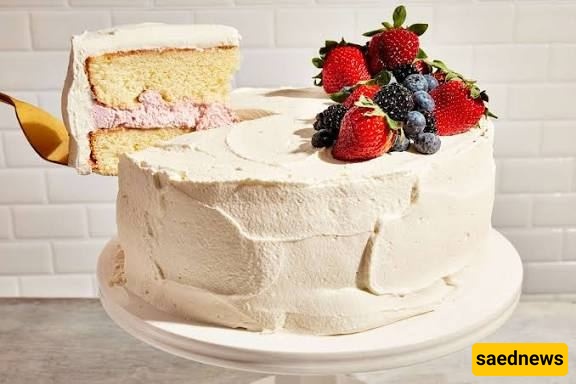
Cream cakes should always be stored in the refrigerator. Place the cake in an airtight container to prevent the cream from absorbing odors from other foods.
A homemade cream cake can generally be refrigerated for 2–3 days, provided it has been handled and stored safely.
For longer storage, you can freeze the cake. When you are ready to serve it, transfer it to the refrigerator and allow it to thaw gradually. This helps preserve its texture and appearance.
Making a delicious and attractive cream cake at home is not as difficult as it may seem, provided you follow the correct techniques and pay attention to detail.
From selecting high-quality ingredients and preparing the perfect sponge cake to mastering professional frosting techniques and adding the final decorative touches, every stage contributes to the overall result.
With patience and practice, you can create a simple yet elegant cream cake that impresses your guests with both its flavor and appearance.
We hope this complete guide to making a cream cake has helped you understand the process and given you the confidence to try it yourself. Put on your apron, prepare your ingredients, and start baking. Your homemade creation could become the highlight of your next celebration!