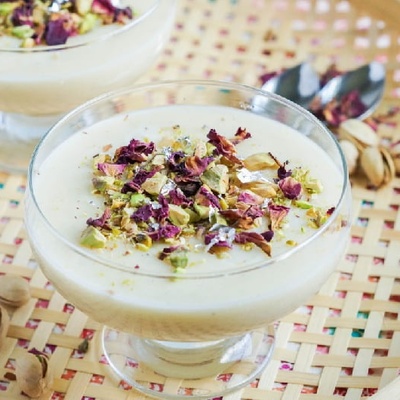
SAEDNEWS: Read the recipe for refrigerator cake, featuring a variety of delicious and creative versions, along with essential tips for achieving the perfect texture and an irresistible flavor in this popular dessert.
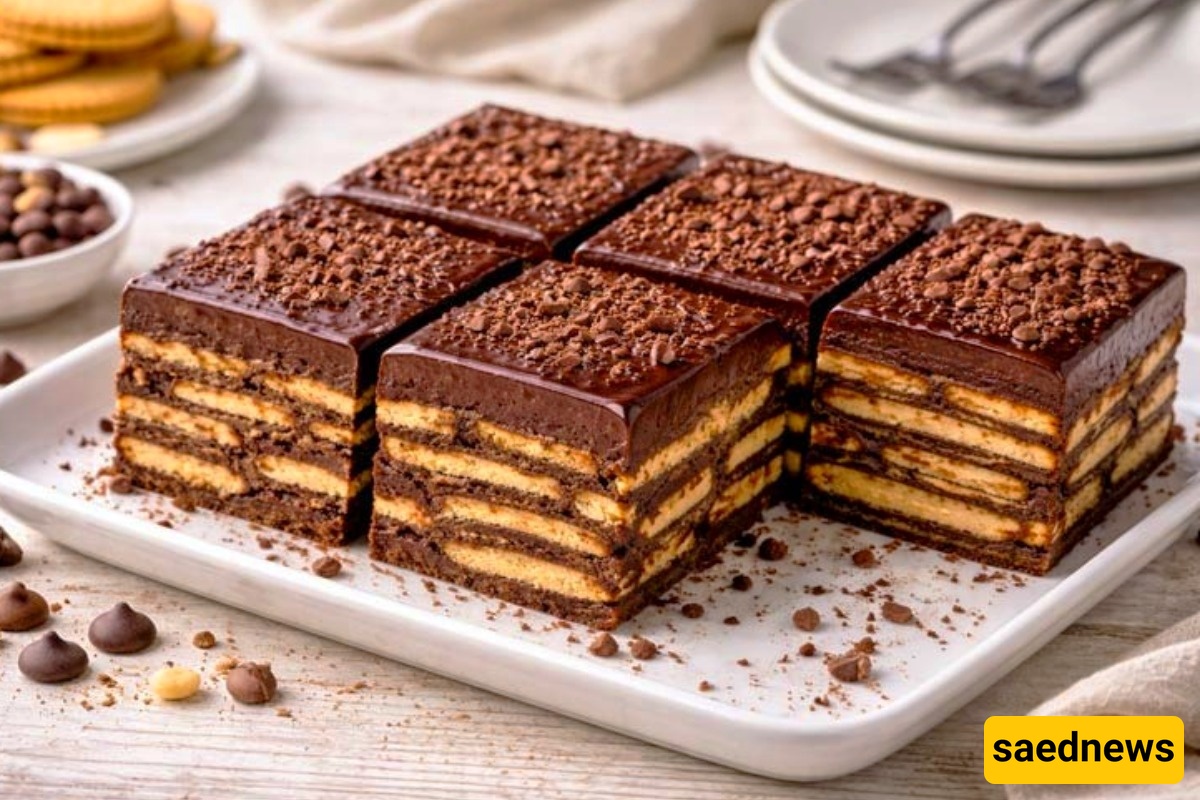
According to Saednews, If you’re looking for a delicious, easy dessert that requires no oven, this no-bake chocolate biscuit cake is an excellent choice. Made with simple, affordable ingredients, it comes together quickly. Its soft texture and rich chocolate flavor make it a popular homemade dessert.
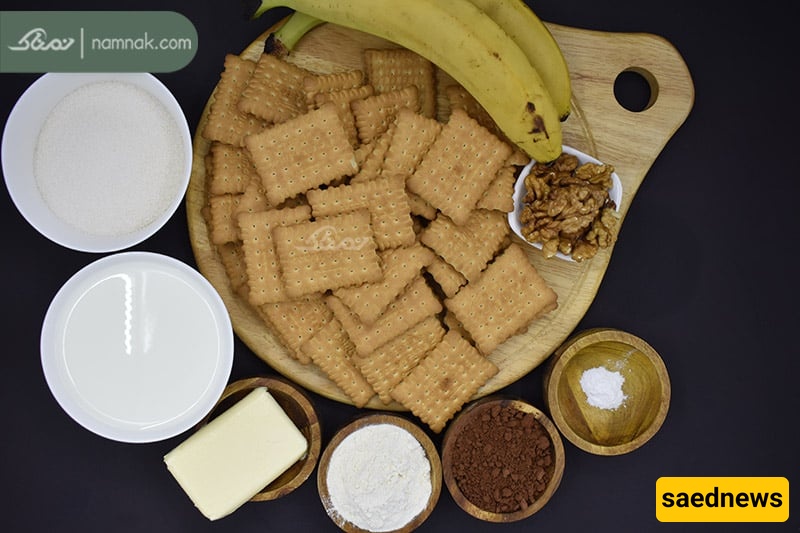
Ingredient | Amount |
|---|---|
Milk | 2 cups |
Sugar | 1 cup |
Petit Beurre biscuits | 2 packages |
Butter | 50 g |
Vanilla extract | 1 teaspoon |
Cocoa powder | 3 tablespoons |
All-purpose flour | 3 tablespoons |
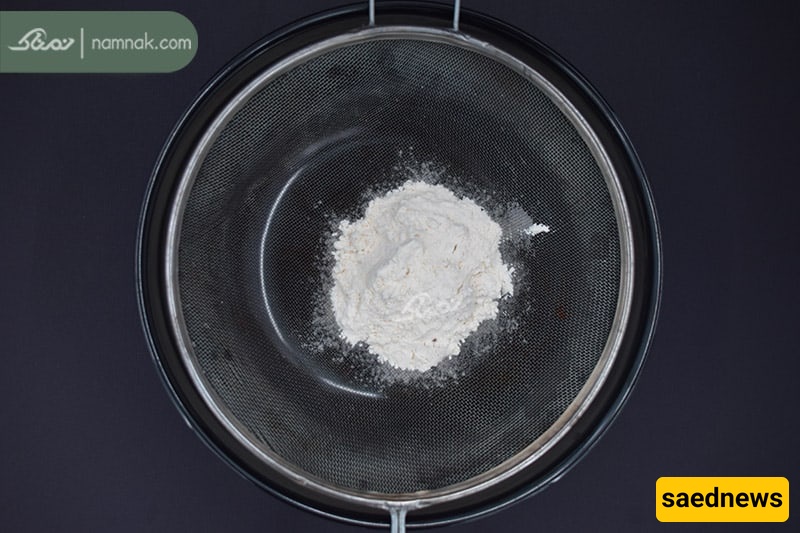
Sift the flour into a suitable bowl.
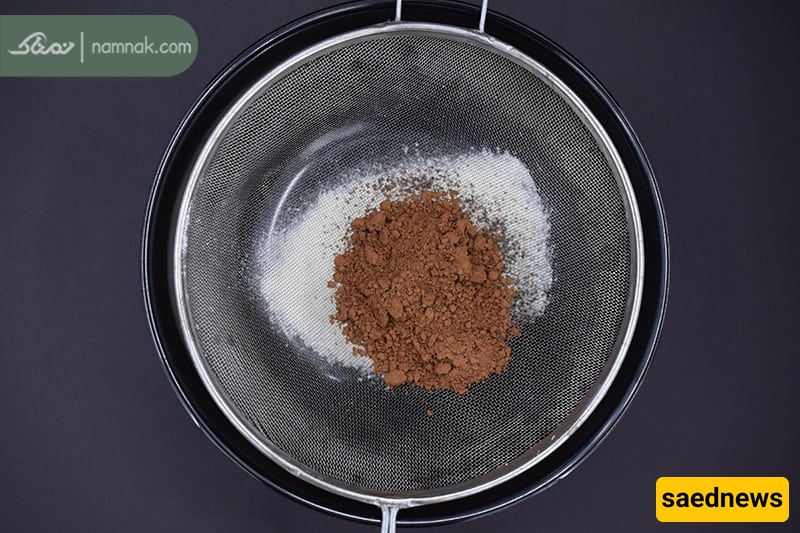
Sift the cocoa powder and add it to the flour. Mix the two ingredients well.
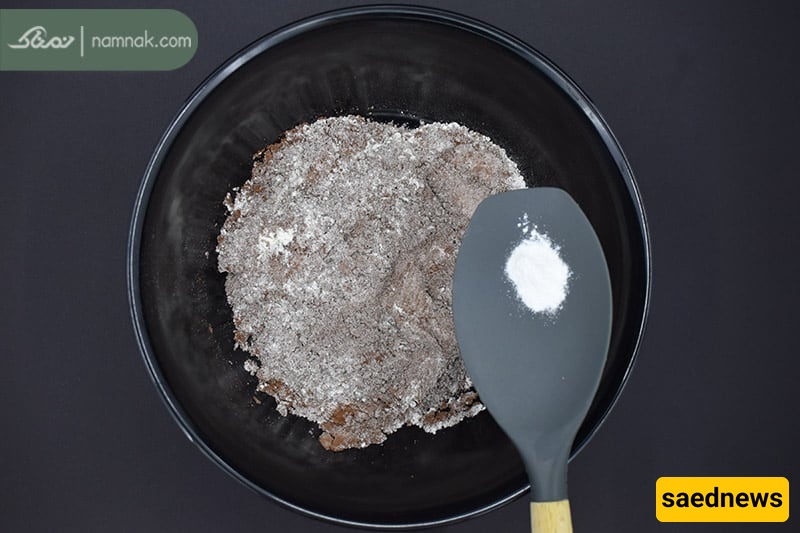
Add the vanilla extract and stir to combine.
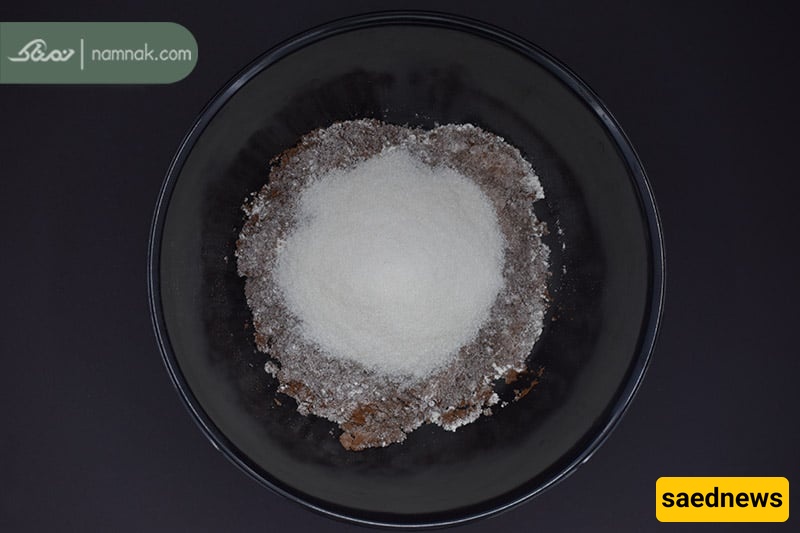
Add the sugar and mix well.
Heat the milk over low heat until it is hot but not boiling.
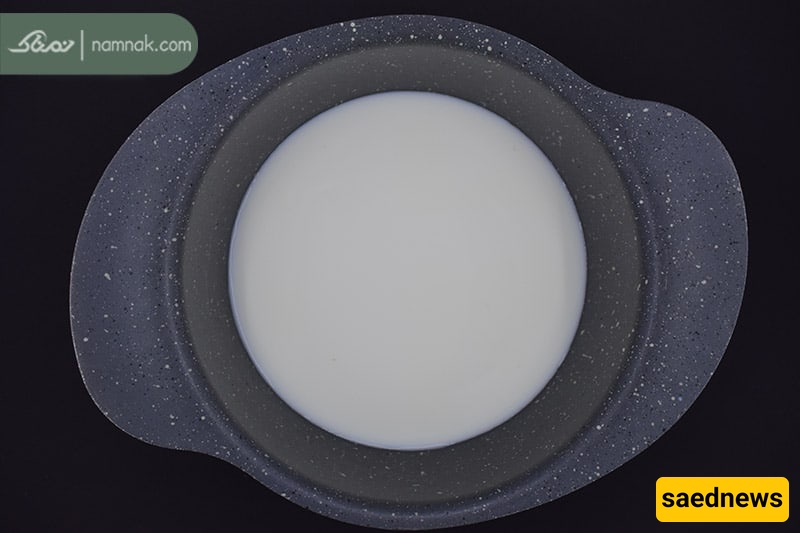
Add the dry ingredients to the warm milk in 3–4 batches. At the same time, whisk continuously with a hand whisk until the mixture is completely smooth and free of lumps.
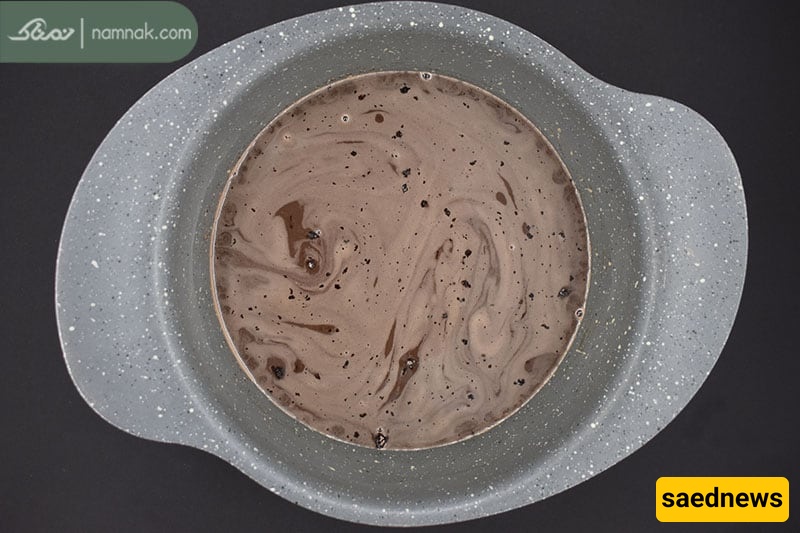
Once the chocolate mixture thickens to a custard-like consistency, turn off the heat and add the butter.
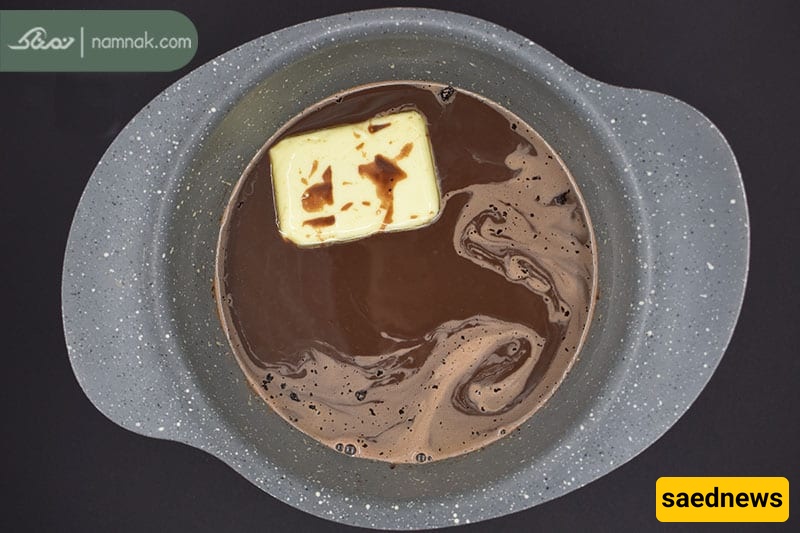
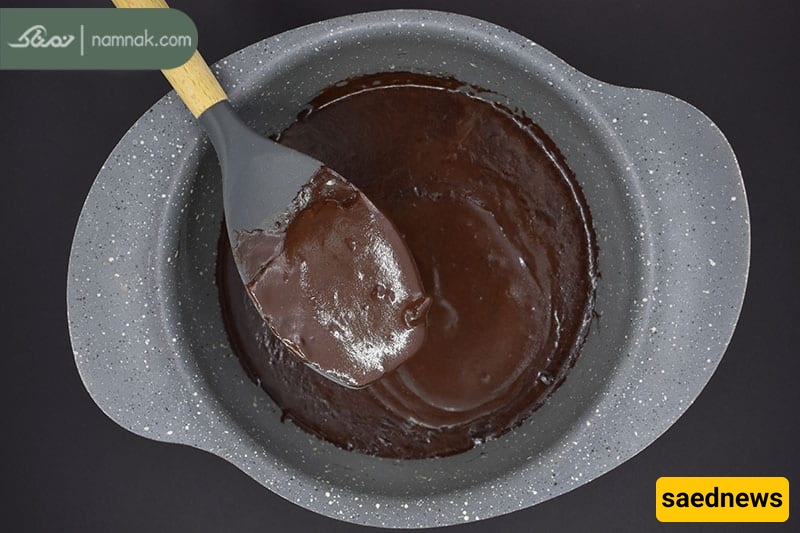
Stir until the butter has completely melted and the mixture becomes smooth, glossy, and thick.
Tip: If the chocolate mixture becomes too thick, add a little milk before removing it from the heat to loosen it.
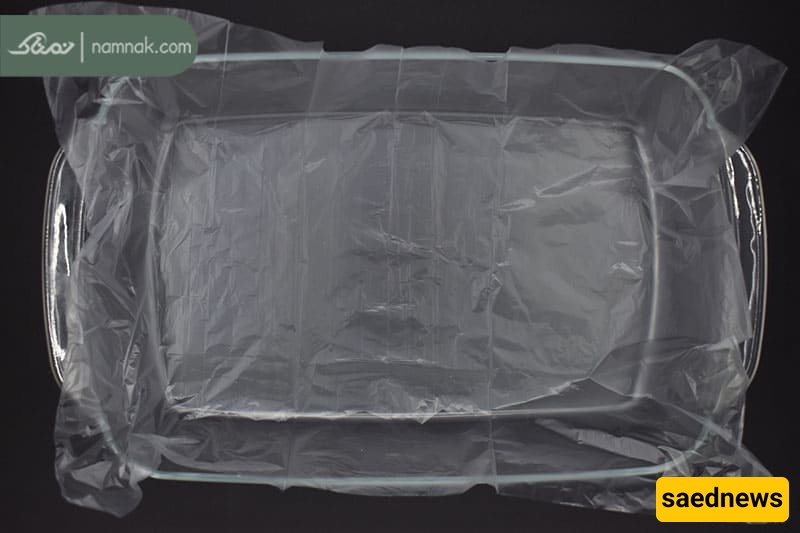
Choose a suitable cake pan, preferably rectangular. Line the bottom with plastic wrap, parchment paper, or cling film.
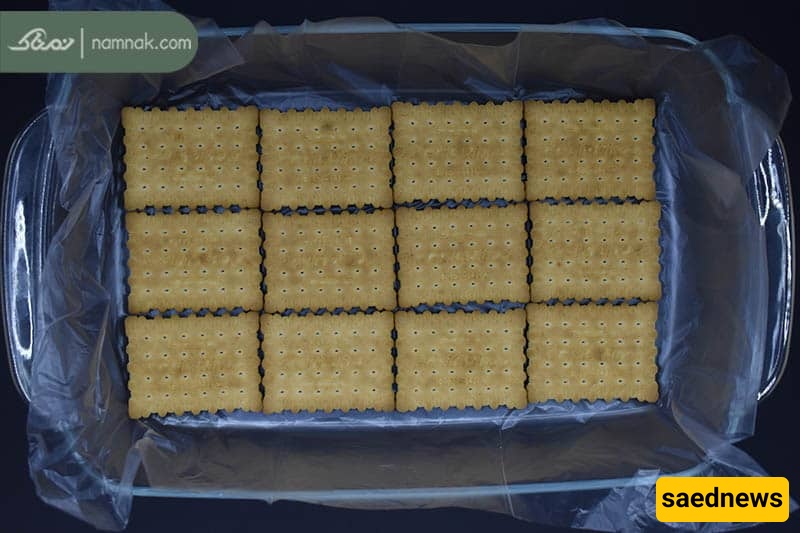
Arrange a layer of biscuits evenly across the bottom of the pan. For a more attractive appearance, alternate between plain and chocolate Petit Beurre biscuits.
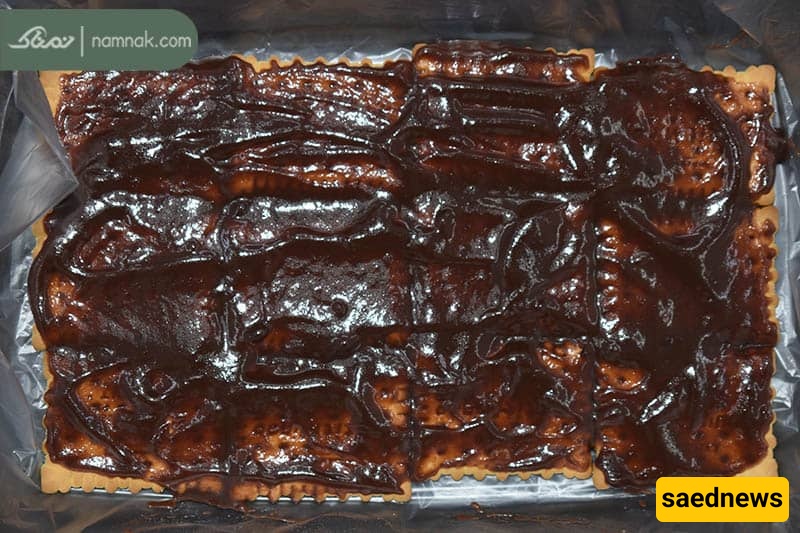
Pour about one ladleful of the chocolate mixture over the biscuit layer. Spread it evenly with the back of a spoon or a spatula until the biscuits are completely covered. Continue layering until you have about 5–6 layers.
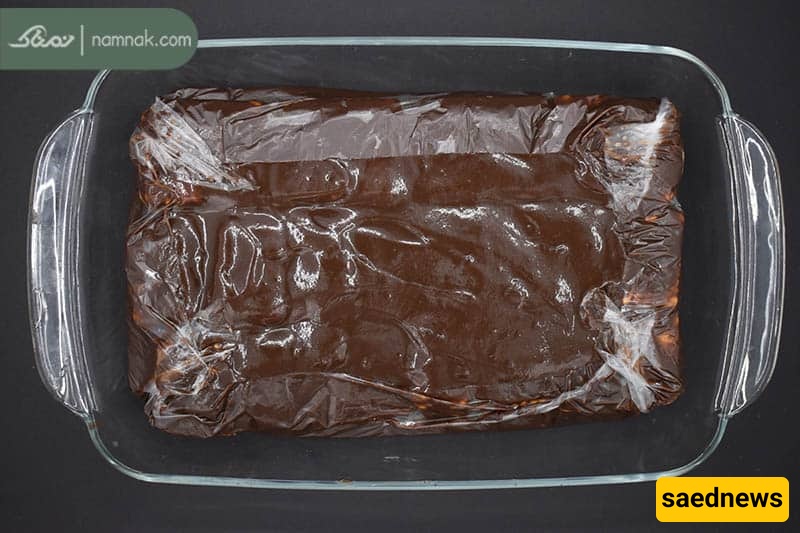
Place the cake in the refrigerator for at least 3 hours. If you have enough time, refrigerate it for 6–8 hours or overnight. This allows the biscuits to soften completely and develop a cake-like texture.
Remove the cake from the refrigerator and let it sit at room temperature for about 10 minutes. This will make slicing easier.
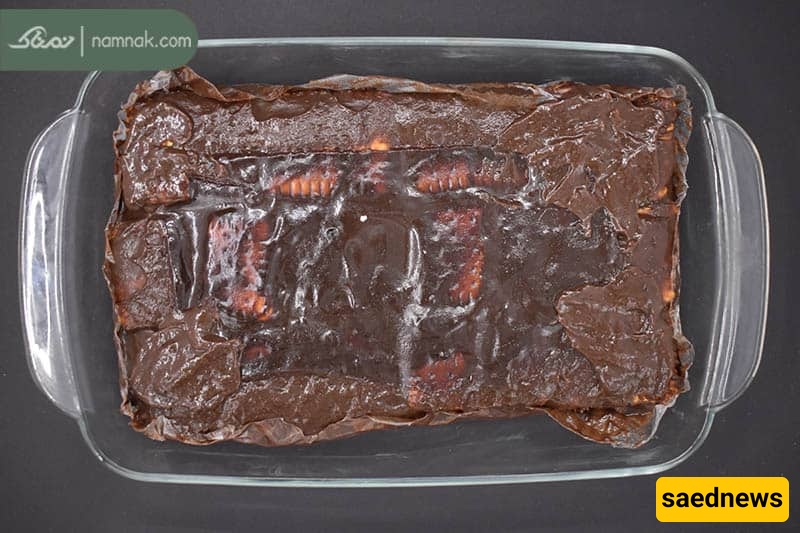
Remove the plastic wrap or parchment paper. Slice the cake as desired and serve.
For cleaner slices: Dip the knife in hot water before each cut and dry it thoroughly.
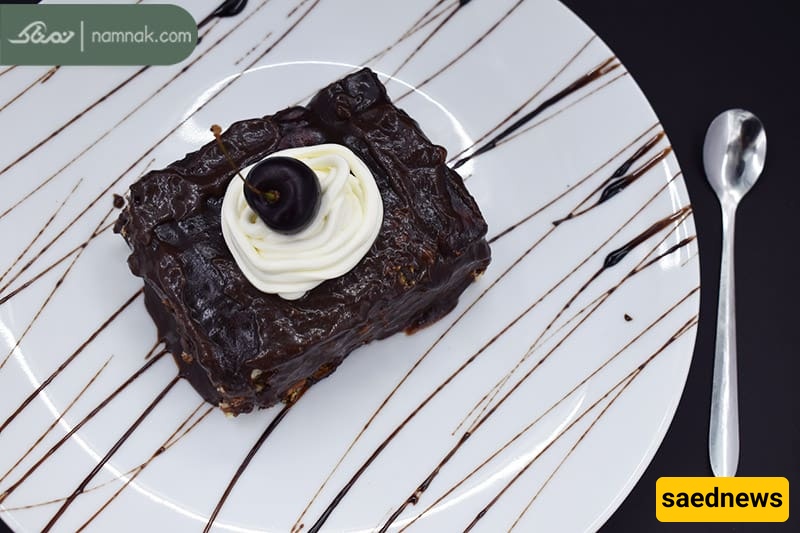
Decorate the cake with pistachio powder, shredded coconut, or chocolate ganache.
Add sliced bananas, chopped walnuts, or ground almonds between the layers if desired.
If the chocolate mixture is too thin, the biscuits may become soggy and fall apart.
If the mixture is too thick, it will be difficult to spread between the layers.
Do not soak the biscuits in milk or coffee. The moisture from the chocolate mixture is enough to soften them.
A rectangular pan works best because it produces neat, even slices.
Always sift the flour and cocoa powder before adding them to the milk.
For a richer chocolate flavor, use good-quality cocoa powder.
Chocolate chips can also be added between the layers.
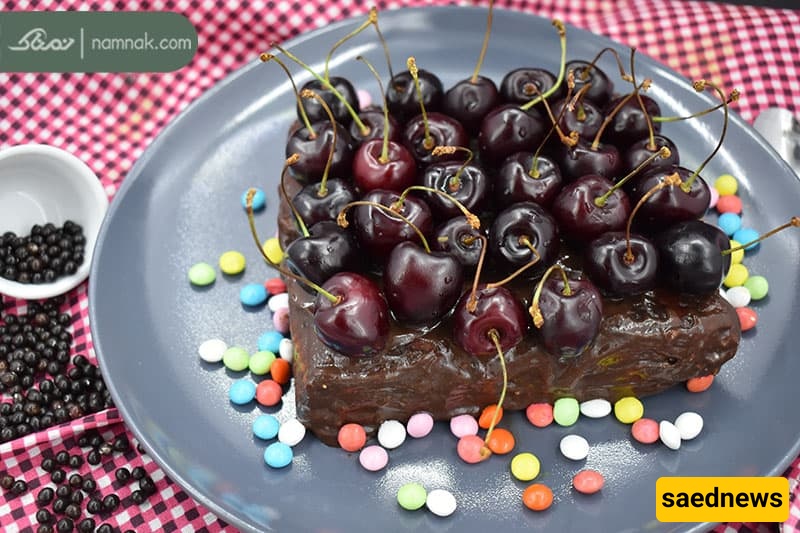
For decoration, use melted chocolate, pomegranate seeds, or other toppings of your choice.
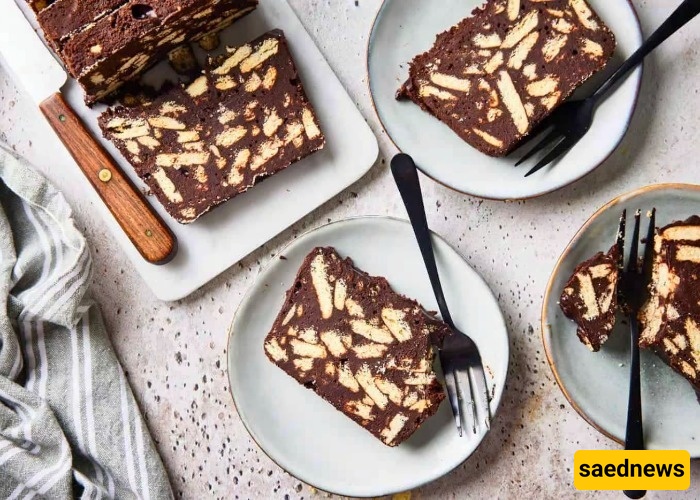
You do not need to change the basic recipe. Simply add thin banana slices and chopped walnuts over the chocolate layer before placing the next layer of biscuits. Repeat this throughout the cake or only in the middle layers.
For the best results, use ripe but firm bananas so they retain their shape after chilling.
Prepare the cake according to the main recipe and refrigerate it until fully set. Prepare your favorite jelly according to the package instructions. Once it has cooled to room temperature, gently pour it over the cake.
Return the cake to the refrigerator for another 2–3 hours, or until the jelly has completely set. You can add sliced strawberries, bananas, or peaches to the surface before pouring over the jelly.
Instead of arranging whole biscuits in layers, break the biscuits into medium-sized pieces. Mix them with the prepared chocolate mixture, then transfer everything to a cake pan and smooth the surface.
Refrigerate for at least 3–6 hours until firm.
This version has a more uniform texture and is ideal when you do not have time to arrange individual biscuit layers. Petit Beurre, digestive-style biscuits, or simple butter biscuits work particularly well.
Petit Beurre biscuits are an excellent choice because they absorb the chocolate mixture well and become soft and cake-like after chilling. Digestive-style or plain butter biscuits can also be used for a slightly different flavor.
If the chocolate mixture is too thin or the cake does not spend enough time in the refrigerator, it may remain soft and fall apart when sliced. On the other hand, an excessively thick chocolate mixture can make the cake dense and dry.
The ideal consistency is similar to thick custard or pudding.
When stored in an airtight container or tightly covered with cling film, the cake generally maintains good quality, texture, and flavor for up to 3 days.
Keeping it well covered also prevents it from drying out or absorbing odors from other foods in the refrigerator.
Yes. The cake can be frozen for up to 1 month. Wrap it in several layers of cling film or place it in an airtight container. Transfer it to the refrigerator several hours before serving so it can thaw gradually.
Preparation time: About 40 minutes
Servings: 4
Best served as: Dessert or snack
Difficulty: Easy
Cooking method: No oven required