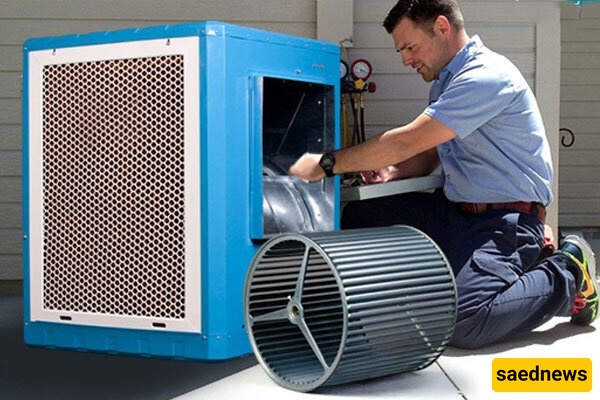
SAEDNEWS: Is your evaporative cooler not producing cool air, giving off an unpleasant smell, or making extra noise? With proper and timely maintenance, you can significantly improve its cooling efficiency while also reducing electricity consumption. In this article, you will learn step by step how to service the cooler like a professional.
According to the Family Magazine section of the Saed News website, every year with the arrival of warm weather, many families complain about weak airflow, bad odor from cooling pads, or sudden shutdowns of their evaporative coolers. Interestingly, more than 80% of these problems can be solved with a simple, inexpensive routine service—without needing to replace expensive parts.
In this guide, all the steps used in professional cooler maintenance are presented clearly and step by step. If you are somewhat handy and have 30 to 60 minutes, you can bring your cooler back to life yourself.
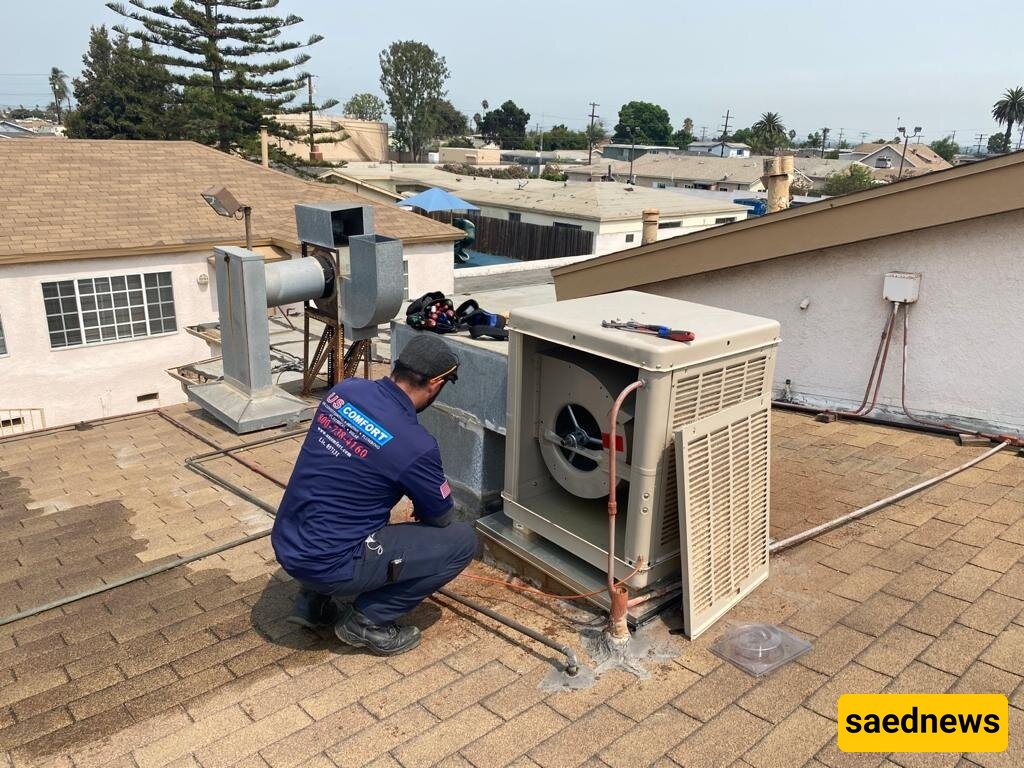
Evaporative coolers are the heart of cooling systems in many Iranian homes. Common performance issues include:
Pump clogging due to sediment buildup
Decay or deterioration of cooling pads
Loose belts
Dry or worn motor bearings
A full annual service before the hot season—and a light mid-season check—can double the lifespan of the cooler.
Adjustable wrench and flat-head screwdriver
Soft brush (or an old toothbrush)
Old cloth and sponge
Cooler motor oil (or SAE 20 oil)
Bleach and baking soda
Water hose
Steel wool (only for heavy deposits)
Before doing anything, disconnect the cooler’s power (remove the fuse or switch it off). Then close the water supply valve.
This prevents electric shock and unexpected flooding. Even if you are sure the power is off, double-check with a voltage tester.
Open the cooler’s side vents (usually four panels). Behind each one are cooling pads (wood shavings or cellulose pads). Carefully remove them and set them aside. Replace them later if they are too dirty or damaged.
At the bottom of the cooler is a drainage plug. Open it to remove stagnant, dirty water that has accumulated over months.
Then wash the interior base using a sponge and a solution of water and bleach (half a cup of bleach in 5 liters of water).
Remove mineral deposits gently using steel wool. This eliminates the main source of bad odor.
The pump is usually located in the bottom corner of the unit.
Pump filter: Clean the mesh filter around the impeller using a brush. Blockage here is a major cause of weak cooling.
Impeller: If scaled, clean gently with steel wool so it rotates freely.
Optional test: After refilling some water, briefly test the pump to ensure strong water flow through the nozzles.
The float controls automatic water shutoff.
Move the float arm up and down; clean it if stiff.
Adjust water level so it shuts off at about 10 cm below the pump.
Cooling pads are responsible for evaporation and cooling efficiency.
Two common types:
Cellulose pads: Wash with water and a soft brush. Replace if damaged.
Wood-shaving pads: Soak overnight in water with bleach, then rinse thoroughly to remove odor.
Important: Install pads slightly damp, not completely dry.
Most motors have oil ports labeled “Oil.”
Add a few drops of motor oil (or SAE 20) into each port. Do not over-oil.
This removes noise and extends motor life.
The belt connecting the motor to the fan should not be loose or cracked.
If it drops more than 1 cm when pressed, tighten the motor base.
Replace the belt if it is cracked.
Ensure the fan spins freely without hitting the housing.
Reinstall pads and close panels securely.
Close drain plug and refill water until the float stops it.
Turn on power. Run pump-only mode for a few minutes, then switch to fan mode.
Air output should be cool and odor-free.
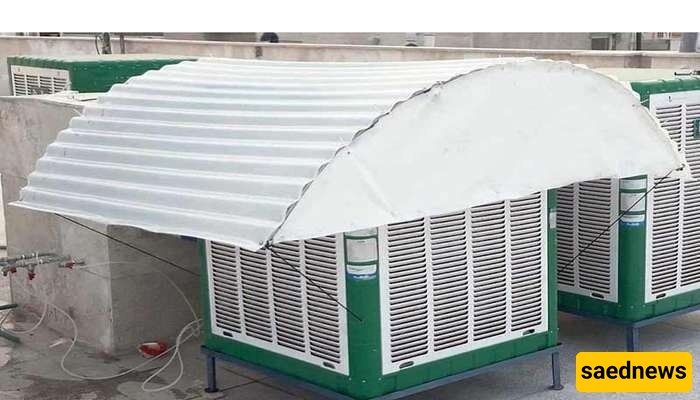
Shade cover: Can reduce water temperature by up to 10°C.
Anti-scale mix: Add one spoon of baking soda monthly to reduce buildup.
Mid-season check: Only inspect pump and filter (about 20 minutes).
Call a technician if:
The motor does not start (possible capacitor or wiring issue)
The pump runs but no water reaches the pads (possible internal hose damage)
Clicking or knocking noises come from the fan (worn bearings)
Servicing an evaporative cooler is easier than it seems. With these 10 steps and less than an hour of work, you can improve cooling performance, reduce odors, and lower electricity usage.
A properly serviced cooler not only provides better cooling but can also last up to two years longer.