SAEDNEWS: For beautifully colored, crystal-clear jam, follow the right techniques—from choosing the fruit and measuring the sugar to skimming the foam and cooking it slowly.
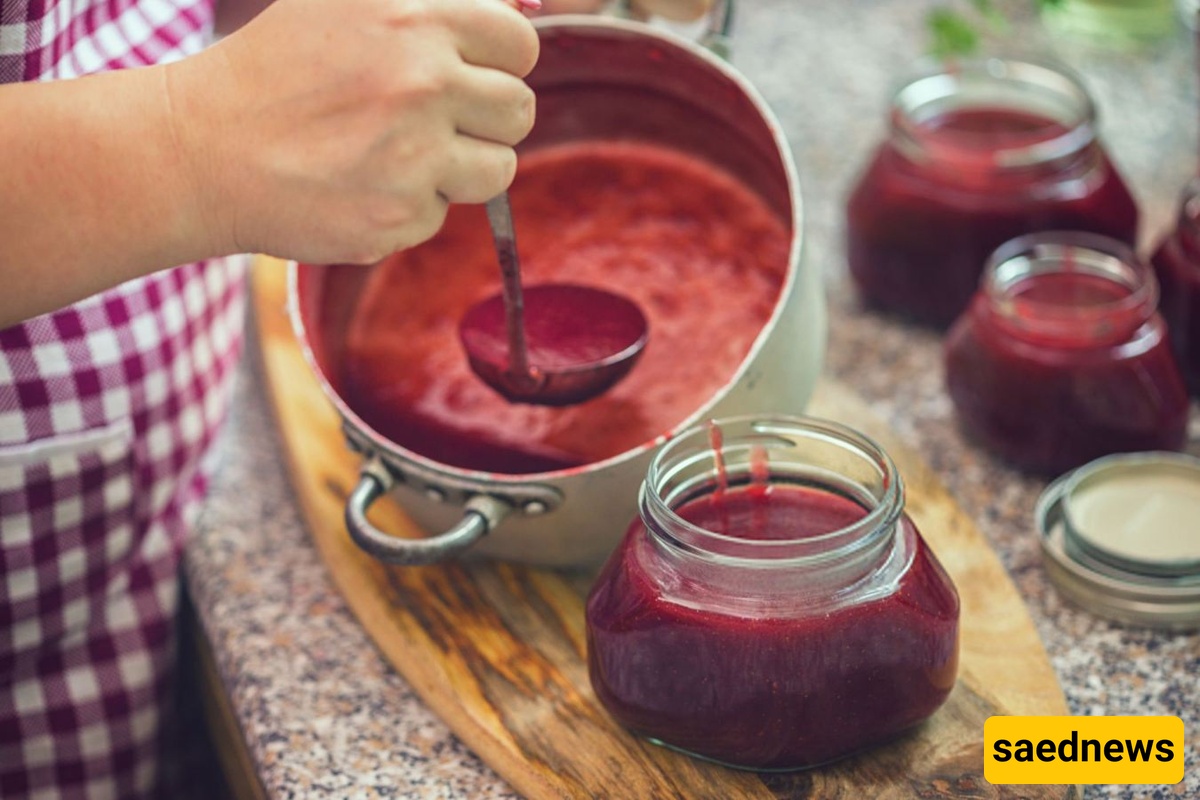
According to Saednews, Cloudy jam can have several causes. The first is using fruit that is overly ripe or bruised. Fully ripe fruit contains less pectin, and its texture breaks down more quickly. As a result, tiny fruit particles remain suspended in the syrup, making the jam look cloudy.
Another common cause is boiling the jam for too long or at too high a temperature. Excessive boiling can break down the fruit’s natural pigments, causing the syrup to become dark and opaque rather than clear. Vigorous stirring can also crush the fruit and release solids into the syrup, reducing its clarity.
A third factor is inadequate skimming. The foam that forms on the surface of the jam contains impurities and fruit particles. If it is not removed in time, it can dissolve back into the syrup and make the jam cloudy. Insufficient acidity, such as too little lemon juice, and an unsuitable sugar-to-fruit ratio can also affect the final clarity.
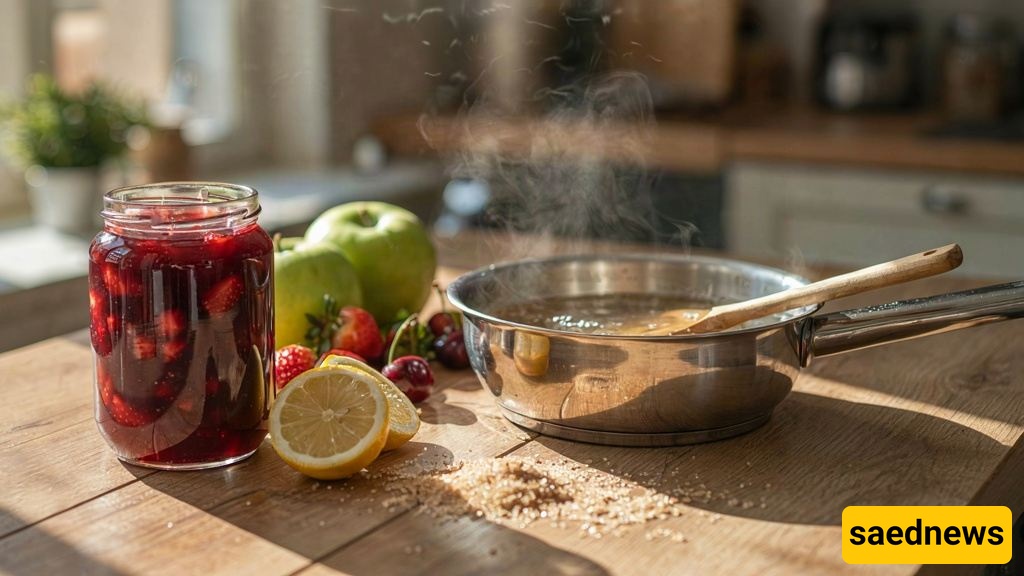
To achieve clear, attractive jam, several principles should be followed, from selecting the fruit to packaging and storage.
The first step is choosing fruit that is fresh, firm, healthy, and slightly underripe. Fresh fruit without bruises or blemishes generally contains more pectin. Pectin is a natural substance that helps jam form a gel and contributes to a clear texture.
Good examples include green apples, quince, sour cherries, and citrus fruits, which naturally contain useful amounts of pectin.
Avoid fruit that is excessively ripe or frozen. Frozen fruit can release a significant amount of water after thawing, leaving it soft and watery. This can result in jam that is both runny and cloudy.
Wash the fruit thoroughly and remove the peel, seeds, pits, and stems as appropriate. For fruits such as apples and quince, grating or chopping may be suitable. However, avoid cutting the fruit too finely, as excessive chopping releases more solids and can make the jam cloudy. Keep the pieces relatively uniform and medium-sized.
For clearer jam, you can also mix the prepared fruit with sugar several hours before cooking and refrigerate it. This allows the fruit juices to be released gradually and reduces the need for prolonged boiling.
A stainless-steel or enamel-coated pot is preferable. Aluminum cookware may react with the acids naturally present in fruit and can cause the jam to darken.
Choose a wide, shallow pot so that excess moisture can evaporate more quickly and the jam can reach the desired consistency without prolonged cooking.
A wooden or silicone spoon is suitable for gentle stirring. Avoid using an aluminum spoon.
Sugar plays an important role in the appearance and texture of jam. A common sugar-to-fruit ratio is approximately 1:1, although the amount can be adjusted according to the sweetness of the fruit.
Too little sugar may leave the jam thin, while excessive sugar can encourage crystallization.
Acidity is also important. Lemon juice or sour-grape juice can help regulate acidity and support pectin activity. As a general guideline, about 1–2 tablespoons of lemon juice per kilogram of fruit is often sufficient. Add the acid toward the end of cooking to help preserve its fresh aroma.
Begin cooking the jam over low heat until the sugar has completely dissolved. Then increase the heat slightly until the mixture reaches a boil. Avoid prolonged, vigorous boiling.
A gentle, steady simmer allows the syrup to thicken gradually while helping the jam retain a clearer appearance.
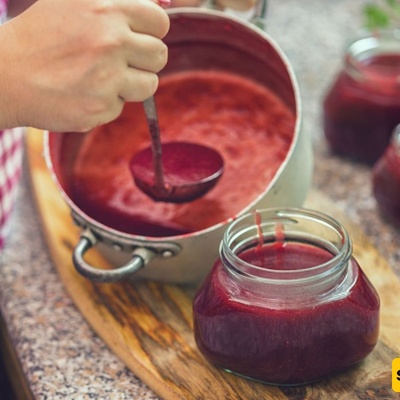
Keep the pot uncovered so that steam can escape. If the lid is kept on, moisture remains trapped and the jam may stay too watery. During cooking, periodically remove the foam from the surface with a slotted spoon or ladle.
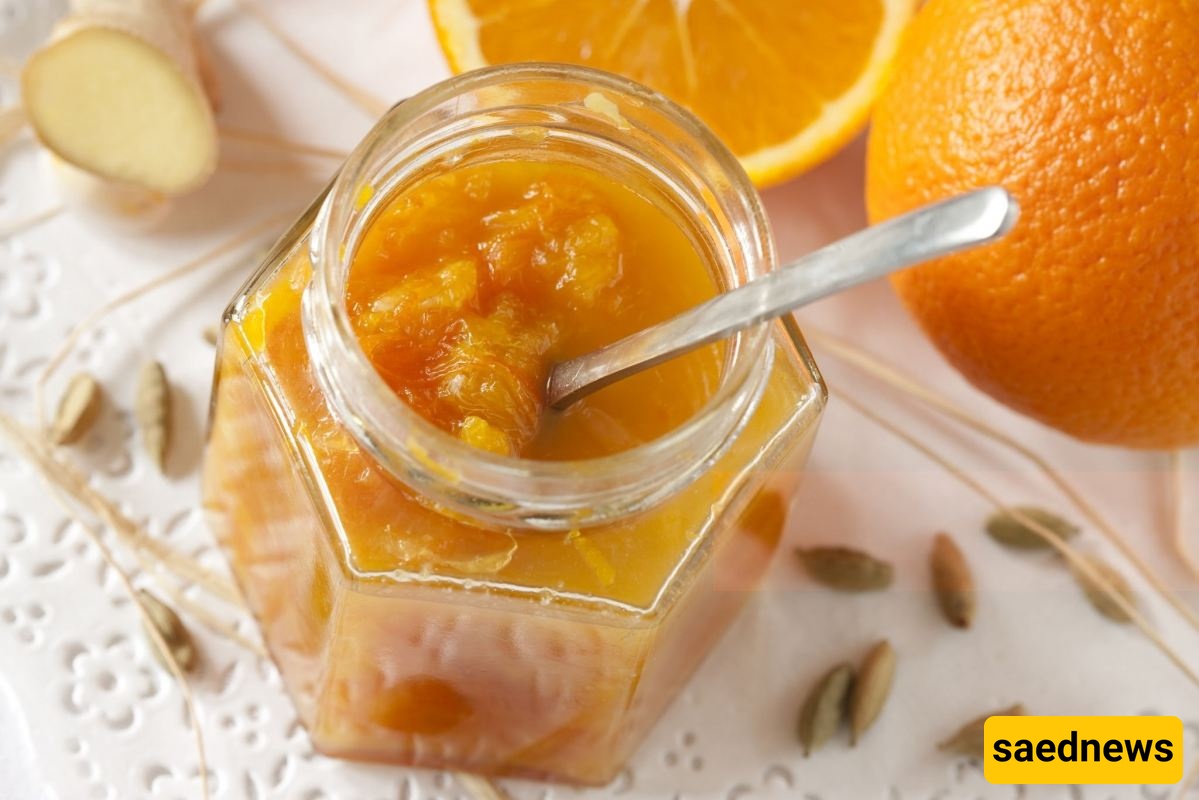
Skimming is one of the most important steps for clear-looking jam. Foam consists of impurities, proteins, and tiny fruit particles. If it remains on the surface, it can affect both the appearance and, to some extent, the flavor of the finished jam.
Throughout the cooking process, remove the foam patiently whenever it appears.
For easier skimming, you can use a cool metal spoon and gently draw it across the surface to gather the foam before removing it.
Excessive stirring can work against clarity. Vigorous stirring breaks up the fruit and releases additional solids into the syrup.
After the sugar has dissolved, minimize stirring and allow the jam to cook gently on its own.
If you want to keep the fruit pieces intact, gently shake the pot from time to time or use a wooden spoon with slow, circular movements.
There are several simple ways to determine whether the jam has reached the right consistency.
Place a small drop of jam on a cold plate. If the drop does not spread quickly and retains a jelly-like consistency, the jam is likely ready.
Another method is to use a kitchen thermometer. The appropriate temperature for many jams is around 104–105°C (219–221°F).
You can also lift a spoon from the jam and observe the syrup. If it falls from the spoon in a thin, continuous strand, the consistency may be sufficient.
Avoid overcooking. Excessive heat can darken the syrup and make the jam appear cloudy.
After cooking, remove the jam from the heat and let it rest for a few minutes. This can allow suspended particles to settle.
If the jam is still slightly cloudy, it can be passed through a fine strainer or clean cheesecloth. However, this method is not ideal for chunky jams because it removes the fruit pieces. It is more suitable for clear jellies and strained fruit preserves.
For chunky jams, you can simply allow the jam to settle and, if desired, use the clearer syrup from the top separately.
In general, following the earlier preparation and cooking steps should reduce the need for straining.
Pour the finished jam into clean, sterilized jars. Wash the jars with boiling water beforehand and allow them to dry completely.
Fill the jars while the jam is still hot and close the lids securely. For safe preservation, use an appropriate tested canning method rather than relying solely on turning filled jars upside down.
Store unopened jars in a cool, dark place. Once opened, keep the jar refrigerated.
Using smaller jars can also be helpful because the jam can be consumed more quickly after opening, reducing the time it spends exposed to air.
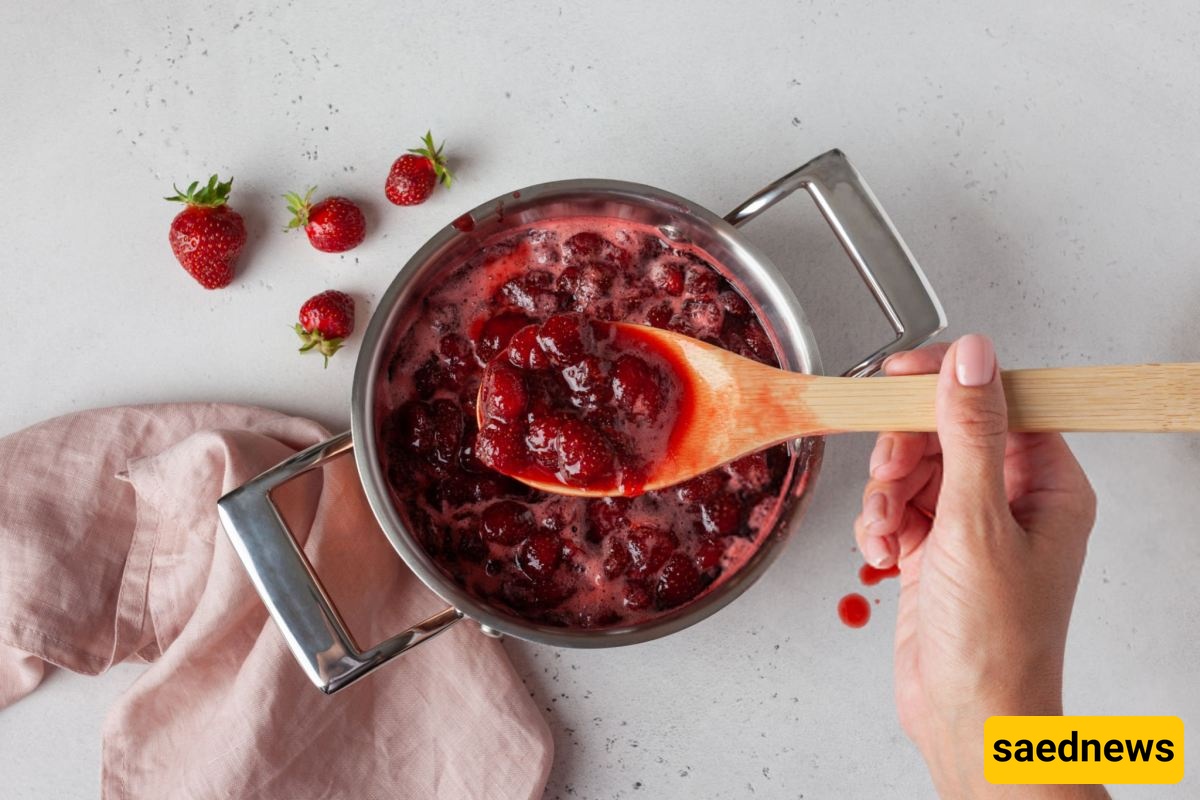
Every fruit behaves differently during jam making.
For apple and quince jam, cooking the fruit with the peel can provide additional pectin, although the peel should be removed if the recipe or desired texture requires it.
For sour-cherry and cherry jam, remove the pits and consider adding lemon juice to help maintain a bright appearance.
Strawberries contain a lot of water, so achieving the desired consistency can require careful cooking and an appropriate amount of sugar. To reduce cloudiness, avoid crushing the berries and stir them gently.
For citrus jams, thoroughly removing the white pith can produce a clearer result, depending on the recipe.
Several mistakes can prevent jam from turning out clear and attractive. The most common include:
Using excessively ripe or bruised fruit
Boiling the jam too vigorously
Stirring continuously or too forcefully
Failing to skim the foam
Using an unsuitable sugar-to-fruit ratio
Adding sugar without allowing it to dissolve properly
Cooking the jam for too long
Failing to check the final consistency
Another common mistake is relying only on cooking time instead of checking the jam itself. Undercooked jam may remain too thin, while overcooked jam can become dark and cloudy.
Using a thermometer or the cold-plate test can help determine when the jam has reached the proper consistency without unnecessary cooking.
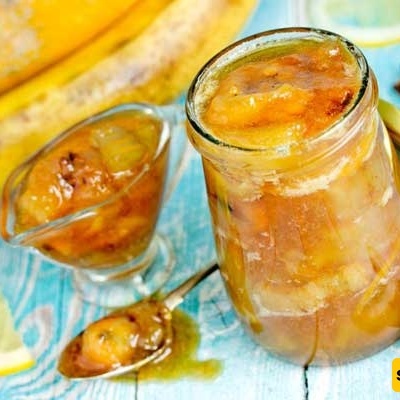
Clear jam depends on several factors working together: fresh and slightly underripe fruit, the right balance of sugar and acidity, suitable cookware, gentle cooking, regular skimming, minimal stirring, and careful control of the final temperature and consistency.
By following these steps, you can produce homemade jam with a brighter appearance, clearer syrup, and better texture.