SAEDNEWS: With its small and adorable appearance, Pico Pizza is a great choice for parties, children’s snacks, or even a quick dinner. In this article, we’ll walk you through the step-by-step process of making this delicious finger food at home.

According to Saednews, Pico pizza is one of the most appealing and popular types of finger food. With its small, charming appearance, these miniature pizzas can make any party or gathering feel more cheerful and enjoyable. They are an excellent choice for entertaining guests, while their convenient size also makes them perfect as a children's snack or a quick, light dinner.
In this guide, you will learn how to make pico pizza from start to finish—from preparing a soft, fragrant dough to arranging the toppings and baking the mini pizzas until golden and delicious.
To make delicious pico pizzas that suit your taste and your guests' preferences, prepare the ingredients carefully. The ingredients are divided into two groups: the dough and the sauce and toppings.
1 cup warm milk
1 tablespoon dry yeast
1 teaspoon granulated sugar
½ cup vegetable oil
1 teaspoon salt
3 to 3½ cups all-purpose flour
1 tablespoon tomato paste
1 teaspoon dried thyme
Sausage or ham, finely chopped, as needed
100 g mushrooms, thinly sliced
1 green bell pepper, finely diced
½ cup sliced or chopped olives
300 g shredded pizza cheese or mozzarella
Optional ingredients such as corn, sun-dried tomatoes, shredded chicken, and more

Although pico pizza looks simple, a few important details are needed to achieve a dough that is soft and slightly crisp while allowing the toppings to cook perfectly. Follow these steps from beginning to end.
The first and most important step for making a light and fluffy dough is properly activating the yeast.
Pour the warm milk into a large bowl. The milk should be lukewarm—not hot enough to kill the yeast and not cold enough to prevent fermentation. Add the dry yeast and sugar, then mix well with a wooden spoon.
Cover the bowl with a clean cloth or plastic wrap and leave it at room temperature for about 10 minutes. After this time, small bubbles or foam should appear on the surface. This indicates that the yeast is active and ready to help the dough rise.
Once the yeast has activated, add the vegetable oil and salt to the bowl and mix again.
Gradually sift in the flour in several additions while mixing with your hand or a wooden spoon. Once the dough begins to come together, transfer it to a lightly floured work surface and knead continuously for about 8–10 minutes.
Proper kneading allows the gluten to develop, giving the dough a soft, elastic, and flexible texture. If the dough is too sticky, add a small amount of flour, but avoid adding too much, as this can make the dough dry.
The ideal dough should be soft and should not stick to your hands.
Shape the kneaded dough into a ball and place it in a bowl lightly greased with oil.
Cover the dough with plastic wrap or a damp cloth and let it rest in a relatively warm place for approximately 30–45 minutes. During this time, the dough should ferment and nearly double in size.
For better results, place the bowl somewhere warm and draft-free, such as inside a switched-off oven.
While the dough is resting, prepare the pizza toppings.
Cut the sausage or ham into very small pieces so they fit easily on the miniature pizzas. Wash and dry the mushrooms, then slice them thinly. Finely dice the bell pepper and prepare the olives.
Place each ingredient in a separate bowl so that everything is ready for quick and organized assembly.
The sauce is an important part of the flavor of pico pizza.
Place the tomato paste in a small bowl and add the dried thyme. Add one or two tablespoons of boiling water and mix until you have a smooth, spreadable sauce.
This simple sauce adds wonderful flavor and aroma while helping the toppings adhere to the dough.
If desired, add a little garlic powder and dried mint for an extra layer of flavor.
Once the dough has rested and increased in volume, transfer it back to the work surface and gently press it down to release excess air.
Divide the dough into several portions and roll each portion out to approximately ½ cm thick.
Using a round cookie cutter, glass, or suitable mold, cut the dough into small circles. A diameter of approximately 5–7 cm is ideal for each mini pizza.
Arrange the dough circles on a baking tray lined with parchment paper, leaving enough space between them so they do not stick together during baking.
Now comes the most enjoyable part: assembling the pizzas.
Using a small spoon, spread a thin layer of the prepared sauce over the center of each dough circle. Leave the edges uncovered so they can rise properly during baking.
Add a thin layer of shredded pizza cheese over the sauce. Then arrange your preferred toppings, such as sausage, mushrooms, bell peppers, and olives, evenly over the cheese.
Avoid adding too many toppings because the mini pizzas have limited space, and excessive toppings may slide off during baking.
Finally, sprinkle another layer of cheese over the toppings. This helps hold everything together and creates a delicious golden, stretchy topping.

Preheat the oven to 180°C (350°F).
Place the baking tray on the middle rack and bake for approximately 15–20 minutes.
The exact baking time depends on the thickness of the dough and your oven, so start checking the pizzas after 15 minutes.
The pizzas are ready when the edges of the dough become golden and the cheese has completely melted.
For a more golden and lightly crisp cheese topping, you can switch the oven to the broiler/grill setting during the final two minutes. Keep a close eye on the pizzas to prevent them from burning.
After removing the tray from the oven, allow the mini pizzas to cool at room temperature for about 3–5 minutes.
This short resting period allows the crust to become slightly crisp and gives the toppings time to settle.
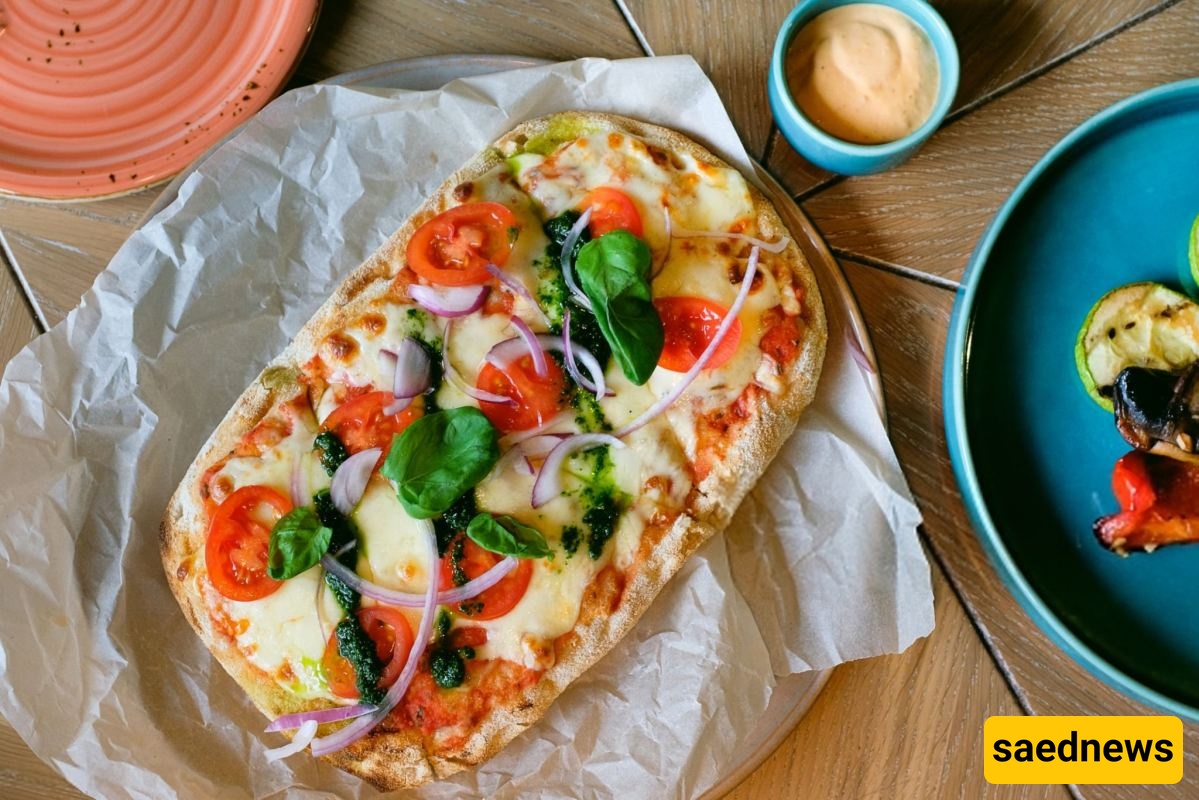
Transfer the mini pizzas to a serving plate using a spatula. For a more attractive presentation, sprinkle them with a little dried thyme or freshly chopped parsley.
Pico pizzas can be served as an appetizer, snack, or light meal. They are also delicious with ketchup or mayonnaise-based dipping sauces.
Use fresh, reliable yeast and always check its expiration date. Old or inactive yeast may result in a dense and flavorless dough.
All-purpose flour or medium-protein bread flour works well for this recipe. Stronger flour can give the dough greater elasticity and a better texture.
If you are not using parchment paper, grease the baking tray with a little oil or lightly dust it with flour. This helps prevent the mini pizzas from sticking.
Every oven performs differently, especially gas ovens, which may have an actual temperature that differs from the displayed setting. For the best results, consider baking one small test pizza first.
Pico pizza is highly versatile. You can experiment with different vegetables, shredded chicken, corn, deli meats, or even pineapple.
Mix and match your favorite ingredients to create your own signature mini pizzas.