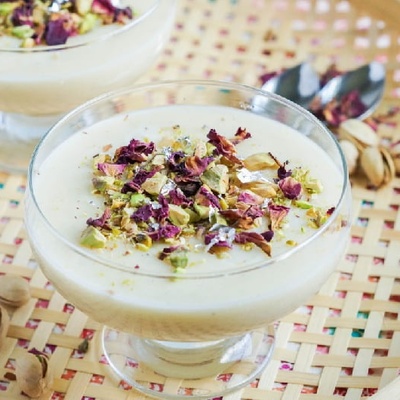
SAEDNEWS: If you're looking for a delicious, simple dessert that requires no oven, a chocolate refrigerator cake made with Petit Beurre biscuits is the perfect choice!
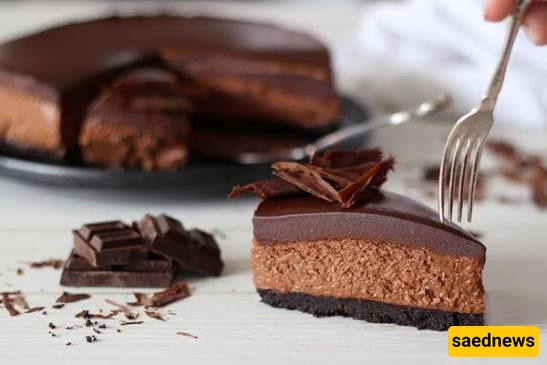
According to Saednews, Chocolate refrigerator cake is a chilled dessert that requires no oven. Instead, it needs several hours in the refrigerator to set and develop its structure. Typically made with layers of biscuits and creamy chocolate or fruit-based fillings, this dessert is popular around the world because it is simple to prepare and requires readily available ingredients.
The secret to a delicious refrigerator cake is achieving the right balance between flavors and textures: a smooth, creamy filling combined with slightly crisp biscuits creates a satisfying dessert that becomes even more enjoyable when thoroughly chilled.
Ingredient | Amount | Notes |
|---|---|---|
Petit Beurre biscuits | 2 packages | Plain or whole-wheat biscuits can be used |
Milk | 3 cups | For soaking the biscuits and making the cream |
Sugar | ½ cup | Adjust according to taste |
All-purpose flour | 3 tbsp | Helps thicken the cream |
Cornstarch | 2 tbsp | Gives the cream a smooth texture |
Cocoa powder | 3 tbsp | High-quality unsweetened cocoa gives the best flavor |
Butter | 30 g | Adds richness, shine, and smoothness |
Egg | 1 | Preferably at room temperature |
Grated chocolate | 50 g | Dark or milk chocolate can be used |
Vanilla | A pinch | Adds aroma and flavor |
Tip: You can replace the grated chocolate with cocoa powder. If you do, approximately 3 tablespoons of cocoa powder will be enough.
Add the flour, cornstarch, sugar, cocoa powder, and grated chocolate to a suitable saucepan and mix well.
In a separate bowl, lightly beat the egg with a fork until the yolk and white are well combined. Add the egg and milk to the dry ingredients, stirring continuously until the mixture is completely smooth and free of lumps.
Place the saucepan over low heat and stir constantly until the cream thickens. This usually takes around 5–7 minutes.
The cream should have a consistency similar to pudding or porridge. It should not be too thin, as this can make the biscuits overly soggy, nor should it be too thick to spread easily.
Once the cream reaches the desired consistency, remove the saucepan from the heat.
Add the butter and vanilla and stir until the butter has completely melted and blended into the cream. This gives the filling a smooth, glossy texture and a pleasant aroma.
Allow the cream to cool slightly before assembling the cake.
Choose a rectangular or square pan so the layers can be arranged neatly.
Line the bottom of the pan with plastic wrap, leaving enough overhang to help lift the finished cake out later. This also helps preserve the cake's shape when transferring it to a serving plate.
To soften the biscuits, briefly dip each one in milk before placing it in the pan.
Pour the milk into a shallow dish and quickly dip each biscuit into it, then remove it immediately. Do not leave the biscuits in the milk for too long, or they may become too soft and break during assembly.
Brief soaking helps create a uniform, tender texture and makes it easier to achieve clean slices.
Spread a thin layer of chocolate cream over the bottom of the prepared pan and smooth it with the back of a spoon.
Arrange a layer of soaked biscuits over the cream, placing them close together with minimal gaps.
Spread another two or three spoonfuls of chocolate cream evenly over the biscuits.
Continue alternating between biscuits and cream until all the ingredients have been used. Ideally, finish with a layer of biscuits. You can also spread a small amount of cream over the final biscuit layer to create a smooth surface.
Cover the pan with plastic wrap and refrigerate the cake for at least 5–6 hours, preferably overnight.
This resting period is essential because it allows the cake to firm up and gives the layers enough time to bond together.
Once fully chilled, remove the cake from the refrigerator and carefully invert it onto a serving plate. Peel away the plastic wrap and decorate according to your preference.
Get the cream consistency right: The filling should be thick enough to hold the layers together but soft enough to spread easily. A pudding-like consistency is ideal.
Use low heat: Keep the heat low while preparing the cream and stir continuously. This prevents the mixture from sticking to the bottom of the pan or developing burnt spots.
Flavor the soaking milk: For a richer flavor, mix the milk with a little coffee or rosewater before dipping the biscuits. Either option can give the dessert a distinctive aroma and taste.
Allow enough chilling time: Do not rush this step. At least 5 hours of refrigeration is recommended, while an overnight rest usually produces a firmer cake and cleaner slices.
Choose the right pan: Lining the pan with plastic wrap makes removing the cake much easier. A silicone mold is another convenient option.
Chocolate refrigerator cake is an excellent choice for anyone looking for an easy yet impressive dessert. It is particularly convenient when you want something delicious without spending hours baking.
Made with simple, accessible ingredients, this no-bake dessert comes together with relatively little effort. The combination of tender biscuit layers, smooth chocolate cream, and a refreshing chilled texture makes it suitable for both everyday treats and special occasions.
The key to a successful refrigerator cake is simple: well-balanced layers, a silky chocolate filling, properly softened biscuits, and enough time in the refrigerator to set.