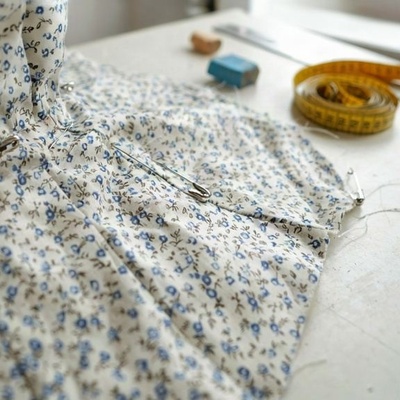
SAEDNEWS: Garment fitting is a crucial step after the initial stitching process, allowing you to adjust a garment to match the body's shape and measurements precisely. In this article, you'll learn what garment fitting involves, when to perform it, how to identify wrinkles and pulling, and the practical steps to achieve a better fit.
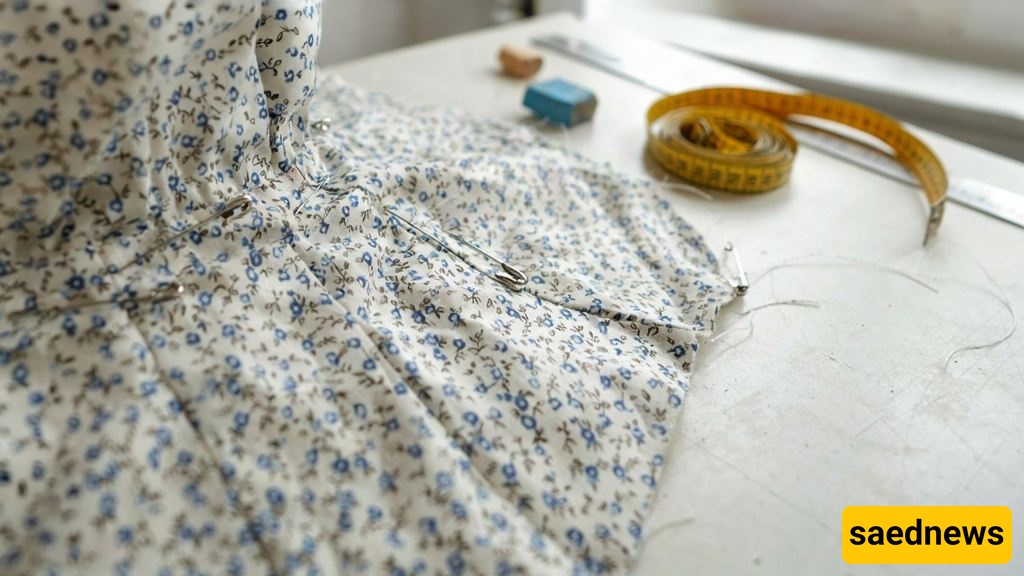
According to Saednews, Garment fitting is the stage that takes place after the initial sewing process to check how a garment sits on the body. No matter how accurate a paper pattern is, the human body has natural curves and moves in different ways. Skipping this step can result in a garment that is too tight, too loose, or has unwanted wrinkles, requiring alterations after it has been fully completed.
Garment fitting is the process of trying on a garment before all seams and edges have been permanently finished. It is usually carried out after sewing the darts, shoulder seams, and side seams.
At this stage, you can use pins to adjust the seam positions and check whether the bust, waist, and hip measurements fit correctly. The goal is to record any necessary adjustments on the paper pattern so that future fabric cutting and garment construction will be more accurate.
The best time for fitting is when the garment has taken shape and can be worn, but the sleeves have not yet been completely attached and the bottom hem is still unfinished.
If you fit too early, the fabric may not have taken its intended shape. If you wait too long, making alterations becomes more difficult.
For coats, tunics, and formal dresses, one or two fitting sessions are usually sufficient. When working with stretch fabrics, perform the fitting while wearing lightweight underwear to achieve more accurate measurements.
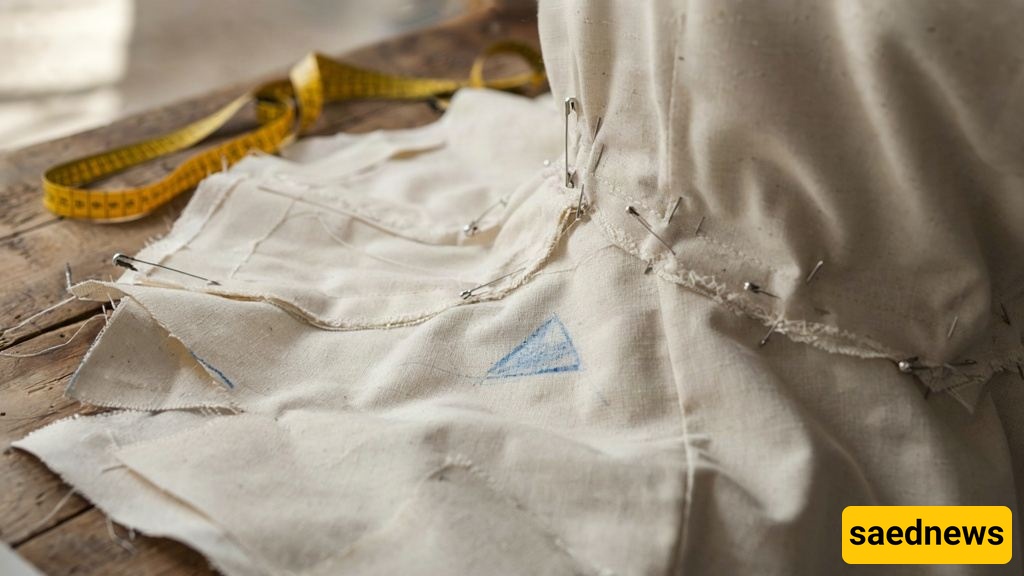
Horizontal wrinkles usually indicate that the garment is too tight or too short in that particular area. For example, horizontal wrinkles across the bust may mean that the bust dart is insufficient or that the front bodice length is too short.
Vertical wrinkles often indicate excess fabric or looseness.
Diagonal wrinkles pointing toward a particular area usually suggest a fitting problem around the shoulder or side seam.
Never pull the fabric to make it look smooth. Instead, identify where the fabric is too tight or has excess material, and mark the necessary adjustments with pins.
Put the garment on using pins or temporary stitching to hold the seams in place.
Start from the top. The shoulders should sit smoothly without pulling across the arms.
Check the bust and waist measurements.
If the garment feels too tight, slightly open the side seam and mark the new seam position with pins.
Repeat the same process around the hips.
Mark the garment length and waistline position using tailor's chalk or a pencil.
Transfer all adjustments to the paper pattern.
Make small adjustments of just a few millimeters at a time rather than changing too much at once.
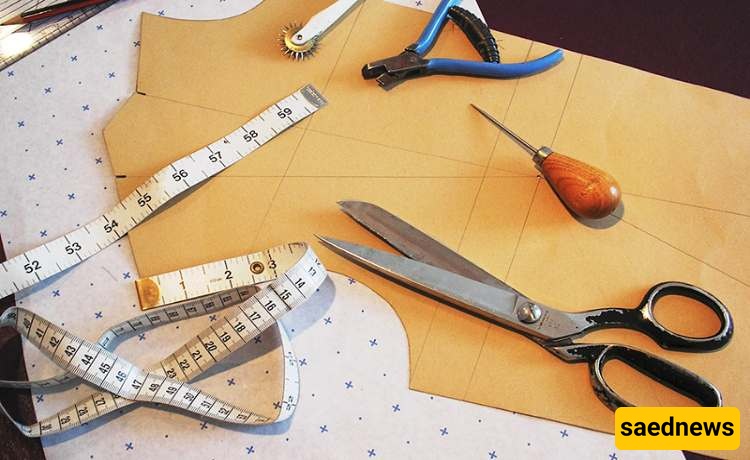
Some of the most common fitting mistakes include:
Making too many adjustments in one session, which can distort the entire pattern.
Fitting a garment while wearing thick underwear or bulky clothing.
Ignoring body movement, such as raising the arms or sitting down.
Failing to press the seams before trying on the garment.
Checking only the front of the garment and forgetting to inspect the back.
Always evaluate the garment from different angles and in various body positions to ensure a comfortable and well-balanced fit.