SAEDNEWS: Learn how to make jar cakes with precise ingredients and complete step-by-step instructions, from a simple classic version to chocolate, tiramisu, and Lotus flavors, along with essential tips for layering and frosting.
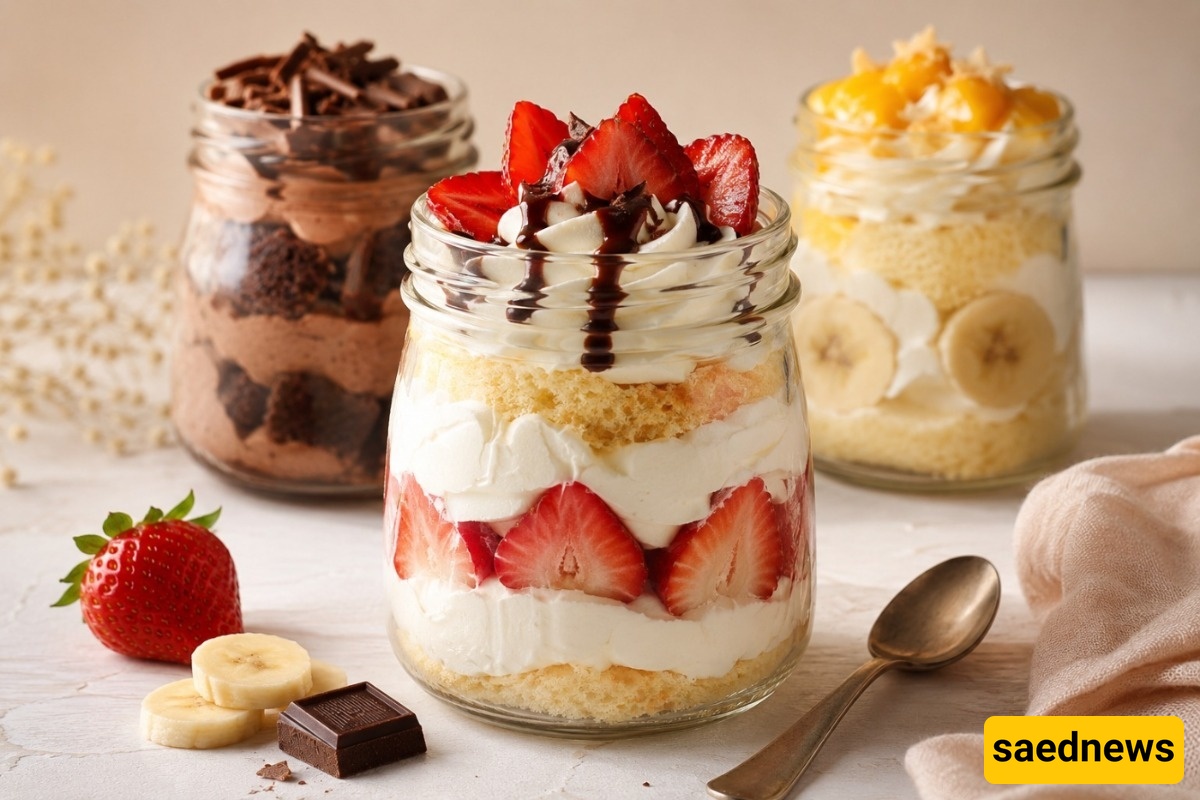
According to Saednews, Jar cake gets its name from the container in which it is served. In English, a “jar” refers to a glass container with a lid, and this dessert is prepared in layers directly inside the jar. A typical jar cake consists of soft cake, whipped cream, and your choice of filling layered together to create an attractive individual dessert. By paying attention to the cake’s moisture level, the consistency of the cream, and the order of the layers, you can make soft, well-structured jar cakes and customize them with chocolate, bananas, walnuts, fruit, or different sauces.
The following quantities are suitable for making approximately 4 jar cakes in 250 ml jars.
Ingredient | Amount |
|---|---|
Eggs | 2 |
All-purpose flour | 90 g |
Sugar | 80 g |
Milk | 50 ml |
Vegetable oil | 40 ml |
Baking powder | 1 teaspoon |
Vanilla | ½ teaspoon |
Ingredient | Amount |
|---|---|
Pastry cream / whipping cream | 300 g |
Banana | 1 medium |
Chopped walnuts | 40 g |
Chocolate or chocolate sauce | 50–70 g |
Milk for moistening the cake | About 60 ml |
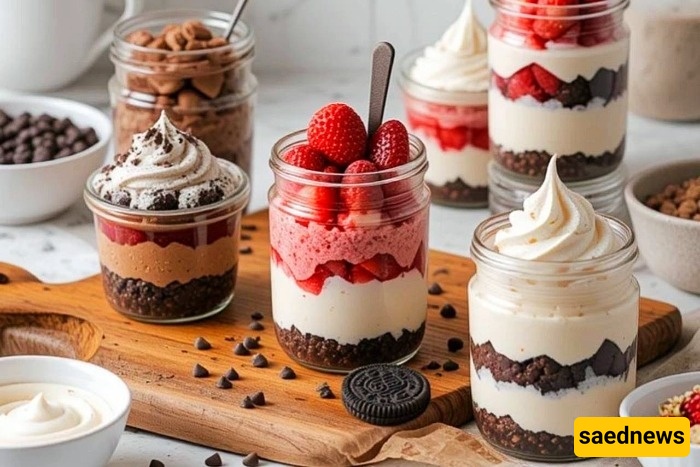
The banana, walnuts, and chocolate can be adjusted according to your preferred flavor.
Step-by-Step Jar Cake Recipe
Follow these steps for an easy way to prepare jar cake.
Beat the eggs, sugar, and vanilla with an electric mixer for about 4–5 minutes, until the mixture becomes light, fluffy, and slightly elastic. Add the milk and vegetable oil and mix for a few more seconds.
Sift the flour and baking powder together, then add them to the batter in two batches. Gently fold them in with a spatula so that the air incorporated into the eggs is not lost.
Pour the batter into a cake pan lined with parchment paper. Place it in a preheated oven at 180°C (350°F).
Check the cake after approximately 20–25 minutes. If a toothpick inserted into the center comes out clean, the cake is ready. The exact baking time may vary slightly depending on the oven and the size of the pan.
Remove the cake from the pan and allow it to cool completely to room temperature. Do not rush this step, as adding cream to a warm cake can cause the cream to soften and lose its shape.
Once completely cool, cut the cake into small pieces or use a cutter to make circles that fit the diameter of your jars.
Whip the cream until it becomes firm enough to hold the marks left by the mixer beaters.
Slice the banana shortly before assembling the dessert to prevent it from changing color. Prepare the chopped walnuts, chocolate sauce, and any other filling ingredients as well.
Place a layer of cake at the bottom of each jar. Using a spoon or pastry brush, lightly moisten the cake with a small amount of milk. The cake should be moist, not soggy.
Add a layer of whipped cream followed by some banana slices, walnuts, and chocolate sauce. Repeat the layers until you are close to the top of the jar, leaving a little space for decoration.
Cover the final layer with whipped cream and decorate with grated chocolate, chopped walnuts, fresh fruit, cookie crumbs, or a small amount of chocolate sauce.
If the jars will remain in the refrigerator for several hours, it is better to add cookies and other crunchy decorations shortly before serving so they do not become soft.
Refrigerate the jar cakes for at least 2–3 hours. This allows the cake to absorb enough moisture and helps the layers become more cohesive.
If you have used bananas or fresh fruit, it is best not to store the dessert for too long and to serve it while fresh.
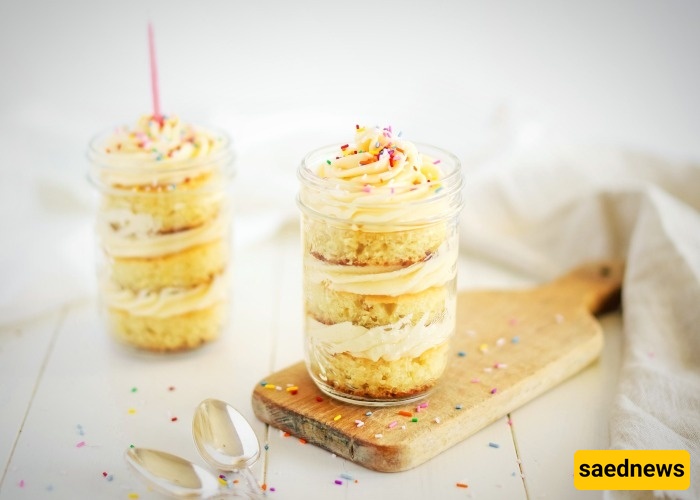
For jar cakes, use a light, sponge-like cake. Very oily or dense cakes can become heavy when combined with whipped cream.
Plastic jars are also available, but short, wide-mouth glass jars are better for layering. They make the layers easier to see and the dessert easier to eat.
Avoid making the layers too thick. Thin layers allow you to enjoy cake, cream, and filling together in every spoonful.
If you are preparing jar cakes for sale or a party, try to keep the amount of ingredients in each jar approximately equal so that they all have a consistent appearance and volume.
Red Velvet jar cakes are also particularly popular for celebrations and special occasions.
For fruit fillings, avoid very watery fruits such as watermelon or oranges, as they can release liquid quickly and ruin the texture of the dessert.
Bananas, strawberries, mangoes, walnuts, hazelnuts, ganache, chocolate cream, and cream cheese are among the fillings that work especially well in jar cakes.
For a strawberry jar cake, you can use the same type of layered filling with fresh strawberries.
If the jar cakes need to be transported for several hours, use a more stable whipped cream and do not fill the jars completely to the top. This prevents the decoration from touching the lid during transportation.
For a more professional appearance, pipe the whipped cream into the jars using a piping bag. This keeps the sides of the jars clean and makes the layers more distinct.
With transparent jars, the order and contrast of the colors matter. For example, chocolate cake, white cream, and red fruit create a more attractive appearance than layers with similar colors.
If you use sauce or ganache, control the amount. Too much sauce can run toward the bottom of the jar and blur the separation between the layers.
For birthday jar cakes or desserts prepared for guests, choose the final decoration to match the flavor inside. For example, avoid decorating a chocolate jar cake with a fruit that does not appear anywhere in the dessert or complement its flavor.
Store jar cakes in covered containers in the refrigerator so that the cream does not absorb odors from other foods and the surface of the dessert does not dry out.
To make a chocolate jar cake, simply turn the basic cake into a chocolate version. Reduce the flour in the original recipe by 15 g and replace it with 15 g of unsweetened cocoa powder. Therefore, for 4 jars, you will need 75 g of flour and 15 g of cocoa powder.
Sift the cocoa powder together with the flour and baking powder to prevent lumps from forming in the batter.
After baking and cooling the cake, cut it into pieces. Place a layer of chocolate cake at the bottom of each jar, then add whipped cream and a small amount of ganache or chocolate sauce.
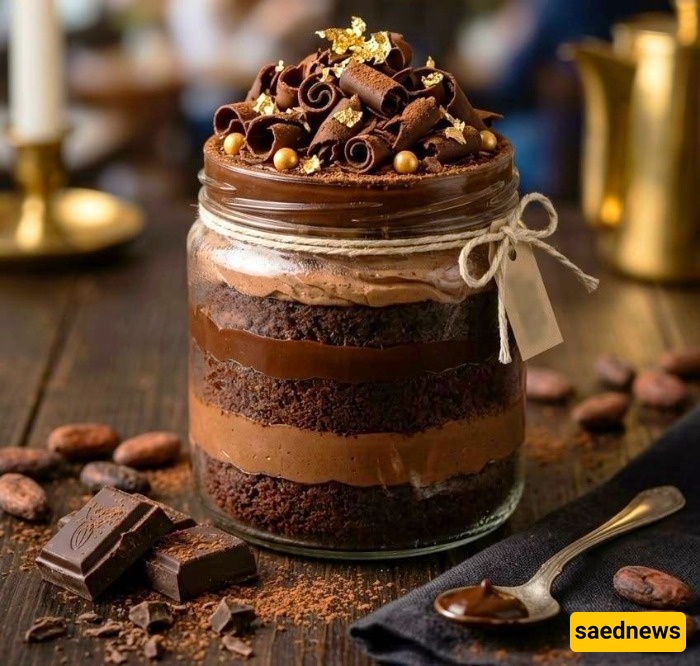
Bananas, chopped walnuts, hazelnuts, or chocolate pieces also work well as fillings. Repeat the layers until you reach the top of the jar.
For the final layer, you can use whipped cream and ganache, then finish with grated chocolate or chopped nuts. If you want a richer chocolate flavor, use high-quality cocoa powder and dark or semisweet chocolate for the ganache. This helps balance the sweetness of the cream and sauce.
Refrigerate the chocolate jar cakes for 2–3 hours before serving so that the layers combine nicely and the cake becomes soft and cohesive.
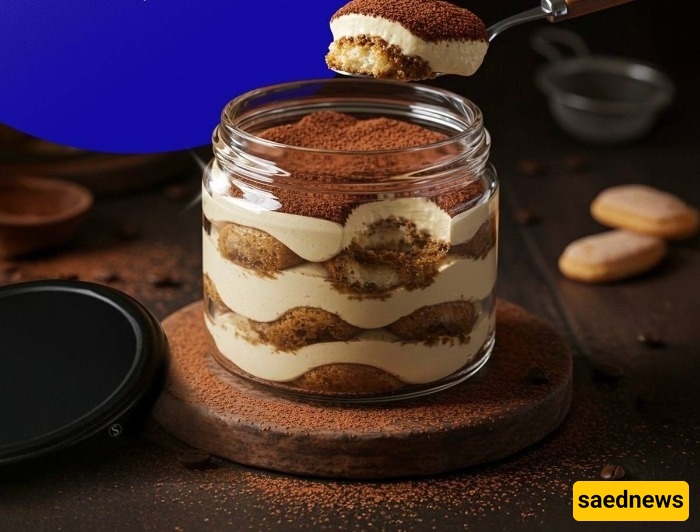
For a tiramisu-style jar cake, you can use either simple sponge cake or ladyfingers. For 4 jars, you will need approximately 250 g of mascarpone cheese, 200 g of whipping cream, 1–2 tablespoons of powdered sugar, ½ cup of strong chilled coffee, and some cocoa powder.
Whip the cream until firm. In a separate bowl, mix the mascarpone and powdered sugar just until smooth and creamy. Gently fold in the whipped cream until you have a light and cohesive cream. Avoid overmixing, as this can loosen the texture.
Place a layer of cake or ladyfingers at the bottom of each jar and drizzle a small amount of cold coffee over it. Use just enough coffee to moisten the cake without making it soggy.
Add a layer of mascarpone cream and repeat the layers until you are close to the top of the jar.
Cover the final layer with cream and refrigerate the jars for at least 4 hours so that the coffee and cream flavors can blend properly. Sift cocoa powder over the top just before serving to keep the surface looking fresh and clean.
If you want the flavor to be closer to classic tiramisu, ladyfingers are a better choice than sponge cake. However, for a dessert that more closely fits the definition of a traditional “jar cake,” a light sponge cake works particularly well.
For a Lotus jar cake, you can use the same basic vanilla cake from the original recipe. For 4 jars, you will need approximately 200–250 g of whipped cream, 120 g of Lotus biscuit spread, and 6–8 Lotus biscuits.
After the cake has cooled completely, cut it into pieces that fit the size of your jars.
If the Lotus spread is too thick, warm it gently for a few seconds using indirect heat or a microwave to make it more fluid. It should not become hot; it simply needs to be easy to spread between the layers.
Place a layer of cake at the bottom of each jar, followed by some whipped cream and a small amount of Lotus spread. Add crushed Lotus biscuits, then repeat the layers until you are close to the top.
Avoid using an overly thick layer of Lotus spread, as the combination of spread, biscuits, and cream can make the dessert excessively sweet and heavy.
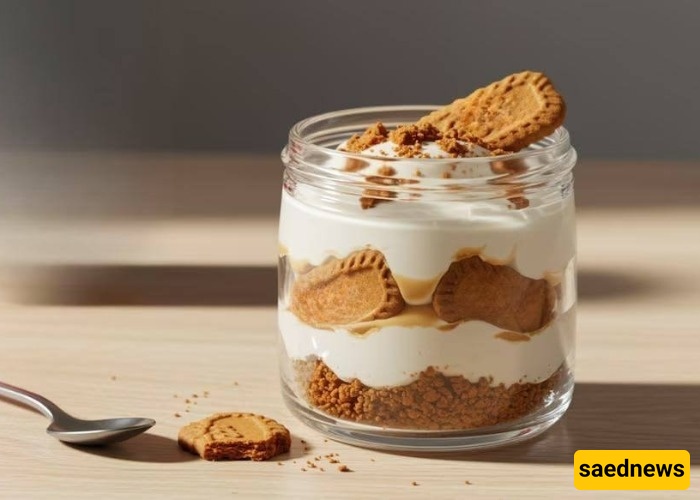
Decorate the top with whipped cream, a little Lotus spread, and crushed biscuits. Refrigerate the Lotus jar cakes for 2–3 hours so that the layers can set.
If you want the biscuits on top to remain crunchy, add the final biscuit crumbs immediately before serving.