SAEDNEWS: How to Make Thick, Smooth Homemade Yogurt: A Simple Guide from Milk to Finish
Making homemade yogurt is one of those skills that once you learn, you’ll never want to stop. Not only are you assured of its purity and healthiness, but you can also adjust its texture and flavor exactly to your preference.
At first, you may be a bit meticulous, but by following a few key principles—from proper milk temperature to fermentation time—you can achieve results even better than expensive store-bought yogurts. Below is a complete step-by-step guide along with professional tips.
Control milk temperature after boiling: Heat the milk to about 85°C (not just boiling). Then cool it down to 40–45°C.
If the temperature exceeds 50°C, it will kill the yogurt culture. Below 35°C, fermentation becomes very slow or may stop completely.
Correct fermentation time:
Keep the yogurt in a warm place for 6 to 8 hours (such as an oven with the light on). The longer it sits, the sourer it becomes. For mild yogurt, aim for 6 hours.
Use fresh starter yogurt:
Always use fresh plain yogurt (preferably with live probiotics). Old or frozen yogurt contains fewer active bacteria.
Full-fat milk: Higher fat content produces creamier, thicker yogurt. Low-fat milk results in a thinner texture.
Adding milk powder: Add 2–3 tablespoons of milk powder per liter of milk. This increases protein content and creates a much firmer texture.
Straining after fermentation:
Once the yogurt is set, strain it using a clean cloth or yogurt strainer for 2–4 hours in the refrigerator to remove excess whey. Longer straining produces Greek-style or cream cheese-like yogurt.
Sterilize all tools: Boil and disinfect all utensils and containers to prevent unwanted bacteria.
Maintain stable temperature: After adding the starter, keep the container in a steady warm environment (around 40°C).
Immediate refrigeration: Once fermentation is complete, transfer the yogurt immediately to the fridge. Leaving it out too long can make it overly sour or cause separation.
Even mixing technique: First mix the starter yogurt with half a cup of warm milk, then add it to the rest of the milk. This ensures even bacterial distribution.
1 liter full-fat milk
2 tablespoons plain fresh yogurt (starter)
2 tablespoons milk powder (optional, for thicker texture)
Bring the milk to a boil over medium heat. Then reduce heat and let it simmer for 5–10 minutes to slightly reduce and thicken.
Tip: If using milk powder, dissolve it in a small amount of warm milk first to prevent lumps.
Remove the milk from heat and let it cool to 40–45°C.
How to check:
Insert a clean finger—if you can hold it in the milk comfortably for about 10 seconds, the temperature is right.
Warning: Too hot kills the culture; too cold slows fermentation.
Mix 2 tablespoons of yogurt with half a cup of warm milk until smooth.
Slowly add the mixture into the warm milk and stir gently until fully combined.

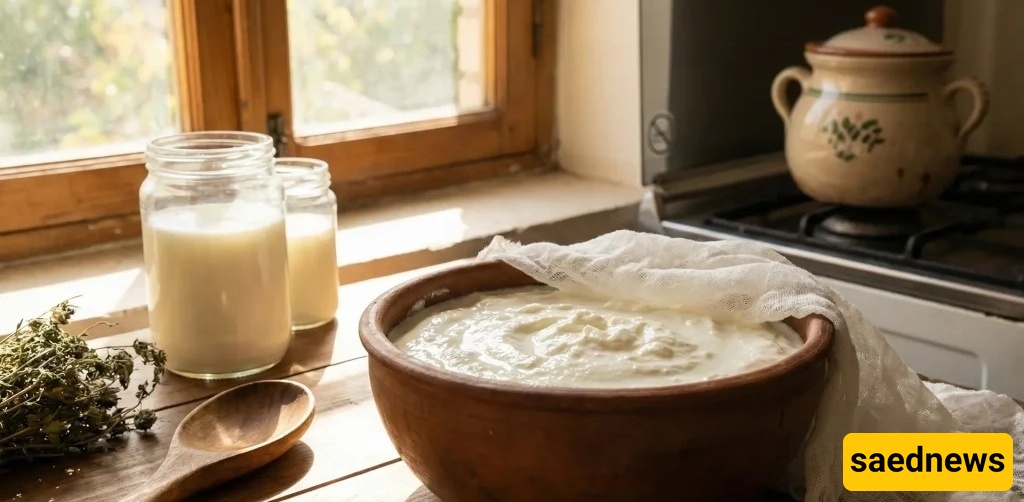
Pour into a clean, sterilized container
Cover tightly
Place in a warm, stable environment
Best methods:
Oven with the light on (~40°C)
Wrapped in a blanket
Warm water bath (~45°C, refreshed occasionally)
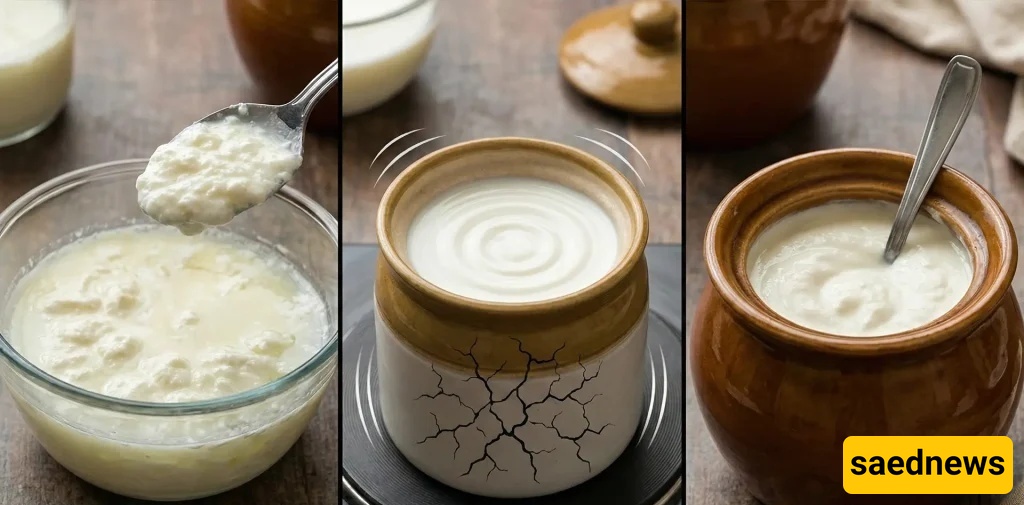
Leave for 6–8 hours.
After fermentation, place the yogurt directly in the refrigerator for at least 4 hours (preferably overnight) to fully set.
For Greek-style yogurt, strain in a cloth-lined sieve in the refrigerator. Drain whey every few hours. After 4–6 hours, you will get a very thick yogurt.
Your homemade yogurt is ready. Store it in a sealed container in the refrigerator for up to one week. Always save a spoonful as a starter for the next batch (reuse it up to 3 times before refreshing with new yogurt).