SAEDNEWS: Jelly is one of the most popular desserts, especially on nights like Yalda Night. One of the most fundamental and essential tips to keep in mind is removing the jelly from its mold.
According to SAEDNEWS, Family Magazine, jelly is one of the most delicious and popular desserts that most people, especially children, love. Nowadays, on social media, you can find jelly made in various shapes. There are many tricks and techniques for making jelly. One of the most basic and important tips to consider is how to remove the jelly from its mold. If you are also a fan of jelly and always looking to learn the techniques for making this delicious dessert, follow us and learn the tips we have gathered for you so that you can easily remove your jelly from the mold.
Step 1: Making the Jelly Making jelly is very simple. All you need to do is dissolve the contents of a jelly pack in a cup of hot water. The most important thing when making jelly is to ensure that the jelly powder is completely dissolved in the water. You can place the container over the steam of a kettle to dissolve the jelly evenly through the double-boiling method, or you can leave it on direct heat for a minute or two, but you must stir it constantly to ensure it dissolves. Once the jelly is fully dissolved in the hot water, add one cup of cold water. After stirring it again, you can transfer it to your desired mold. Keep in mind that the less water the jelly has, the easier it will be to remove from the mold.
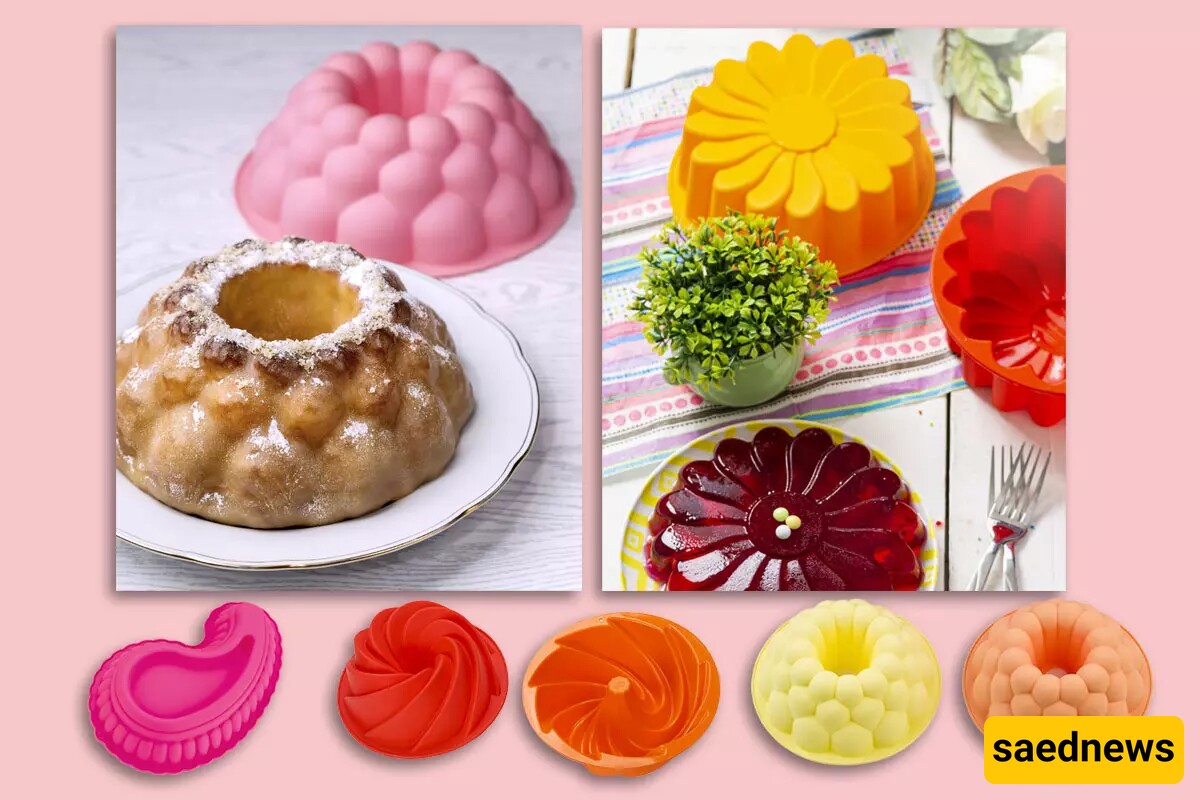
Step 2: Choosing the Mold As you know, there are many types of jelly molds available on the market, including plastic, silicone, and metal molds. You can even prepare jelly in a Pyrex container if you wish. The best mold for making jelly is plastic. Since metal molds absorb heat faster, you can remove the jelly from them more easily. Plastic and silicone molds are a bit trickier. We will show you guaranteed techniques for these molds next.
Step 3: Preparing the Mold Preparation varies depending on the type of mold. For metal molds, simply wet the mold and place it in the freezer for a while, allowing a thin layer of ice to form on it. For silicone and plastic molds, we recommend lightly greasing the mold with a brush. Once the inside of the mold is completely greased, sprinkle some sugar on it and leave it in the freezer for a short while. It's that simple.
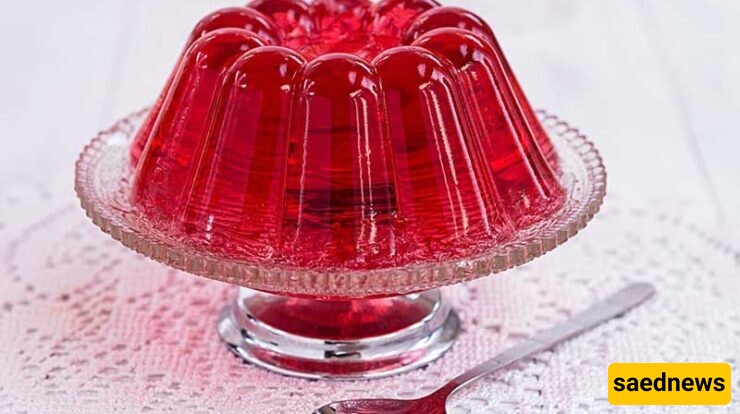
Step 4: Setting the Jelly Place the jelly mold in the refrigerator. After the recommended time, you’ll see that your jelly is fully set. If you press on it with your finger, your fingerprint should not remain.
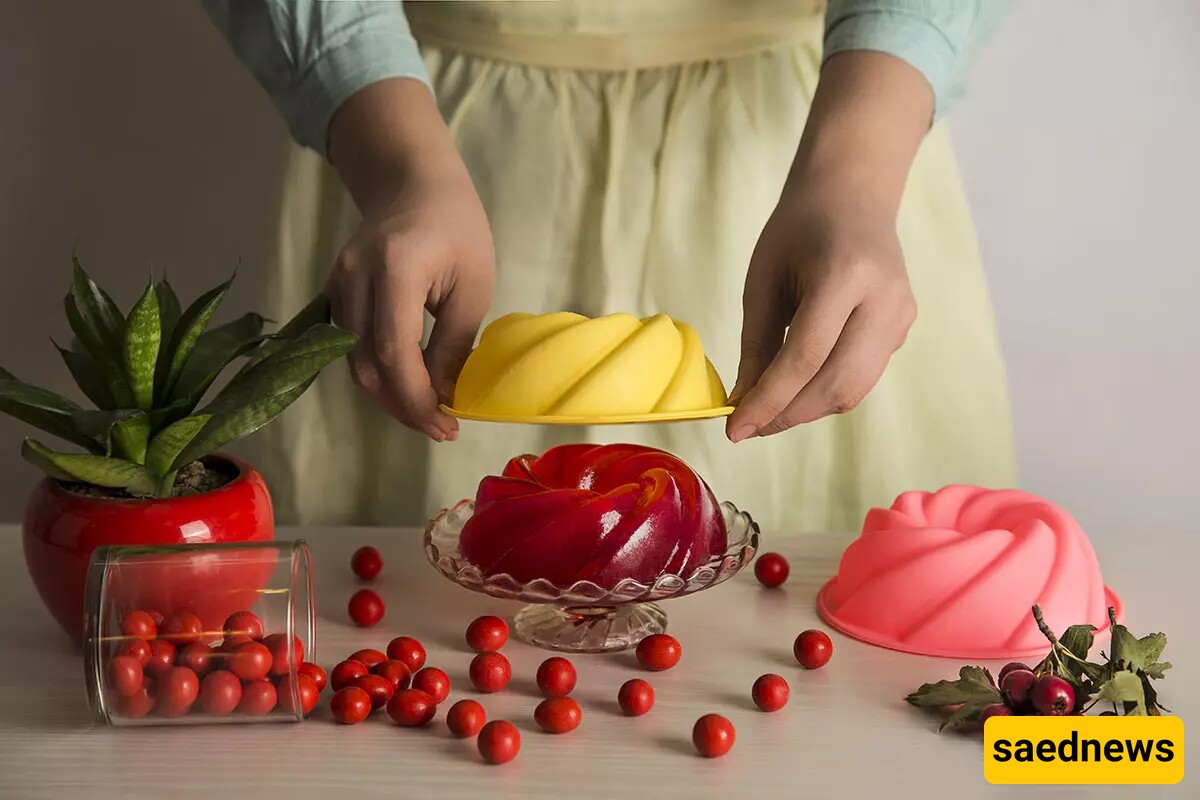
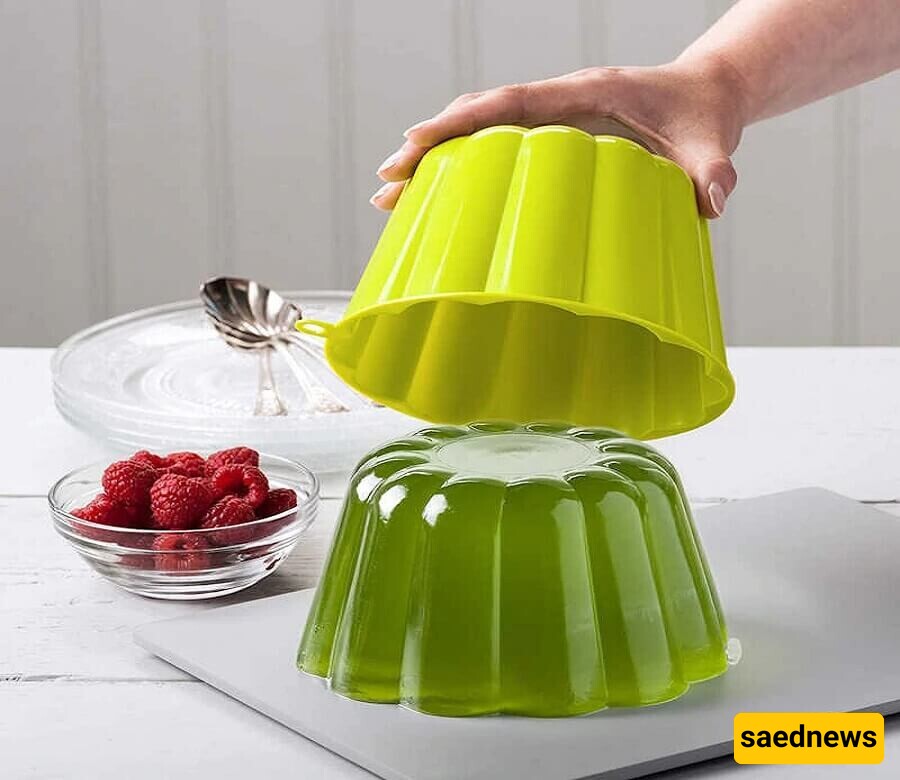
Step 5: Removing the Jelly from the Mold If you want to invert the jelly, make sure it is fully set. It’s best to remove the jelly from the mold one hour before serving, so if it loosens a bit, you can place it back in the fridge to firm up. Choose a suitable, preferably flat, dish to invert the jelly onto. It may not land perfectly in the center of the dish, and you might want to shift it a bit. To avoid difficulty moving the jelly on the dish, wet the dish slightly so the jelly can slide off more easily.
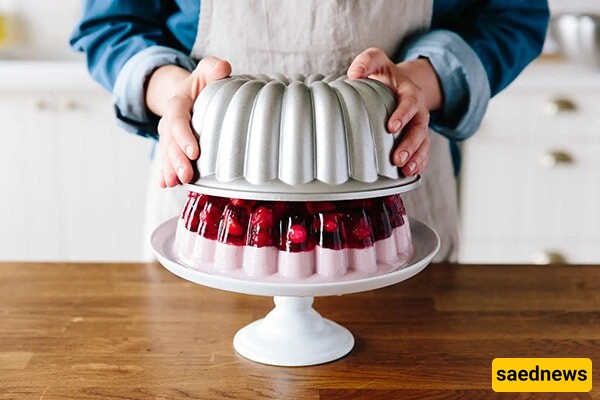
Warm Water Trick To remove jelly from silicone, plastic, or metal molds, you’ll need a container of warm water. Place the mold in the water and gently use a spatula or a sharp knife to detach the jelly from the mold's walls. If you prefer to use your fingers, make sure to wet them first. To detach the jelly from the bottom of the mold, give it a slight shake. Repeat this process if necessary until the jelly is completely loosened, and then you can comfortably invert it onto your desired dish.
Wet the Dish You cannot place a Pyrex dish directly on the heat because the sudden temperature change will crack the dish. To avoid this, wet the Pyrex dish before adding the jelly mixture. Once the jelly is set, let it sit for a few minutes, then place the serving dish on top of the Pyrex dish and invert it. You may need to give the mold a little shake to release the jelly.
Step 6: Cutting the Jelly If you wish to cut the jelly, keep in mind that your serving dish should be completely moist, and you should constantly wet the knife as well. Be sure to use a knife that is appropriately sized and sharp.