SAEDNEWS: In today’s competitive world, an appealing product photo can convince a customer. You no longer need to spend heavily on product photography training or be a professional photographer.

In this article, we teach you how to capture stunning images by following tips for product photography with a camera. You can also, by using these tips and a few simple techniques, learn product photography at home without any prior experience or classes and start photographing your products.
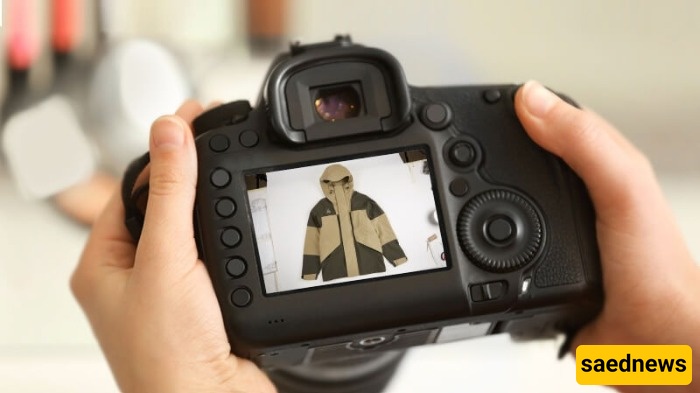
To create professional-looking images of your products, selecting the right tool is crucial. You might think that a smartphone can take good photos—and indeed, learning product photography with a phone can help a lot in the beginning—but it’s important to be realistic and acknowledge that the specialized features and control of a camera are not comparable to a mobile device.
Interchangeable lenses for capturing fine details and shooting from different angles are the camera’s trump card. Remember, showing the tiniest product details is valuable to customers and can significantly increase your chances of making a sale. Here are some cameras suitable for product photography and capturing professional images:
Canon EOS 2000D with IS II 18-55mm lens
Fujifilm X-H2S Mirrorless Camera
Sony ZV-1 II
Sony Alpha a7C
These are just a few examples of cameras suitable for product photography. To choose the best camera for your needs, gather information about how its features match your requirements before making a purchase.
Before pressing the shutter button, pay attention to one vital point: complete product preparation. To ensure the best quality and flawless detail display, clean your product from any dirt, dust, or fingerprints. Using cotton gloves and a soft cloth is an important tip in product photography training to prevent marks or smudges. This small step not only shows professionalism but also ensures the final image is crisp without needing hours of detail editing.
In product photography training, the “still life” style allows you to showcase everyday products in a creative and unique way. The main goal is to encourage the buyer to purchase and evoke emotion about the product. For the best results, always focus on a simple background and controlled lighting. Use neutral, uncluttered backgrounds and adjust lighting so shadows are soft and all product details are clearly visible. This keeps the viewer’s focus on the product while avoiding overly fanciful compositions.
One of the most effective and common techniques in product photography training is using a white background. This simplicity places your product in the spotlight and prevents distraction. You can use a curved white backdrop for this purpose. This method works well for most products and helps you create clean, standard images—even when using a professional Canon camera.
In product photography training, “packshot” refers to a direct image of the product, usually centered on a simple background. The main goal is to present a completely realistic, distraction-free image that accurately shows the texture, color, and details of the product to the customer. Unlike still life photography, packshots do not involve creative composition or lighting; simplicity and clarity are the keys to this style’s popularity in online sales.
In product photography training, avoid using filters. Filters can make the product appear different from reality, leading to customer dissatisfaction. Instead of filters, use professional editing tools like Photoshop to fix minor imperfections after shooting so the product looks exactly like it does on the website, building trust with the customer.

To increase sales, the customer must see the product from all angles and color variations. In product photography training, never neglect photographing details, the back, and different dimensions of the product. Providing a complete and comprehensive image prevents customer disappointment and convinces them to buy, as they know exactly what they are ordering.
Lighting is the most important part of product photography training, determining the final image quality. You have full control over light and can use the two main types: flash, which illuminates the scene instantly, and continuous light, which shows results immediately. Choosing the right lighting helps capture product details perfectly and gives a professional look.
For products with critical fine details, such as jewelry or small components, a macro lens is essential. This specialized lens allows you to capture even the smallest textures and intricacies with extreme magnification. Investing in a high-quality macro lens is a significant step in elevating your at-home product photography skills and showcasing your products professionally.
In product photography training, add creativity to make your photos lively and impactful. Display products in real-life settings or with related props like mannequins so the user can imagine using them. Shoot from different angles and use lighting to create a visual story; this approach makes your product appear more appealing and desirable.