SAEDNEWS: Dreaming of Homemade Bread with Irresistible Aroma and Taste? This Complete Guide Shows You Key Tips for the Perfect Dough—from Choosing Flour and Activating Yeast to Kneading Secrets and Resting Time—So You Can Bake Crispy, Delicious Bread at Home!"

According to the Cooking Section of Saed News, the smell of freshly baked bread filling your home is one of life’s simplest pleasures. Yet many of us skip making homemade bread, assuming it’s a complicated, time-consuming process. The truth? With a few key tips, anyone can bake healthy, flavorful, and high-quality bread right in their kitchen. This guide will help you master dough preparation and leave you amazed by the results.
You don’t need professional equipment to achieve perfect dough—attention to detail is enough. Here are seven essential secrets to baking success:
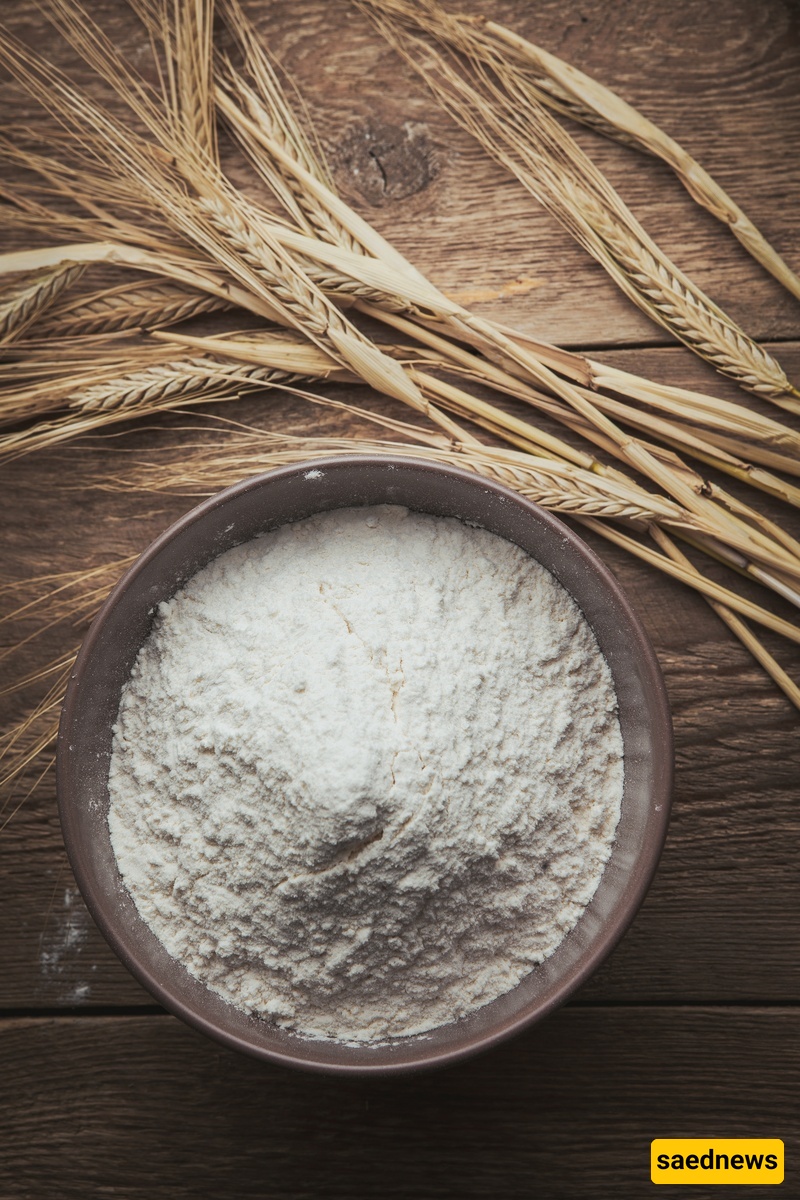
1. Choosing the Right Flour: The Foundation of Your Dough
Not all flours are created equal. For airy, structured bread, opt for “bread flour” or “high-gluten flour.” These flours contain more protein, which strengthens the dough’s elastic structure. If you don’t have bread flour, “all-purpose white flour” works too, though your bread may be slightly softer.
2. Water Temperature: Activating the Yeast
Yeast is alive, and water temperature is crucial. The water should be lukewarm—not hot, not cold—ideally between 104°F and 115°F (40–46°C). If you don’t have a thermometer, dip your finger in: it should feel warm but never burn. Hot water kills yeast; cold water won’t activate it properly.
3. Yeast: The Heart of Your Dough
Before adding yeast to flour, make sure it’s alive. To do this, mix yeast with lukewarm water and a pinch of sugar, then wait 5–10 minutes. If it becomes frothy and bubbly, your yeast is active and ready to use.

4. Salt: The Yeast’s Friendly Rival
Salt is essential for flavor and fermentation control, but direct contact with yeast can slow or stop it. Always mix salt with flour first, then add the water-yeast mixture. This small step is crucial for successful homemade bread.
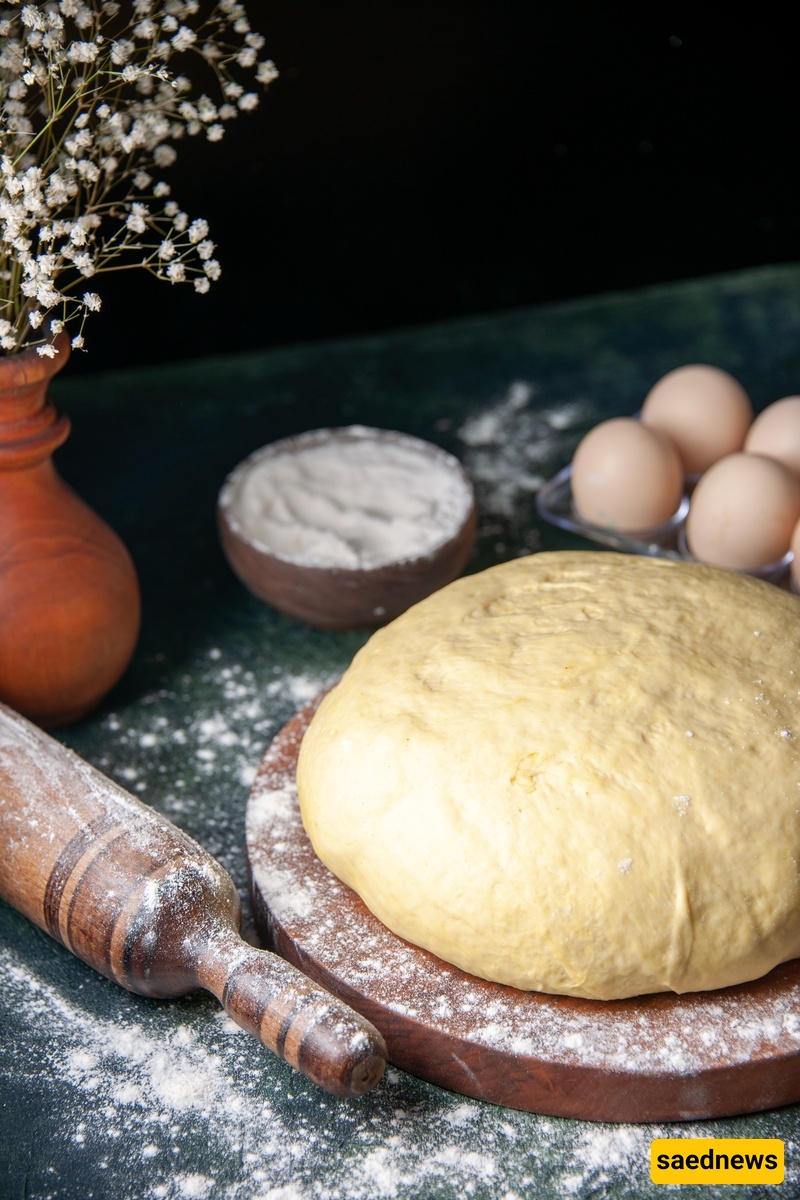
5. Kneading: More Than Just Mixing
Kneading strengthens the gluten network, giving your bread a soft yet resilient texture.
Proper Technique: Push the dough forward with the heel of your hand, fold it over, and rotate 90°. Repeat for 10–15 minutes.
Ready Dough: The dough should be smooth, soft, slightly sticky, and spring back when pressed (Windowpane Test).
6. First Rest (Fermentation): The Magic of Patience
After kneading, place the dough in a greased bowl, cover it, and leave it in a warm, draft-free spot. Let it nearly double in size (usually 1–2 hours). This develops both flavor and texture. Test by pressing gently—if the indentation remains, it’s ready.
7. Shaping and Second Rest: The Final Step Before Baking
After the first rest, gently punch down the dough to release excess air. Shape it as desired—round, oval, or loaf—and place it on a baking tray. Cover and allow a second rest (30–60 minutes) to rise slightly before baking. This gives your bread its final volume.
Making homemade bread is more than following a recipe—it’s a rewarding skill. By focusing on quality ingredients, proper kneading, and giving your dough time to rest, you can bake bread that rivals any store-bought loaf in flavor, aroma, and health benefits. Don’t hesitate—roll up your sleeves and enjoy the magic you can create with your own hands.