SAEDNEWS: Royal icing is one of the most popular and well-known toppings for decorating biscuits, cookies, and cakes worldwide. Its main ingredients are egg whites and powdered sugar.

Reported by Saed News Cooking Service:
Ingredient | Quantity |
|---|---|
Egg whites | 60 g |
Powdered sugar | 150 g |
Cream of tartar | 1/4 tsp |
Lemon juice | A few drops |
Vanilla extract or essence | A few drops |
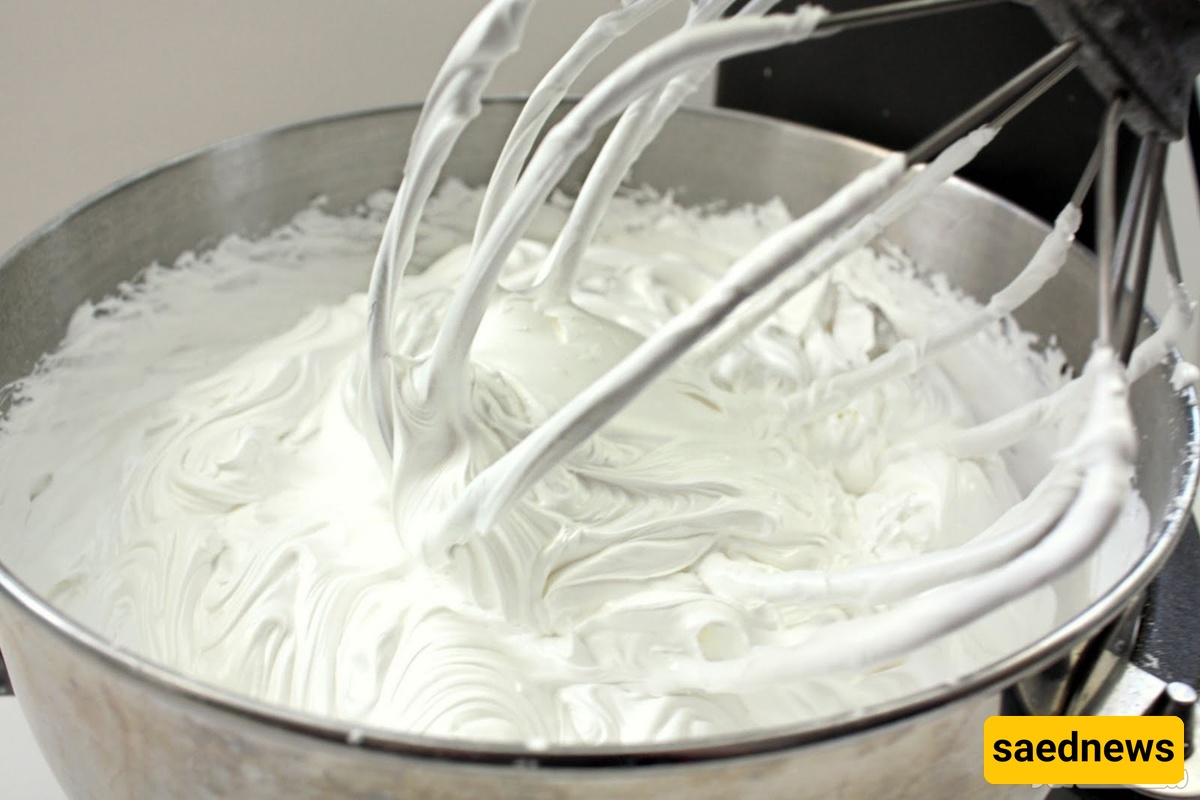
Separate the egg whites and whisk them on medium speed until slightly foamy.
Add powdered sugar, cream of tartar, and vanilla or essence, then whisk again on medium speed.
Add lemon juice and mix thoroughly.
Adjust the royal icing to the desired consistency, fill into piping bags, and use immediately.
Tip: Lemon juice is added to give the icing a shiny finish.
Royal icing is the most popular and recognizable coating for decorating cookies, made from egg whites and powdered sugar. Fortunately, raw egg whites—which may pose health risks—can be replaced with meringue powder, made from dried egg whites and stabilizers, which is safe to use.
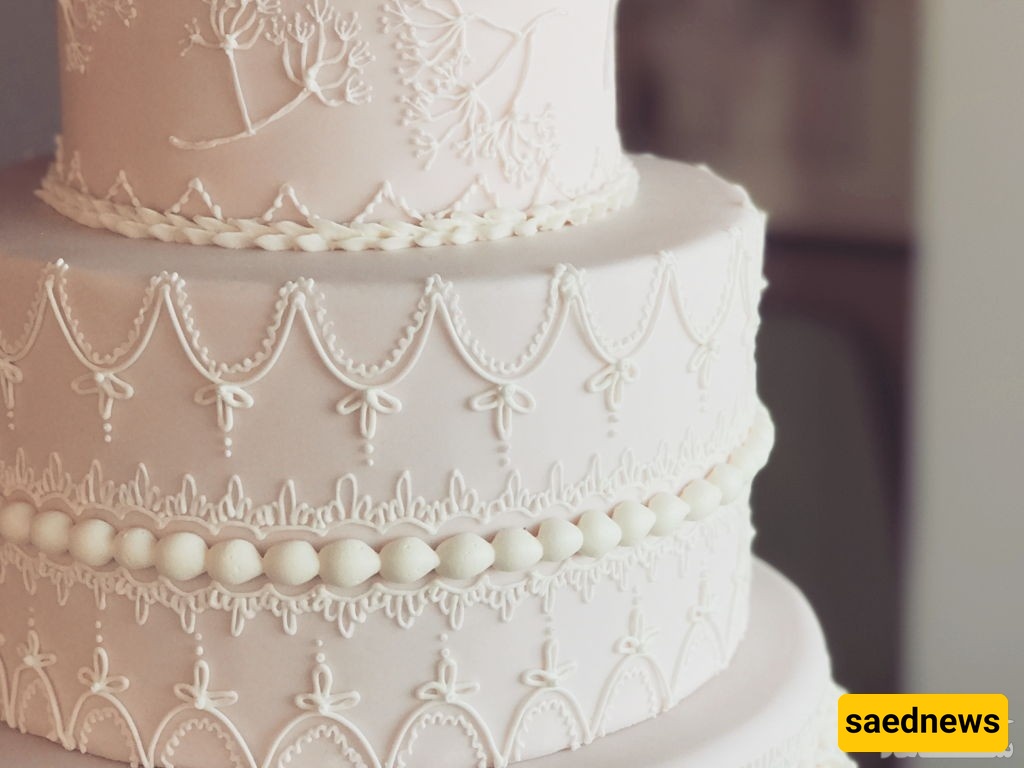
Although its main use is for decorating cookies, royal icing can also serve as a cookie adhesive, cake topping, and for intricate work on sugar dough.
The British and French royal families played a major role in the development and variety of confectionery. Elaborate dessert tables were highly important to them, prompting chefs to create new recipes.
The royal icing recipe was originally made for Queen Victoria’s wedding cake. The cake was so large and elaborate that chefs had to start preparation days in advance. Since soaked dried fruits were used and could spoil, the Queen’s French chef devised a solution: royal icing. Powdered sugar preserves well, and coating the cake with royal icing prevents air from reaching it, allowing the cake to be prepared ahead of time. Because it was first used for the British royal family, it was named “Royal Icing.”
Before royal icing, decorations like sugar icing, buttercream, and fondant were used. After its invention, the use of these alternatives declined significantly.
Sugar icing: Takes several days to dry. Royal icing dries faster due to egg whites.
Buttercream: Has low stability at room temperature and is soft, whereas royal icing is durable and long-lasting.
Fondant: Thick and hard to control for fine details. Royal icing can be adjusted to the right consistency for delicate work.
Note: The main limitation of royal icing is its sweetness. Even when flavored, it’s primarily for professional decoration rather than taste.
Different consistencies are used depending on the decoration type:
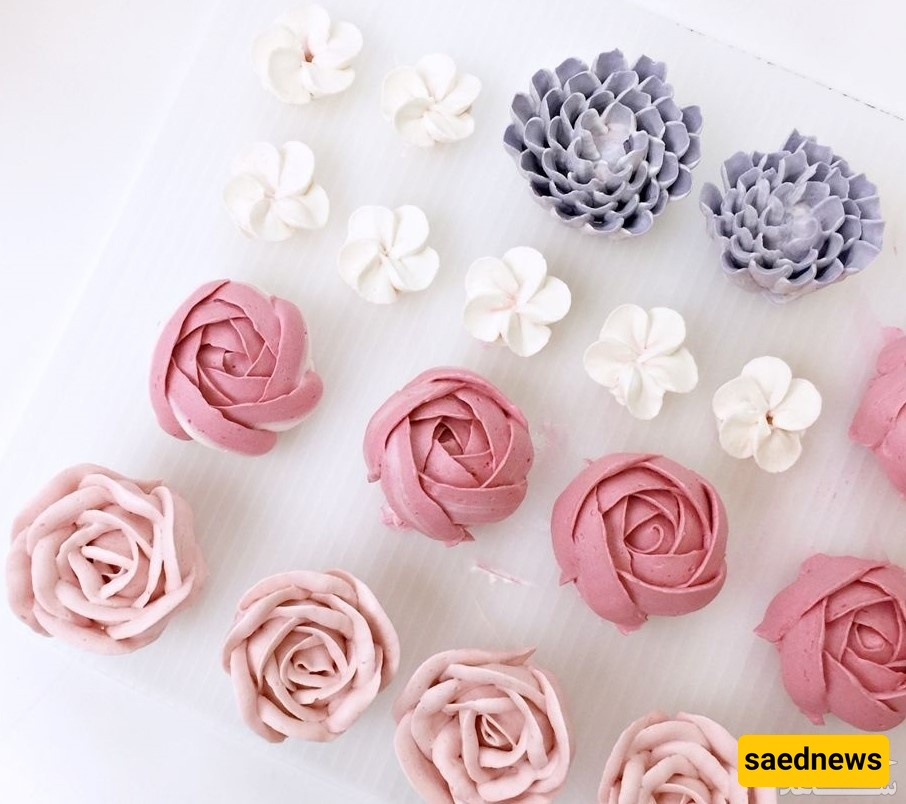
Stiff consistency: Very thick, like a firm dough. Ideal for sugar flowers, fruits, and raised designs. Dries quickly and holds shape. Test with the “20-second rule”: draw a line with a knife; it should take 20 seconds to disappear.
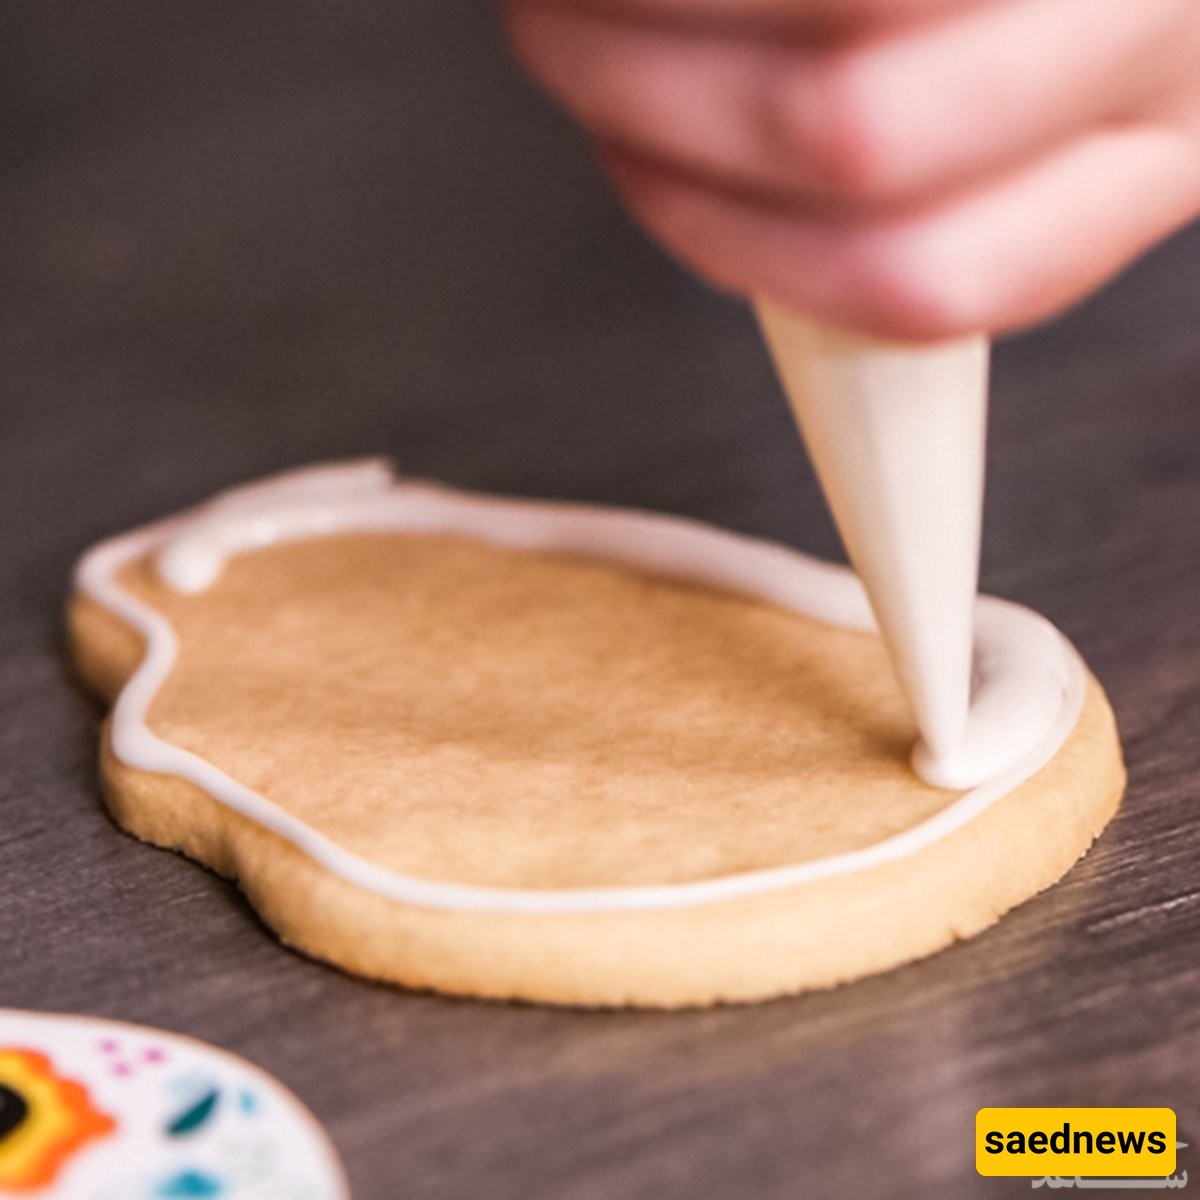
Medium consistency: Thicker than flood icing but not stiff. Perfect for outlining and writing. Test with the “10-second rule”: the line should disappear after 10 seconds. Also called piping icing.
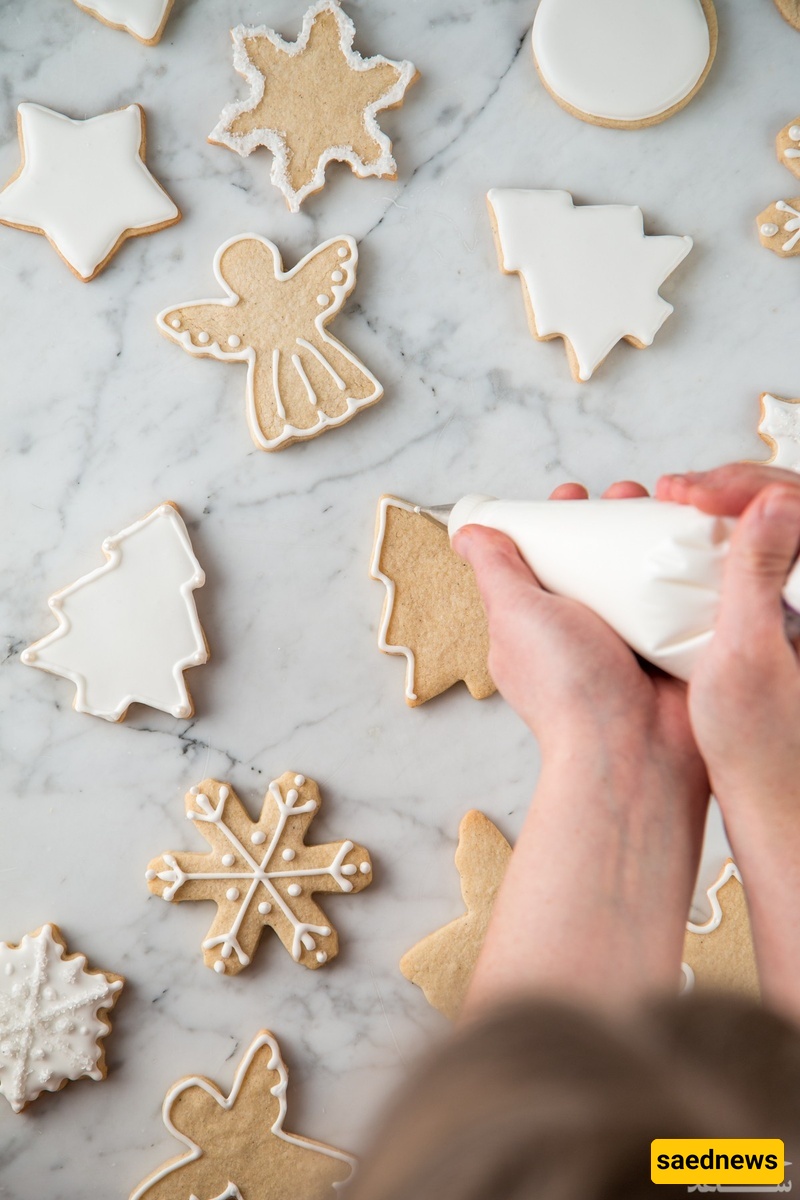
Flood consistency: The thinnest, used for filling and covering cookies. Consistency is like honey or shampoo. Often made by thinning medium icing with a little water. Test: the line disappears in under 10 seconds.
Sift powdered sugar twice to avoid lumps and ensure smooth piping.
Use a clean, grease-free bowl and whisk. Wash with boiling water if needed.
Avoid whipping too fast; the icing should not be frothy. Mix in one direction only.
Hold the piping bag at least 1 cm above the cookie when outlining.
Too-thin flood icing creates bubbles and uneven texture; thicken by adding powdered sugar if needed.
Use gel colors for tinting; they don’t affect consistency or taste. Buy small amounts to avoid expiration.
Allow each section to dry for 30 minutes before continuing.
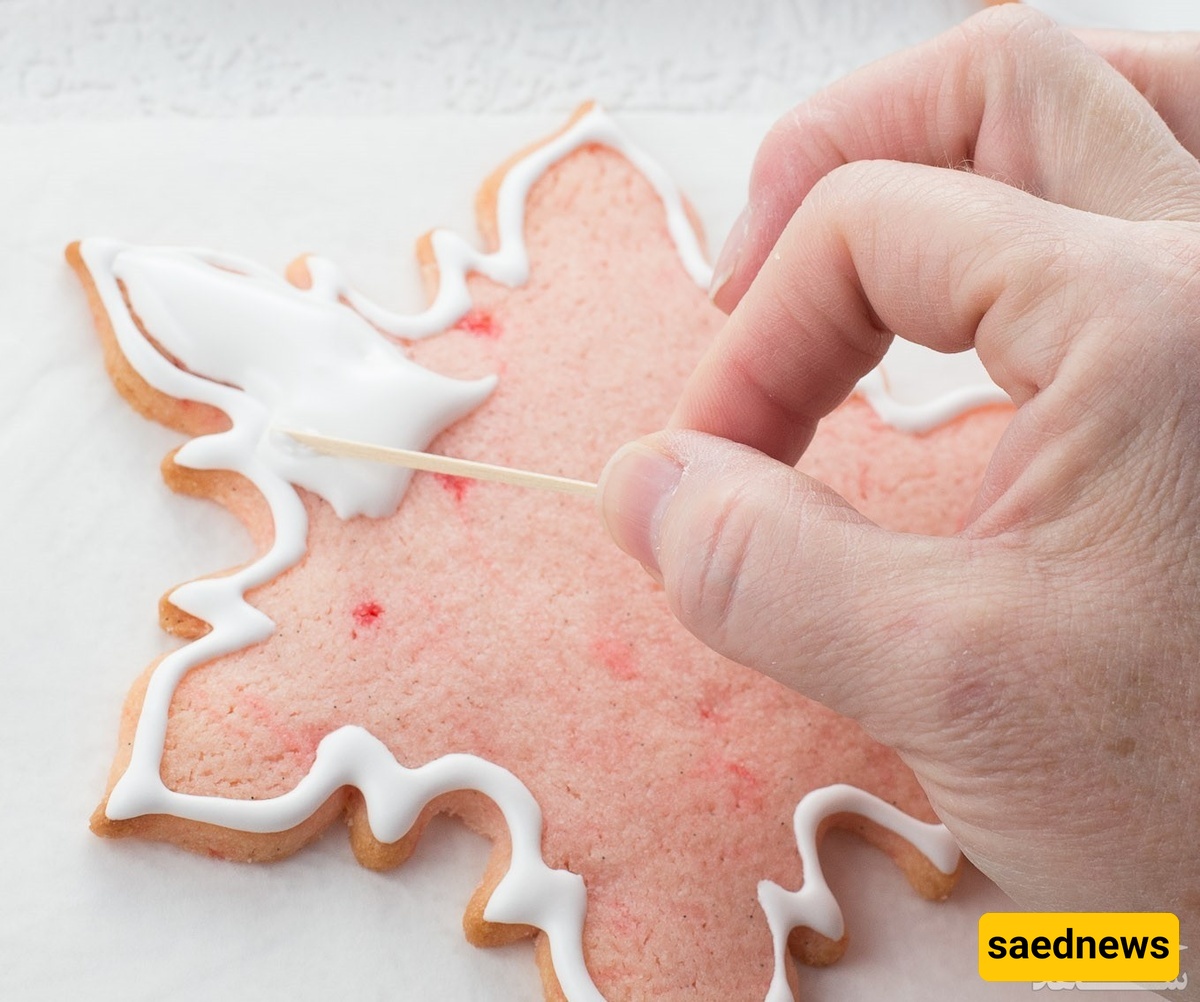
After flooding, gently shake the cookie to even out the icing and remove air bubbles with a toothpick.
In hot or humid conditions, work near a fan or air conditioner. High humidity prevents drying; heat may cause butter leakage.
Royal icing dries quickly; store filled piping bags in a cup with a damp paper towel under the tips to prevent drying.
If a bag is more than half full, seal the bottom with a rubber band to prevent leakage and air exposure.
Cookies take 6–24 hours to dry, depending on humidity. Keep at room temperature, uncovered, and avoid refrigeration. Package only 24 hours after decorating.
Prepare piping tips in advance; for beginners, use #2 for outlining and #4 for flooding. Tips are optional; other techniques will be shown in future tutorials.