SAEDNEWS: Learn simple ways to remove kernels from the cob and store them for long-lasting freshness, so you can enjoy sweet, flavorful corn anytime.
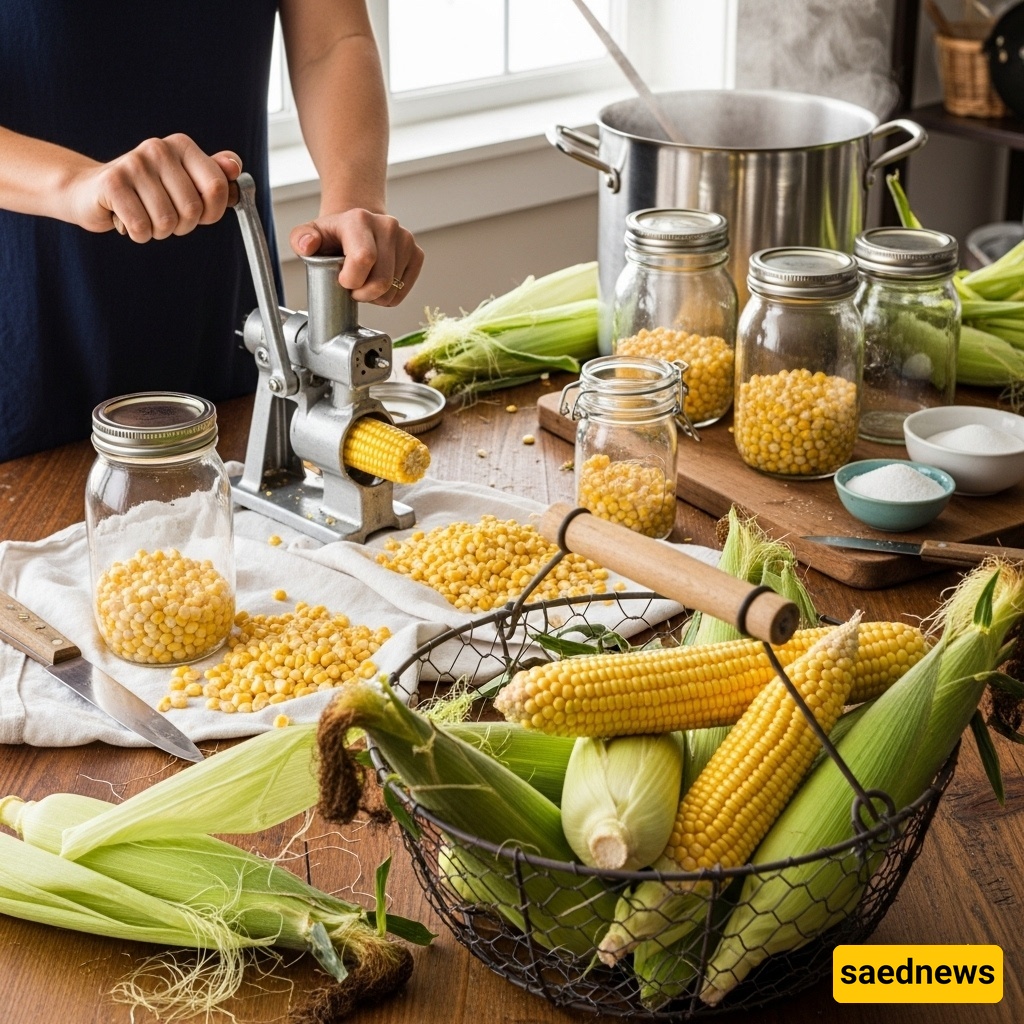
According to Saed News, corn—these golden, sweet kernels—is one of the most popular and versatile foods worldwide, used in salads, soups, Mexican dishes, and a variety of other recipes. However, the season for fresh corn is short, and many of us look for ways to preserve its unique taste and texture to enjoy all year long. Husked corn and proper storage are the keys to achieving this goal. In this guide, we’ll show you simple methods to easily remove corn kernels and how to store them to maintain their quality for months.
Removing kernels from the cob might seem time-consuming at first, but with the right tools and technique, it becomes a quick and easy task. Here are two practical methods:
This is one of the most common and fastest ways to husk corn.
Step 1: Prepare a large bowl and place a smaller bowl or a sturdy container upside down in the center. This creates a stable platform.
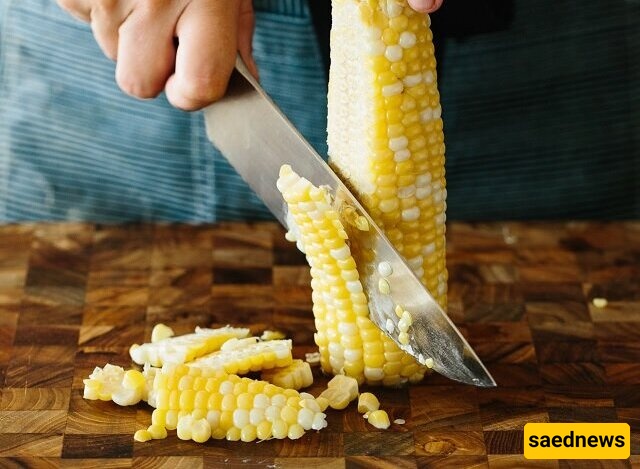
Step 2: Hold the cob vertically over the platform with the wider end on top.
Step 3: Using a sharp knife, cut downward close to the cob. The kernels will fall into the large bowl. Rotate the cob and repeat until all kernels are removed.
Tip: Avoid pressing the knife too hard against the cob to prevent crushing the kernels.
If you prefer a safer or more inventive approach, try these techniques:
Grater: Use the large holes of a box grater. Hold the cob firmly and slide it downward along the grater. The kernels will separate quickly.
Bundt Pan: Place the tip of the cob in the center hole of a Bundt pan. Then, cut downward as with the knife method. The kernels collect neatly in the pan while keeping your workspace clean.
To preserve the maximum flavor, color, and nutrients, freezing is the best option. However, for optimal results, a key step called blanching is essential. Blanching is a heat-shock process that deactivates enzymes responsible for loss of quality, discoloration, and flavor changes.
Step 1: Preparation
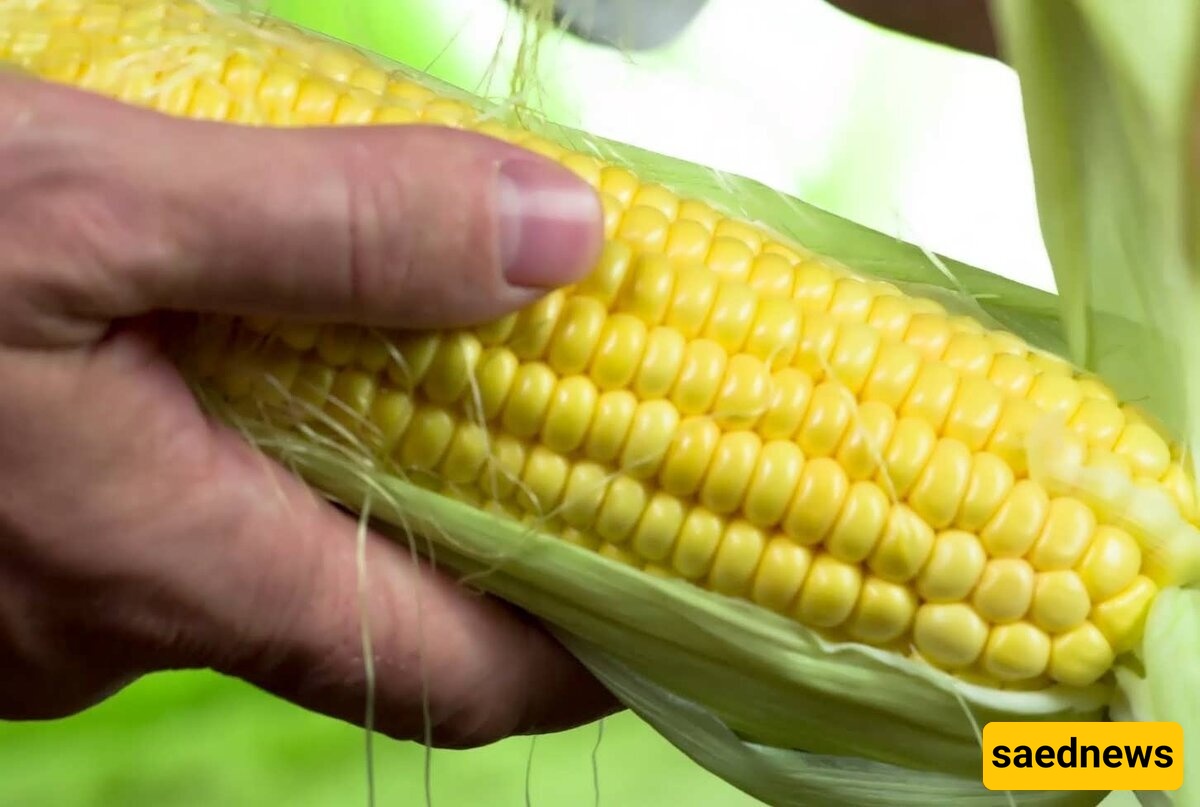
Wash the husked kernels thoroughly and remove any silk or debris.
Step 2: Blanching
Bring a large pot of water to a boil. For every 4 liters of water, add 1 tablespoon of sugar and a pinch of salt to better preserve the corn’s sweetness.
Add the kernels and boil for 3–4 minutes. Immediately transfer the corn to a large bowl of ice water. This cold shock stops the cooking process and keeps the kernels bright yellow.
Step 3: Drying
After cooling for 3–4 minutes, drain the corn and spread it on a clean towel to remove excess moisture. This prevents the kernels from sticking together in the freezer.
Step 4: Packaging and Freezing
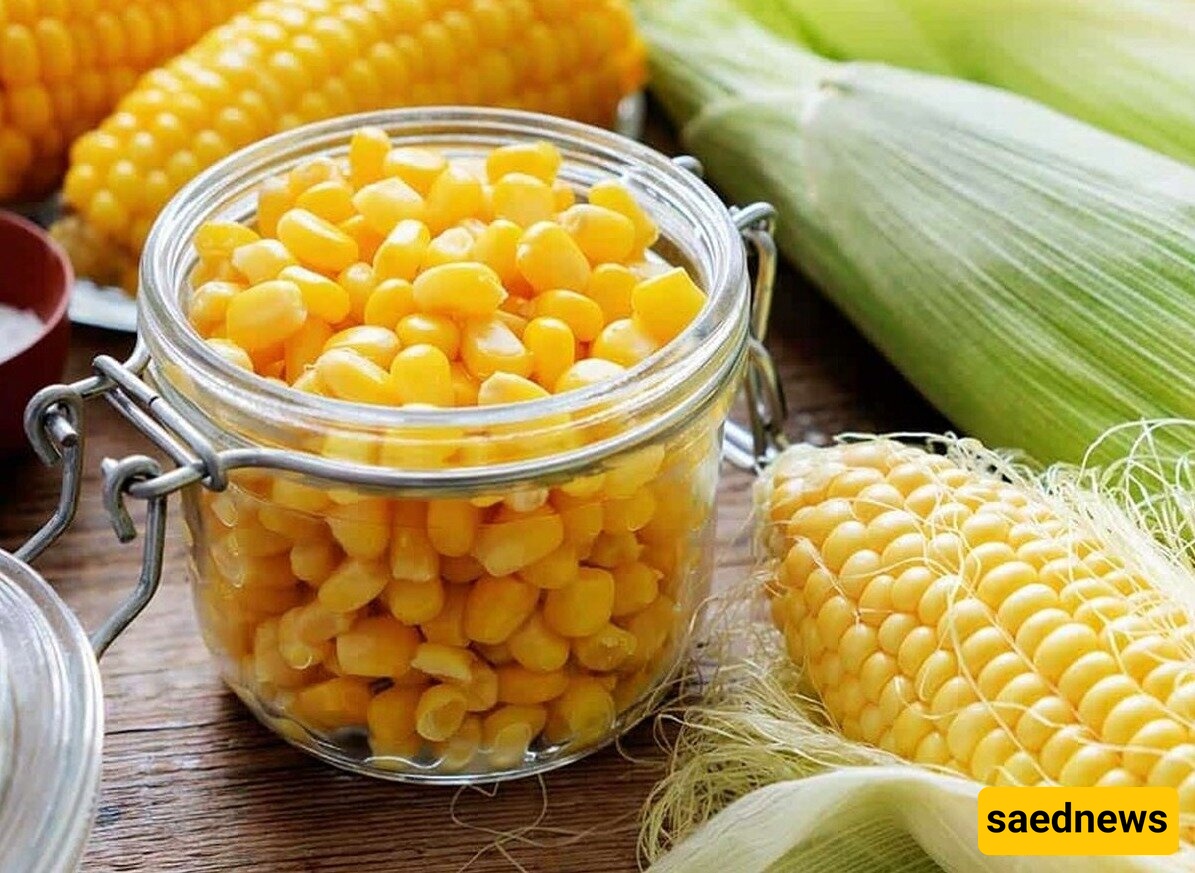
Place the dried kernels in freezer-safe zip-top bags or containers. Remove as much air as possible to prevent ice crystals and freezer burn. Label each package with the date and store in the freezer.
With this method, corn maintains its quality for up to 12 months, offering a taste almost as fresh as newly picked kernels.
Husking and storing corn no longer has to be a challenge. By using these simple techniques, you can easily remove kernels and preserve their flavor and aroma with proper blanching and freezing. Now, you can enjoy sweet, high-quality corn in your kitchen any time of year, adding a touch of summer color and taste to your meals.