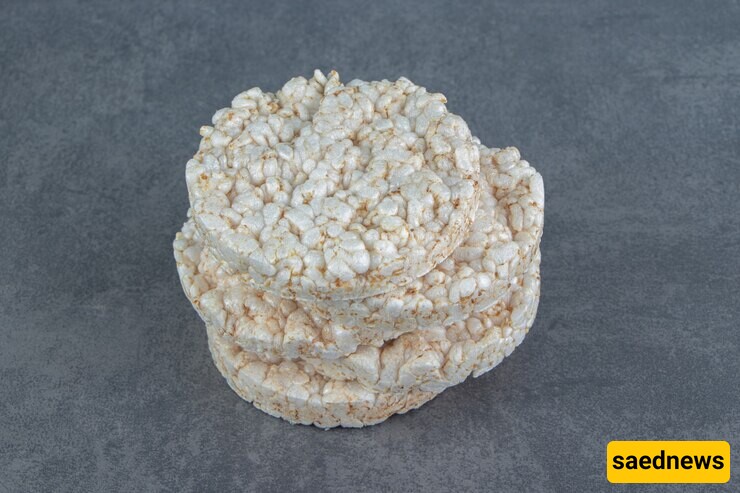
SAEDNEWS: Rice Krispies treats are a delicious dessert made with milk, sugar, vanilla, and pistachios. Stay with SAEDNEWS for the full recipe.

According to SAEDNEWS, Rice Krispies treats, though originally popularized in the United States, have been embraced in various forms across the world. These treats are known for being customizable to fit a variety of dietary preferences, and they can be made with different cereals or chocolates, depending on what you enjoy. The recipe we’re sharing is a simple yet indulgent variation that uses Mars chocolate bars, which provide a rich and creamy texture, and Chikopuff chocolate cereal, which adds a crunchy element.

100 grams of Butter
The butter is essential for creating that smooth, gooey texture that will hold the Rice Krispies together.
6 Large Mars Chocolate Bars
Mars bars provide a delicious chocolatey flavor with caramel and nougat. You can substitute with other chocolate bars if you prefer, such as Snickers or Twix, or even melt chocolate chips if you like.
2 Cups of Chocolate Chikopuff Cereal
This cereal adds crunch and sweetness to the treat, but you can use Rice Krispies cereal or another puffed cereal if that's what you prefer. Chikopuff is simply a type of puffed chocolate cereal that complements the sweetness of the bars.
Start by placing a suitable pan or skillet on low heat. Add the butter into the pan, making sure it melts completely. Stir occasionally to avoid it burning. Butter is the base of the treat and will help the mixture come together with a smooth consistency.
Once the butter is completely melted, add the Mars chocolate bars to the pan. Break them into smaller pieces for quicker melting. Stir gently to help them dissolve completely into the butter, forming a smooth, glossy mixture. Be sure not to overheat the chocolate—low heat is key to ensuring the chocolate doesn’t seize up or burn.
Once the chocolate is fully melted, remove the pan from the heat and immediately add the Chikopuff chocolate cereal. Stir the mixture gently to ensure that the cereal is evenly coated with the chocolate-butter mixture. The cereal should be well coated but not overly soggy. This mixture should have a sticky yet firm consistency when stirred.
While melting the butter and chocolate, keep the heat low. If the heat is too high, the chocolate can harden quickly or burn. This would make the Rice Krispies texture dense and less enjoyable. Using low heat ensures a smooth texture that holds the Rice Krispies together well.
Once the mixture is well combined, line a suitable dish (such as a baking pan or tray) with parchment paper. This will help prevent the Rice Krispies from sticking to the pan when it cools. Pour the chocolate-cereal mixture into the lined dish. Use a spatula or spoon to press the mixture down gently, smoothing it out evenly across the dish. Make sure the mixture is packed into the dish without being too loose.
Now it’s time to refrigerate the mixture. Place the dish into the fridge and let it sit for about 30 minutes. This will allow the chocolate to harden and the treat to set. If you’re in a hurry, you can place the pan in the freezer for about 15 minutes, but keep an eye on it to ensure it doesn’t freeze too hard.
After the Rice Krispies treat has had enough time to set and harden, remove the dish from the fridge. Carefully lift the parchment paper out of the pan and place the slab on a cutting board. Use a sharp knife to cut the slab into bite-sized squares or rectangles, depending on your preference.
For an added touch, you can place each piece of Rice Krispies treat into mini cupcake liners or wrap them individually in wax paper to give them a festive, gift-like presentation. These are perfect for parties, gift bags, or just as a personal treat.
Softening: If the Rice Krispies treats become too hard after being refrigerated, let them sit at room temperature for 10-15 minutes before serving. This will soften them up slightly, making them easier to bite into.
Flavor Variations: You can experiment with different types of chocolate (dark, milk, or white chocolate) or even add some chopped nuts, dried fruit, or marshmallows for extra texture and flavor. If you prefer a less sweet version, try using unsweetened chocolate.
Decorating: Consider topping the treats with chopped pistachios, sprinkles, or even a drizzle of melted chocolate for a more decadent finish. If you’re serving these at a party, adding colorful decorations can make them stand out.
Storage: These treats can be stored in an airtight container for up to a week. If you're preparing them in advance, keep them in the fridge to prevent them from becoming too soft in warm weather.
Rice Krispies treats are simple, customizable, and delicious. They’re perfect for kids and adults alike, whether you're preparing them for a casual family snack, a party, or a special occasion. With the added crunch of Chikopuff cereal and the richness of Mars chocolate bars, this variation is sure to be a hit. Enjoy your sweet, homemade Rice Krispies treats, and don’t forget to share them with loved ones!

