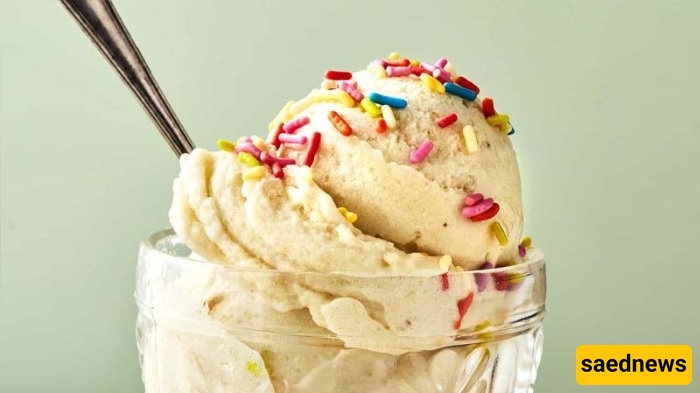
SAEDNEWS: In the summer months, few things are as delightful as enjoying a refreshing drink or a scoop of delicious ice cream. What truly matters, however, is making ice creams that use wholesome ingredients, especially fresh fruits. Below, we’ll walk through how to prepare a healthy banana ice cream using a simple home ice-cream maker.

Eating ice cream on a hot summer day is always enjoyable, but when you include bananas, the experience is not only tastier but also more nutritious. Bananas provide essential vitamins, minerals, and fiber, making your ice cream a healthier choice. Plus, using ripe bananas reduces the need for added sugar.
Key Benefits of Homemade Banana Ice Cream:
Naturally colored, free from artificial dyes and preservatives.
Can be made with plant-based milk, which is easier to digest for those with lactose intolerance.
Suitable for all ages, especially for people who need to limit sugar intake.
Ingredients for Homemade Banana Ice Cream (Serves 4):
4 ripe bananas
1 cup low-fat milk
½ cup Greek yogurt (optional)
2–3 tablespoons honey
1 teaspoon natural vanilla extract
A pinch of sea salt (optional)
Low-fat or plant-based milks—such as almond, oat, or coconut—help control calories and appeal to vegans. Greek yogurt adds a creamier texture, while a pinch of sea salt enhances the flavor.
Equipment Needed:
For the best results, a high-quality ice cream maker is essential. Other tools include a blender or food processor, a sharp knife for slicing bananas, a suitable container for freezing, and a scoop or spoon for serving.
Step-by-Step Preparation:
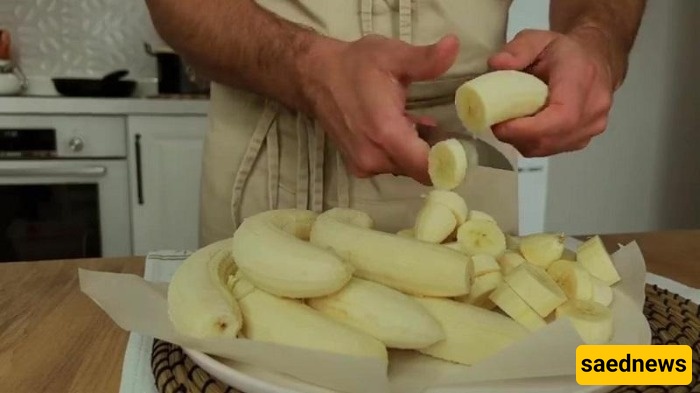
Prepare the Bananas
Peel the bananas and slice them into 2–3 cm rounds, discarding any dark or mushy spots. Place the slices in a zip-lock bag or container and chill in the freezer for 3–4 hours.
Make the Ice Cream Base
Combine frozen banana slices with milk, honey, vanilla, salt, and Greek yogurt (if using) in a blender. Blend on medium speed until smooth and creamy. The mixture should have the consistency of a thick smoothie, as it will serve as the base for your ice cream.
Churn the Ice Cream
Pour the mixture into your ice cream maker and churn for 20–30 minutes until it achieves a soft, creamy texture. Check the manufacturer’s instructions for details, as some machines require pre-chilled containers.
Freeze to Firm Up
Transfer the ice cream to a freezer-safe container and freeze for 1–2 hours until fully set.
Tips for Customizing Your Ice Cream:
You can add other fruits, such as mango or strawberries, for different flavors and colors. Chocolate chips, cocoa nibs, cinnamon, or cardamom can enhance the taste. Nuts like walnuts, cashews, or almonds add texture and richness.
For vegans, omit the Greek yogurt and use plant-based milk. Keep in mind that this may require slightly longer blending to achieve a smooth consistency. Homemade banana ice cream can be stored in a sealed container in the freezer for 7–10 days without compromising flavor.
Conclusion
On hot summer days, homemade banana ice cream offers a refreshing, nutritious, and delicious treat. By following this simple recipe and using fresh ingredients, you can enjoy a cool dessert that satisfies both your taste buds and your health.