SAEDNEWS: If you're experiencing low water pressure in some of your home's faucets, this article from SAEDNEWS can be very helpful. Stay with us until the end to learn how to address this issue effectively.

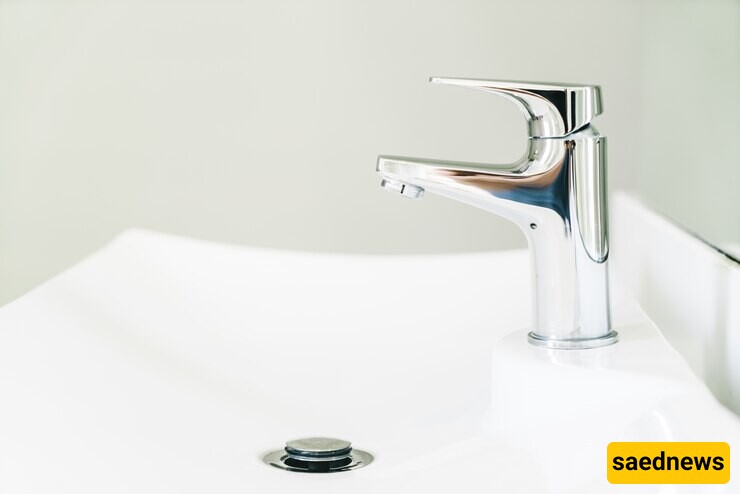
According to SAEDNEWS, One of the common problems many people face while washing dishes or taking a shower is a sudden drop in water pressure, especially in single-handle faucets. The components in these modern faucets are more sensitive to water deposits compared to older models, making them prone to clogging. As a result, blockages can often cause low hot water pressure. In this article, we’ll explore the causes of water pressure loss in these faucets and guide you through simple repair methods to resolve the issue yourself.

In single-handle faucets, the primary causes of low water pressure often include deposits in water heaters and blockages in faucet components, such as the aerator, supply line filter, cartridge screen, or showerhead. In most cases, you can fix these blockages yourself.
If you’re inexperienced with faucet repairs, don’t worry—we’ll break down the causes and their solutions step by step so you can easily identify and address the issue.
If water pressure decreases gradually, the issue is often related to the water pressure in your building or area.
Solution: Check the building’s plumbing system for potential leaks or pipe damage. These issues can significantly affect water pressure throughout the home.
This issue is more common in areas with hard water, which causes mineral buildup in the pipes and faucet components.
Solution: Descale the faucet to address the blockage. However, you’ll first need to determine which specific faucet component is causing the issue.
The aerator is one of the most common parts affected by mineral deposits. This mesh-like component is in constant contact with water, making it prone to clogging.
Steps to Clean the Aerator:
Use your hand or a wrench to unscrew the aerator from the faucet.
Clean the mesh thoroughly.
If the aerator is too clogged to remove, soak it in a mixture of white vinegar and water for a few hours.
Use a toothbrush or soft cloth to remove any remaining deposits.
Reattach the aerator and test the water flow.
The cartridge screen plays a crucial role in regulating water temperature and pressure. Over time, mineral buildup can cause blockages.
Steps to Clean the Cartridge Screen:
Shut off the water supply to the faucet.
Remove the blue and red caps indicating hot and cold water.
Unscrew the handle bolt using a wrench and remove the faucet handle.
Take off the cover plate and unscrew the cartridge nut.
Remove the cartridge and gently clean its screen with a soft brush.
Reassemble the faucet and test the water flow.
The angle valve filter controls the water flow and acts as a secondary filter to trap debris. If clogged, it can reduce water pressure.
Steps to Clean the Supply Line Filter:
Shut off the water supply to the faucet.
Unscrew the angle valve.
Remove the filter mesh and clean it thoroughly under running water.
Reattach the valve and ensure it’s properly secured.
The showerhead plays a crucial role in controlling water flow in showers. Over time, mineral deposits can block the water outlets, reducing pressure.
Steps to Clean the Showerhead:
Remove the showerhead from the hose.
Use a toothbrush to scrub the outlets.
If deposits remain, soak the showerhead in a vinegar and water solution for 30 minutes.
Rinse thoroughly and reattach the showerhead.

If manual cleaning doesn’t solve the issue:
Fill a plastic bag with a mixture of vinegar and water.
Tie it securely around the showerhead.
Let it soak for 30 minutes to an hour.
Remove the bag, scrub gently with a toothbrush, and rinse well.
You’ll notice a significant improvement in water pressure after this process.
By following these simple troubleshooting steps, you can easily resolve water pressure issues in your single-handle faucets without needing professional help. However, if the problem persists despite your efforts, it may be time to call a plumbing expert to inspect and address deeper issues.

